Vendor
Dashboard:-
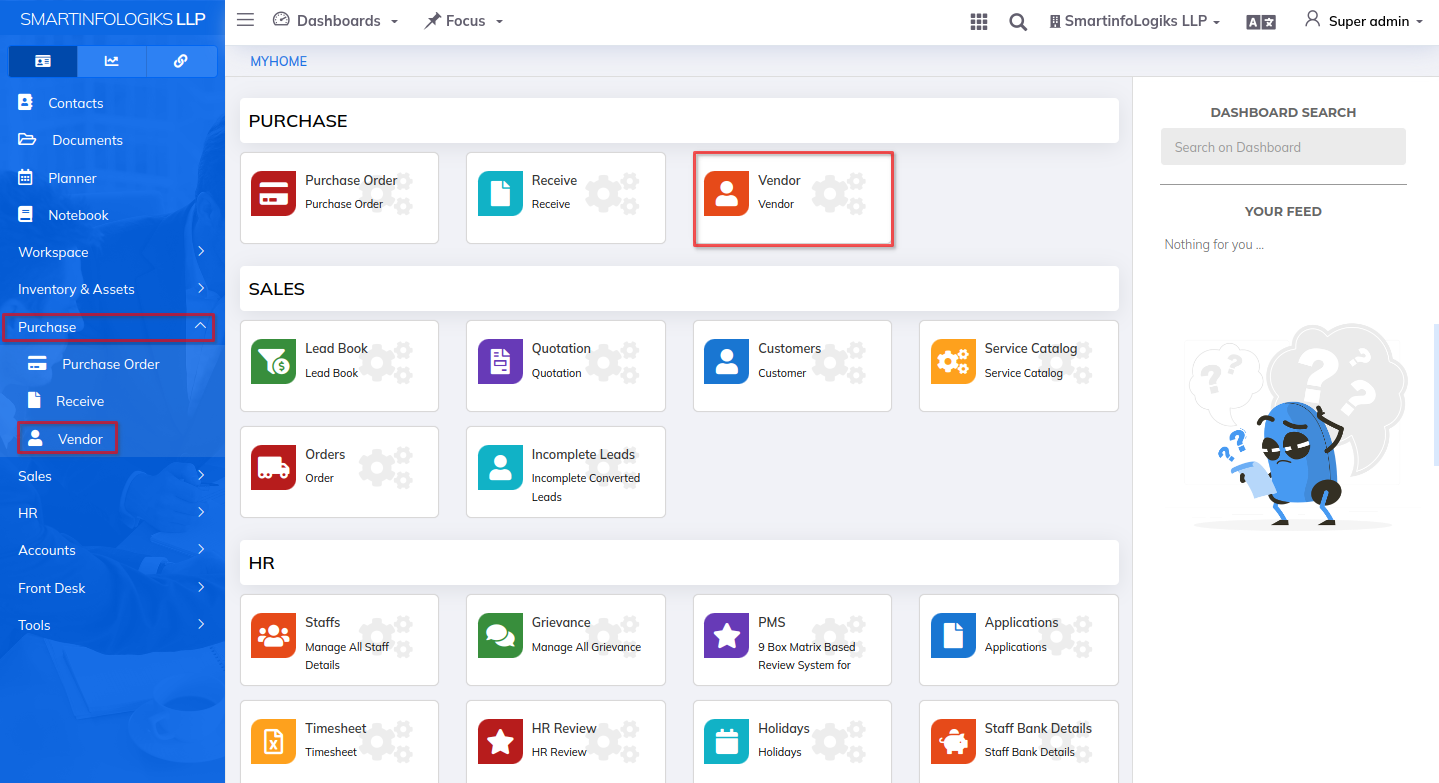
- Vendor dashboard will be shown as below image:
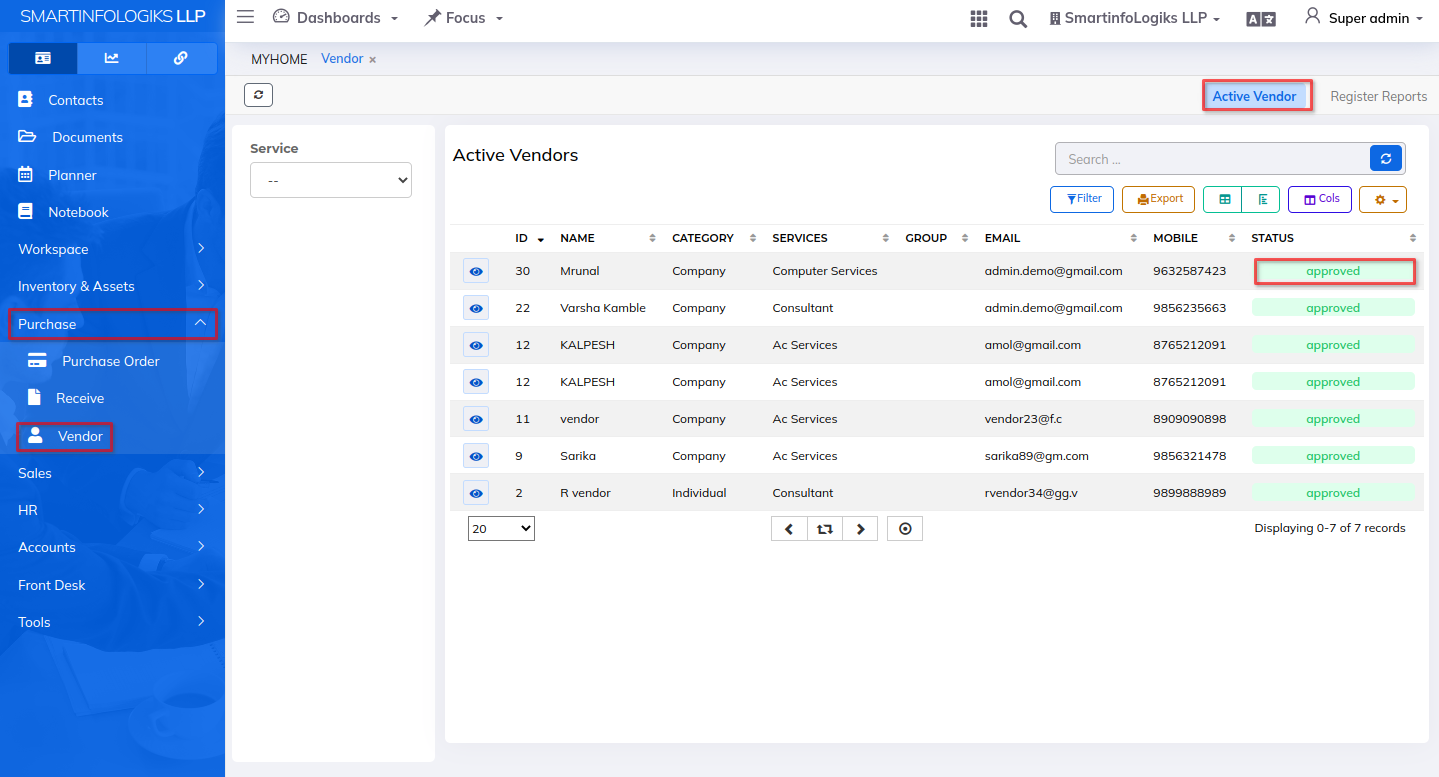
Active Vendor
Click on the left side Menu List Click on Purchase Click on Vendor tab
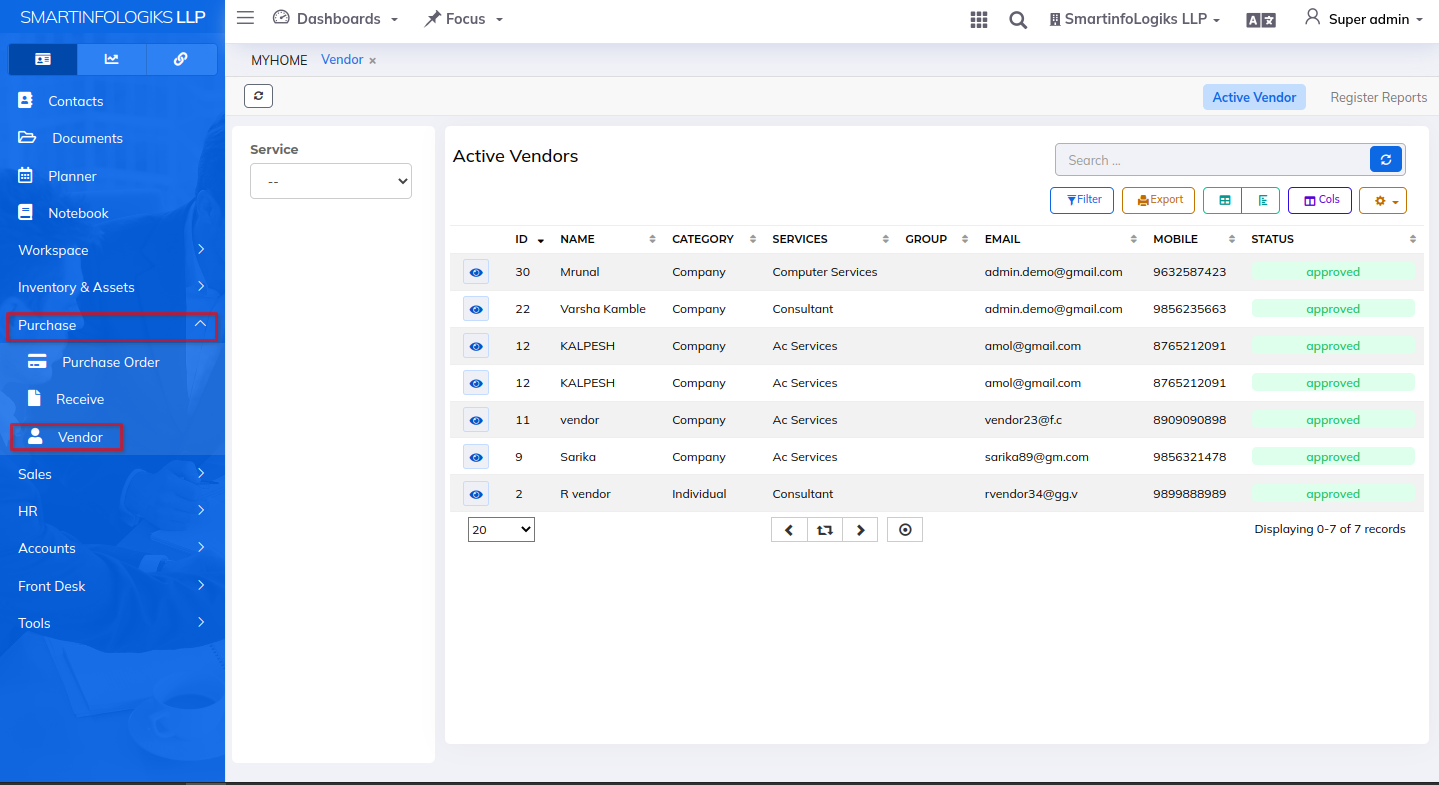
Added Vendor is displayed in Reports as shown in the below image.
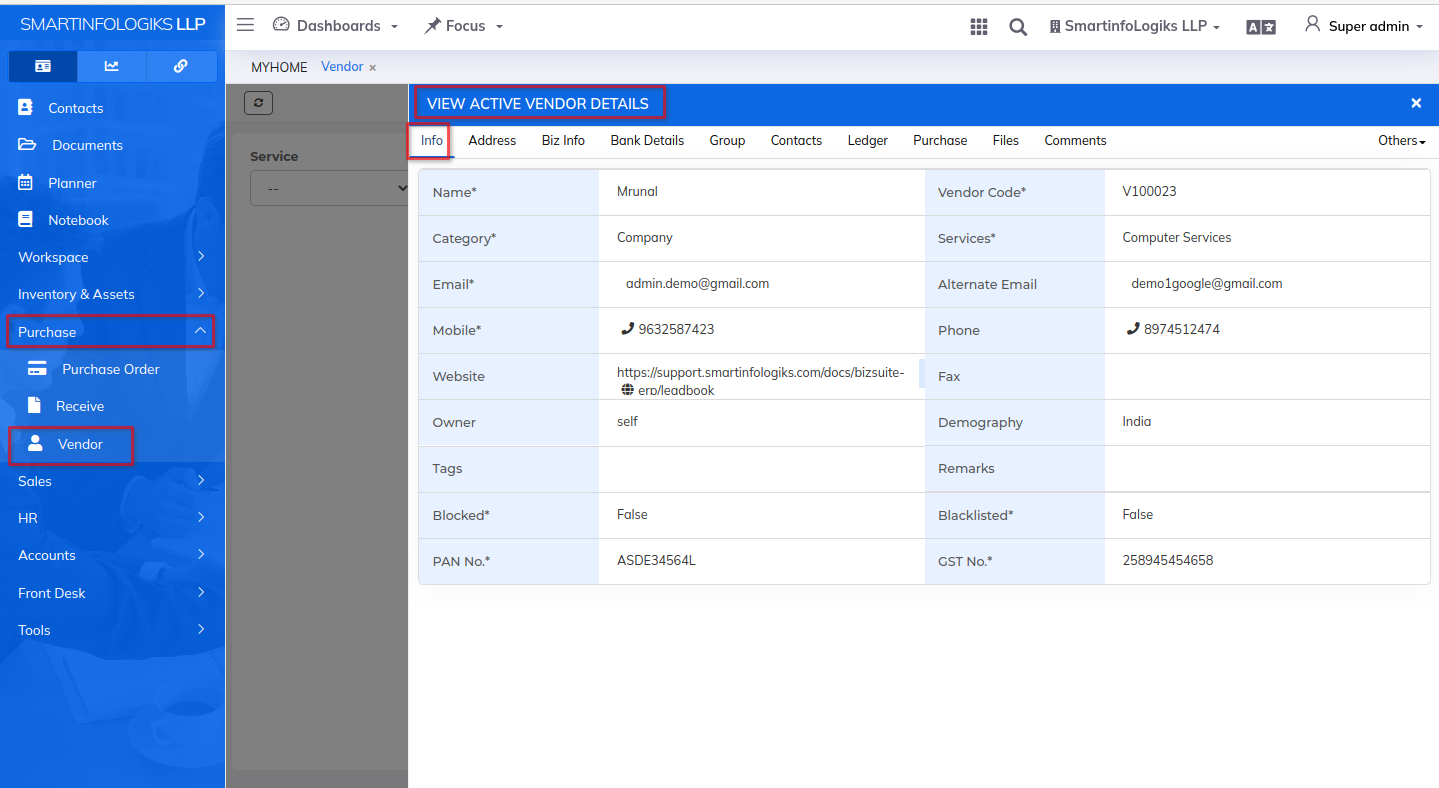
On click of the View Active Vendor icon, users can view active Vendor details.
On click of View icon, users can view Vendor details
On click of Address tab , user can view address details.
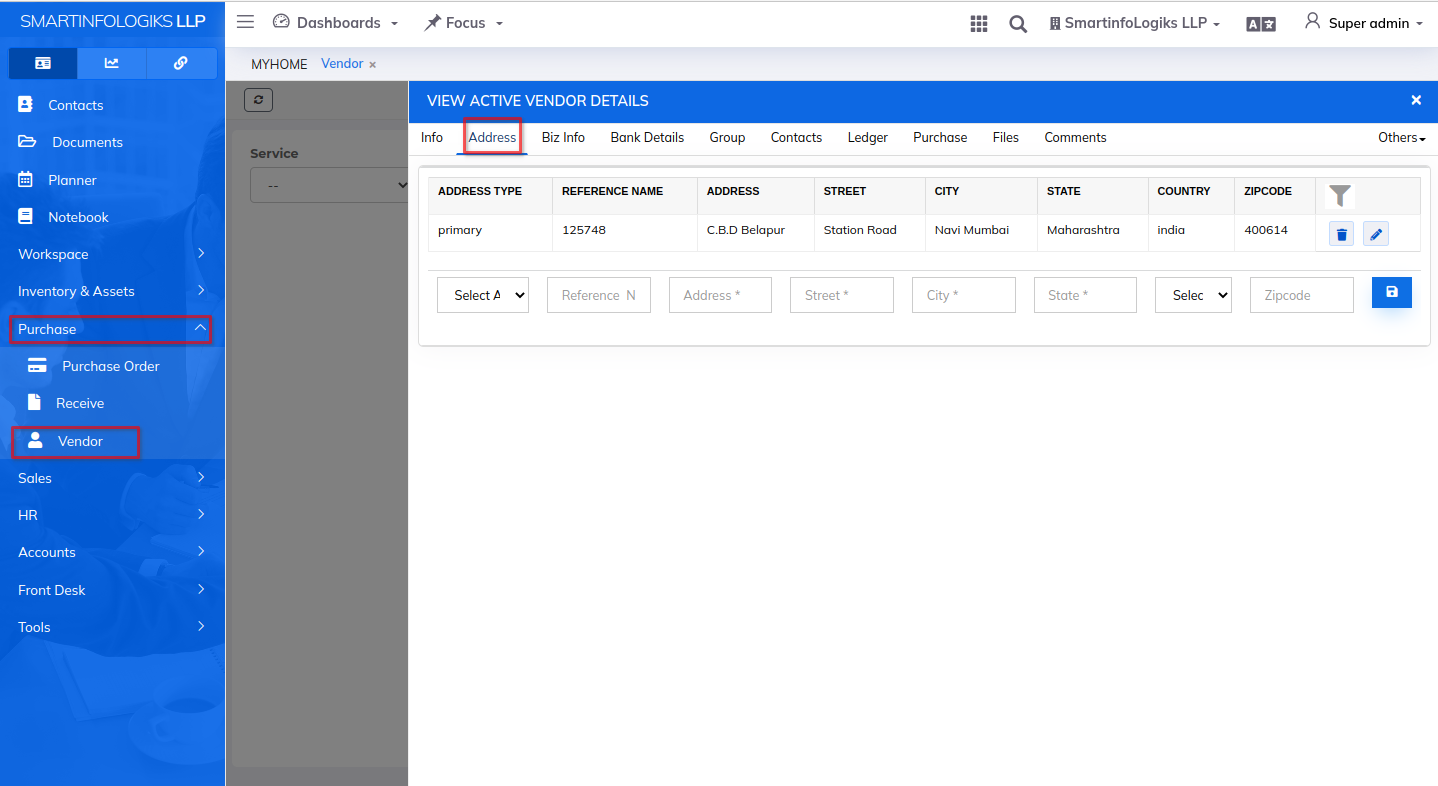
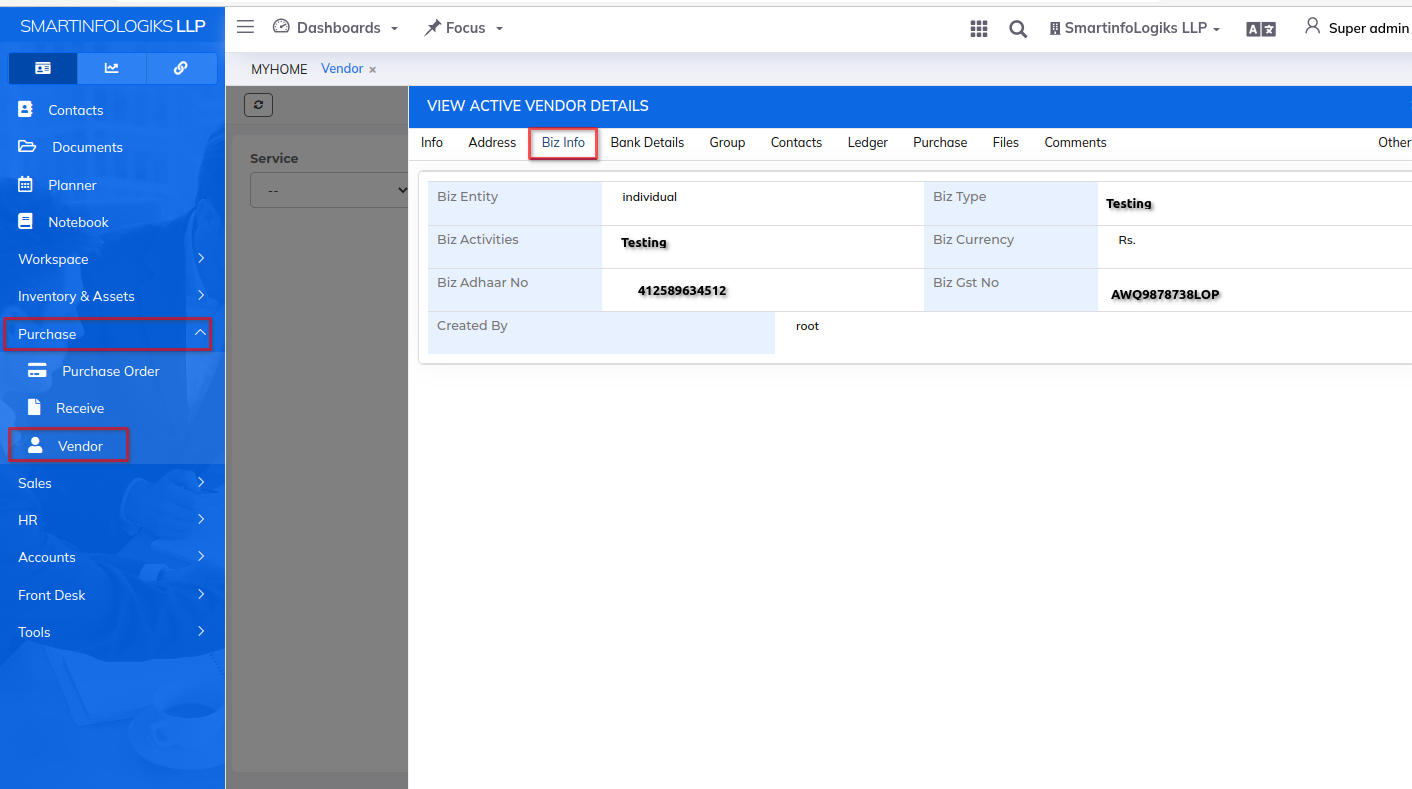
On click of Biz info tab , user can view Biz info details.
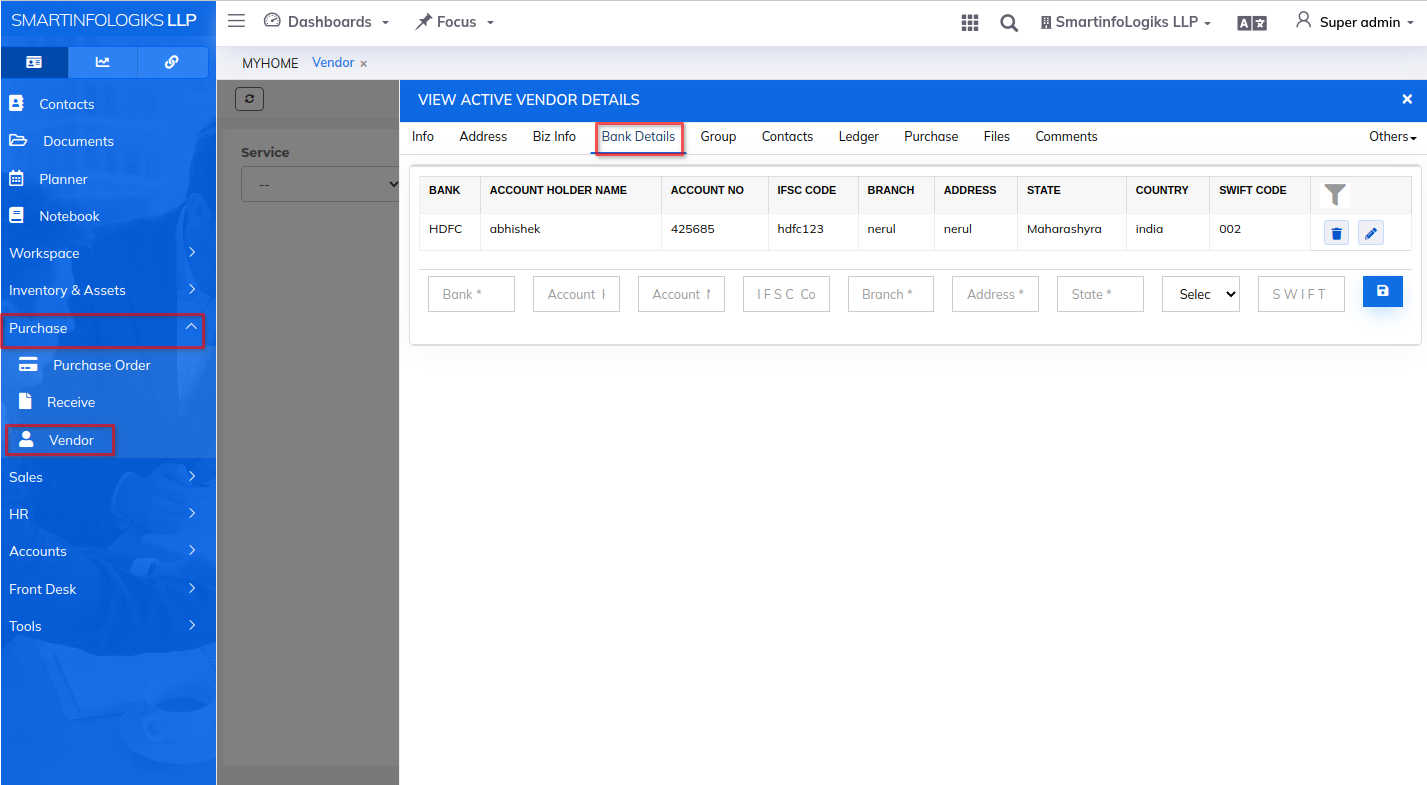
On click of Bank details tab , user can enter their bank details.
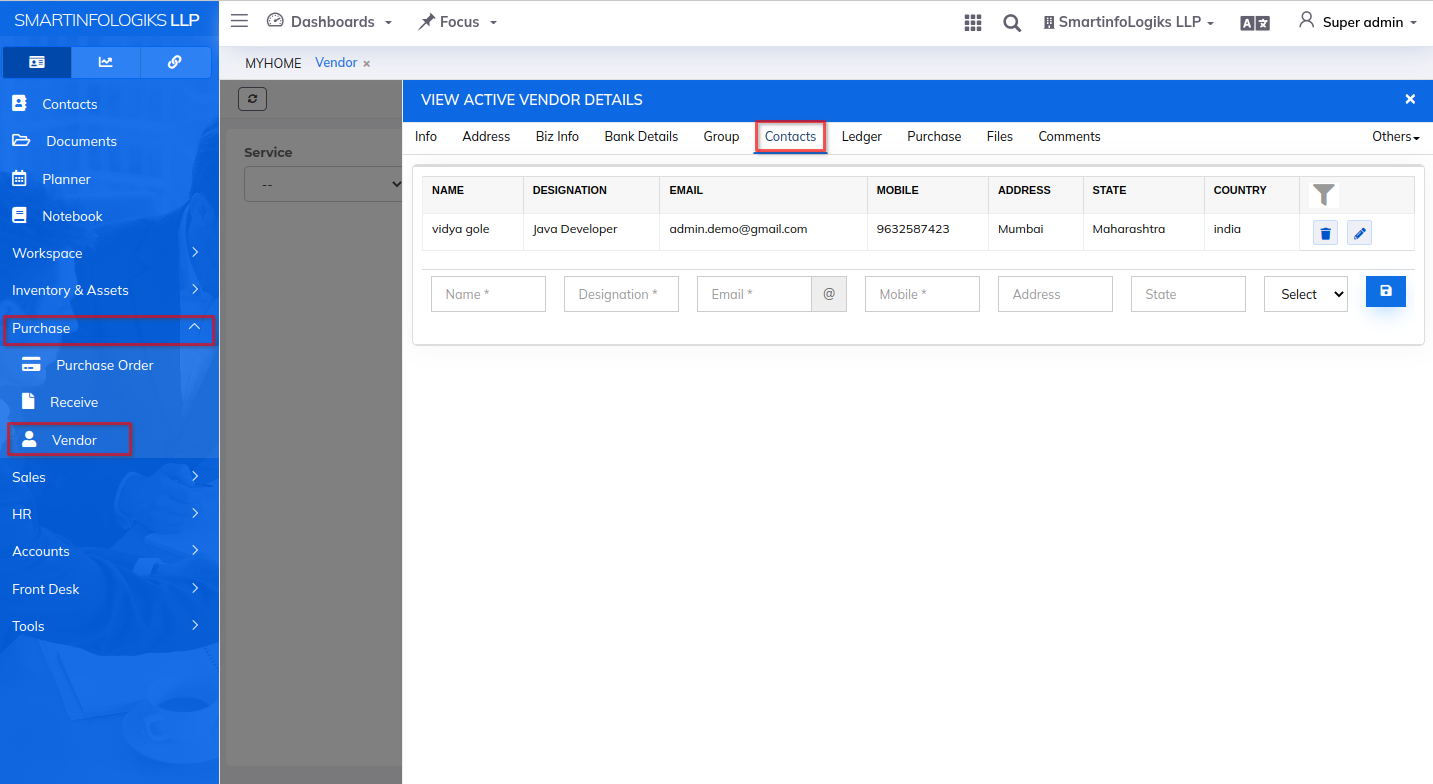
On click of Contacts tab , user can enter their contact details.
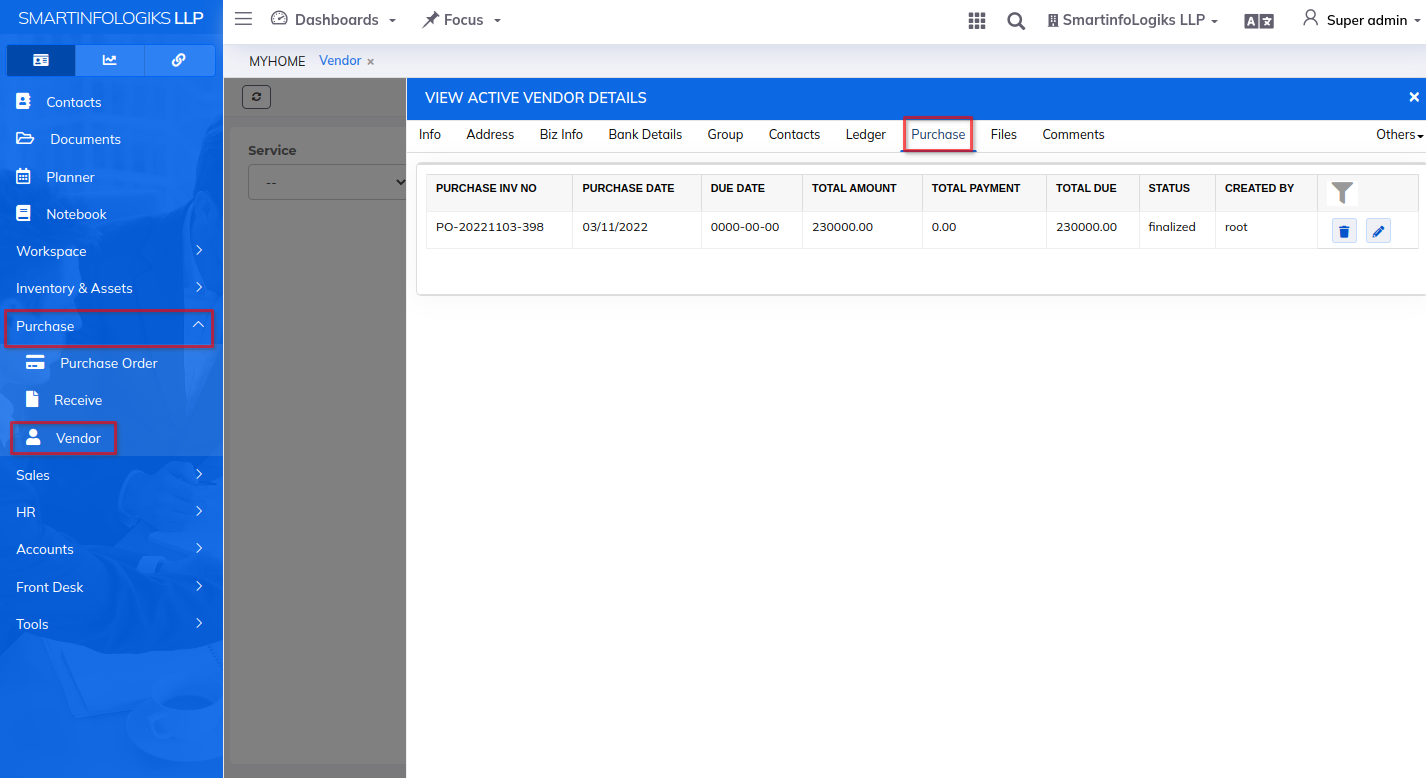
On click of Purchase tab , user can view purchase details.
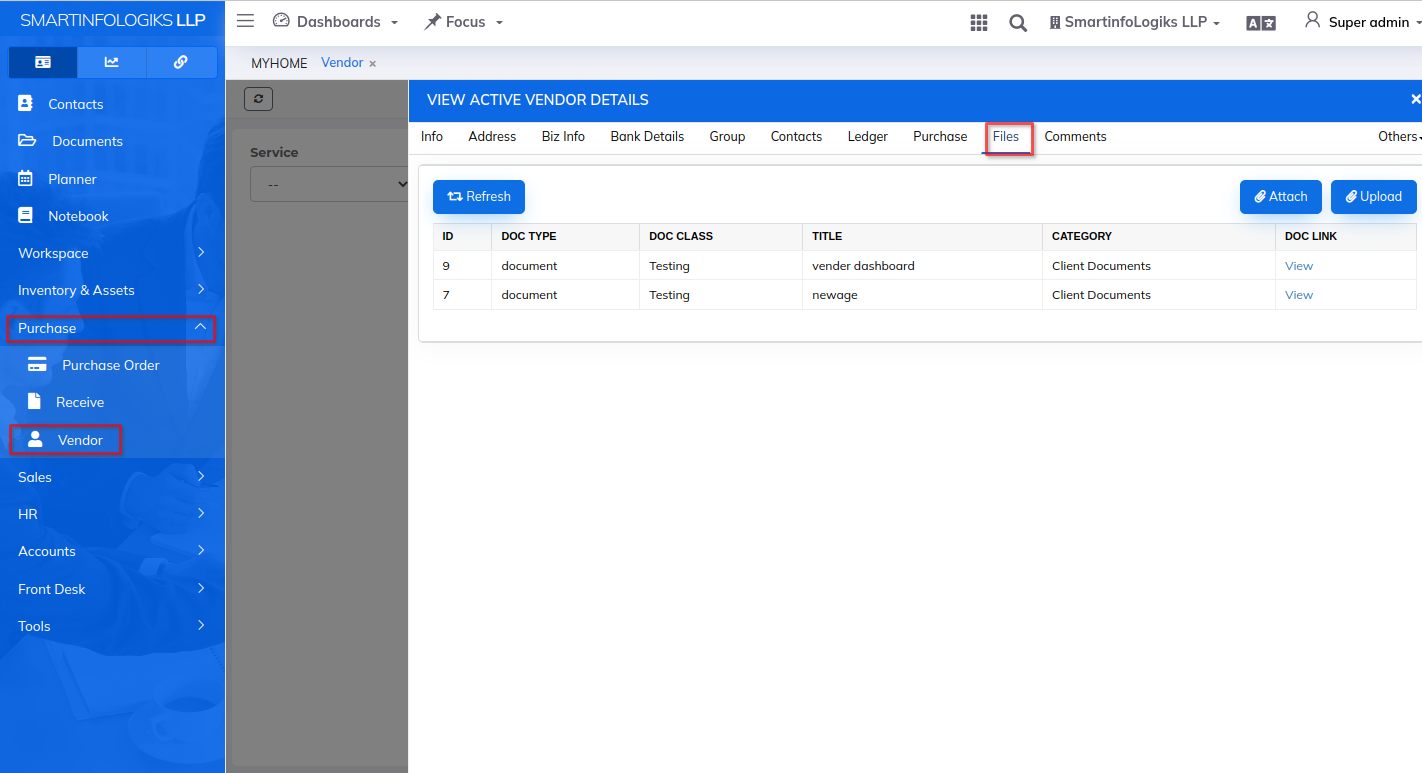
On click of File tab , user can upload files.
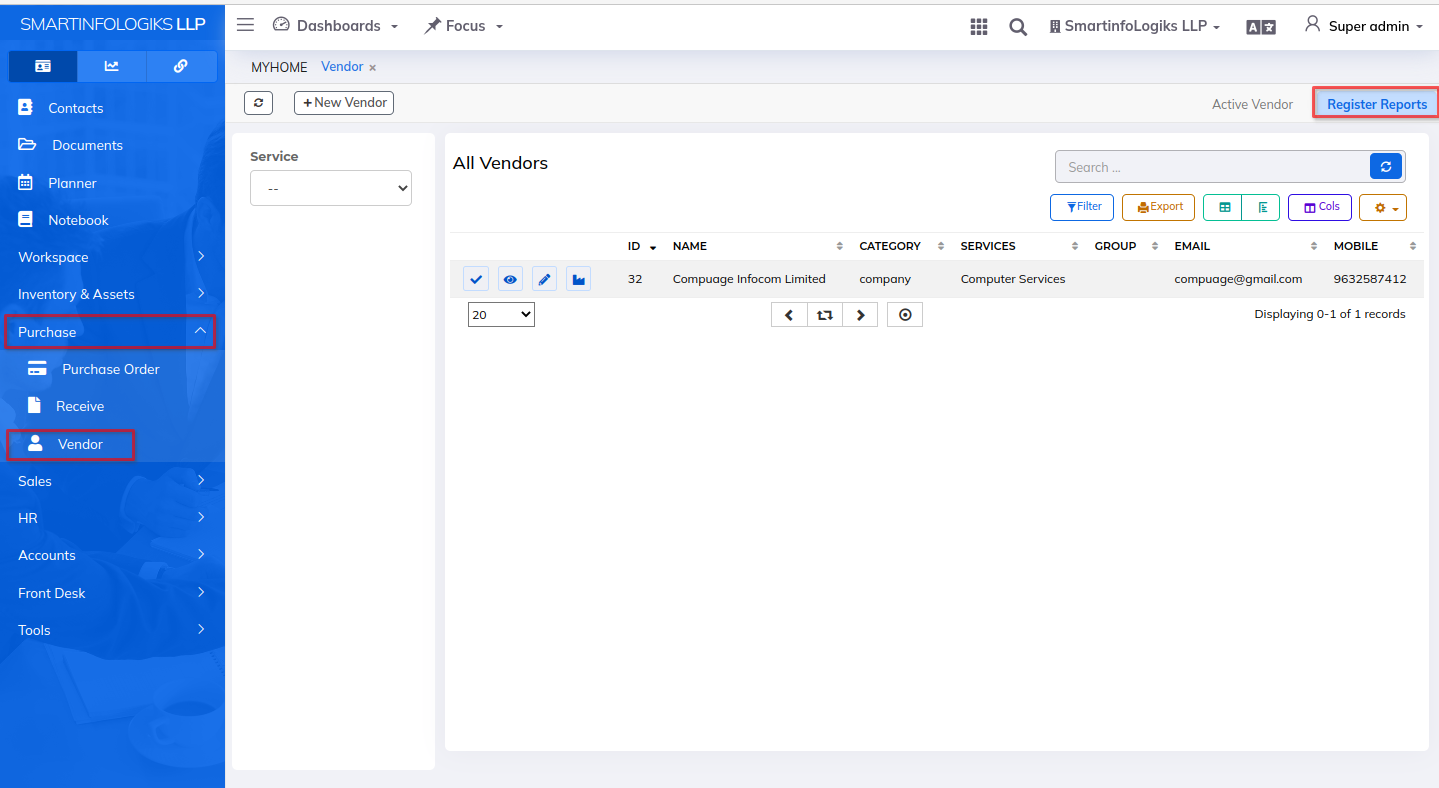
Register Reports
Click on the left side Menu List Click on Purchase Click on Vendor tab Click on Register Reports tab
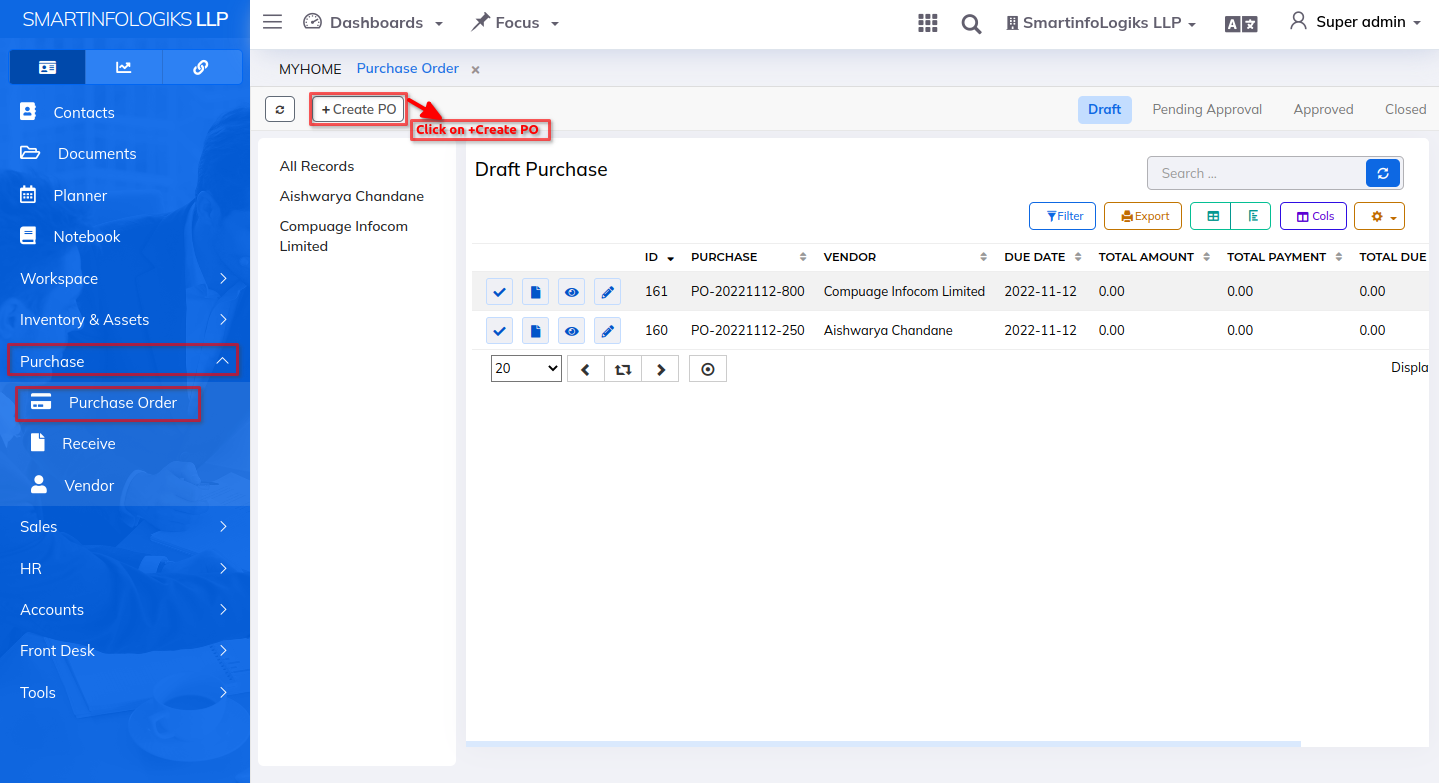
Click on the left side Menu List Click on Purchase Click on Vendor Click on the New Vendor
Click on the Create New Vendor form to open as per the below image.
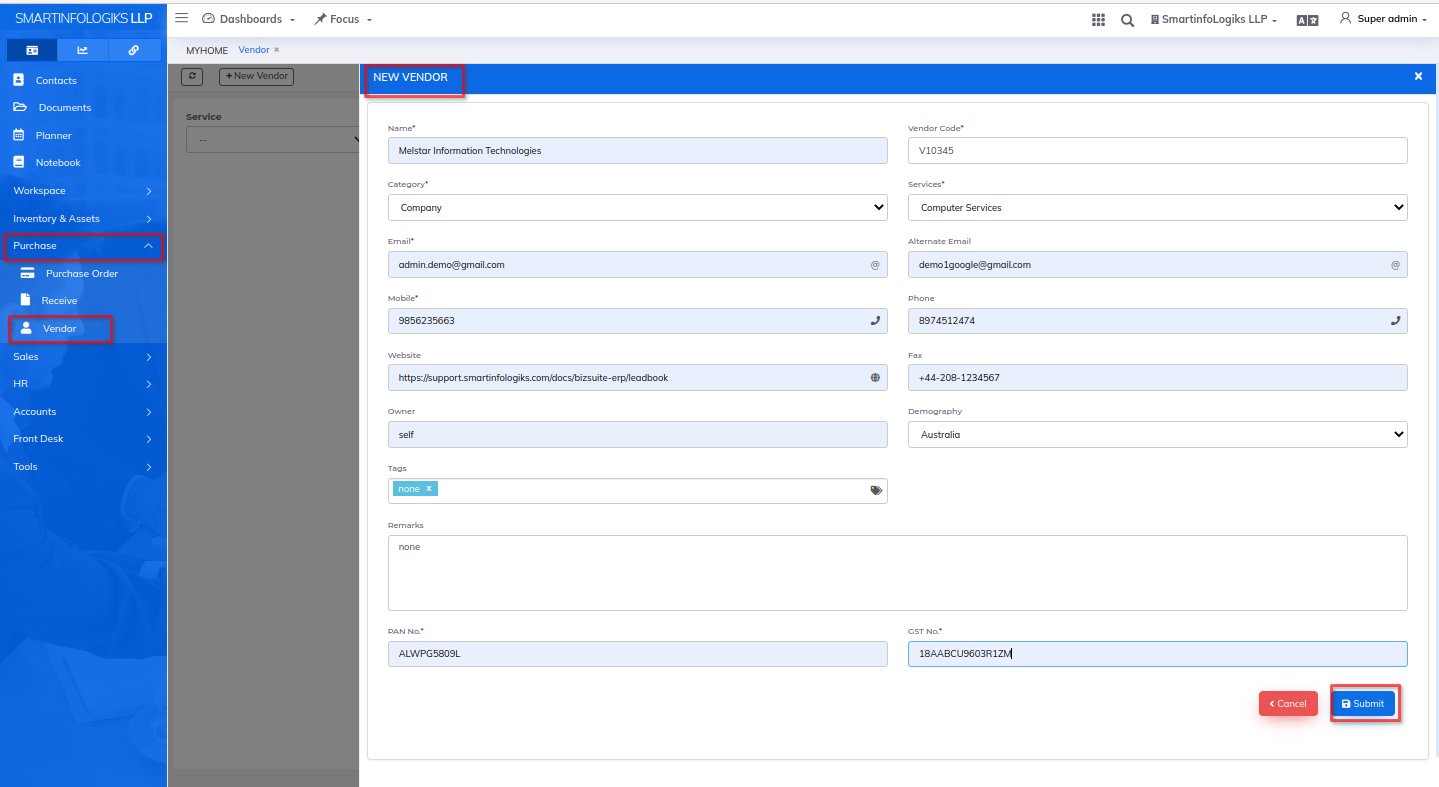
1.Vendor Name:Enter the vendor name.
2.Vendor Code:Enter the vendor code.
3.Category:Enter the vendor category.
4.Service: Enter the vendor service
5.Email:Enter the Email id.
6.Alternate Email:Enter the alternate email.
7.Mobile:Enter the Mobile number.
8.Phone:Enter the Phone number.
9.Website:Enter the website details.
10.Fax:Enter the fax details.
11.Owner:Enter the owner details.
12.Demography:Enter the demography details.
13.Tags:Enter the tags details.
14.Remarks:Enter the remarks details.
15.Pan No:Enter the pan details.
16.GST No:Enter the GST number details.
After filling all the mandatory fields click on the Submit button. On click of submit, reports will be added successfully.- Added Vendor is displayed in Reports as shown in the below image.
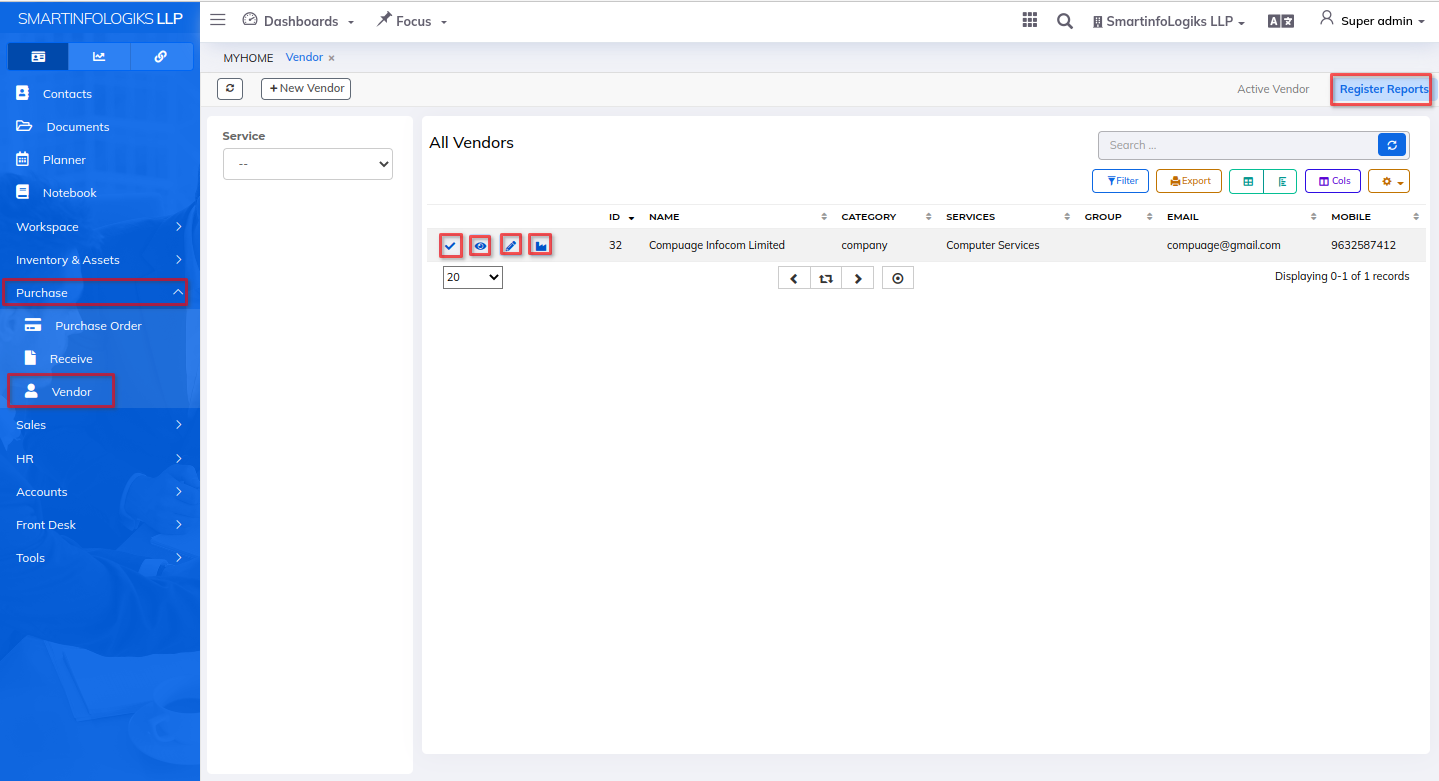
- On click of View Register Vendor ,user can view Register vendor details.
- On click of Edit Register Vendor, user can edit register vendor details.
- On click of Edit Vendor Details, user can edit vendor details.
- On click of Active Vendor,user can active vendor details.
