Geo Report
The Geo Report in MIS & Reports is a geographical map report that uses coordinates for pinpointing locations and also includes spatial analysis. Users can draw geo-fences for detailed spatial insights, making it invaluable for analysing data variations like customer distribution, sales performance across locations, and event impacts on specific geographic regions.
Creating A Geo Report
Follow these steps to create a Geo report:
- Click on the "Continue" button to create a Geo Report.
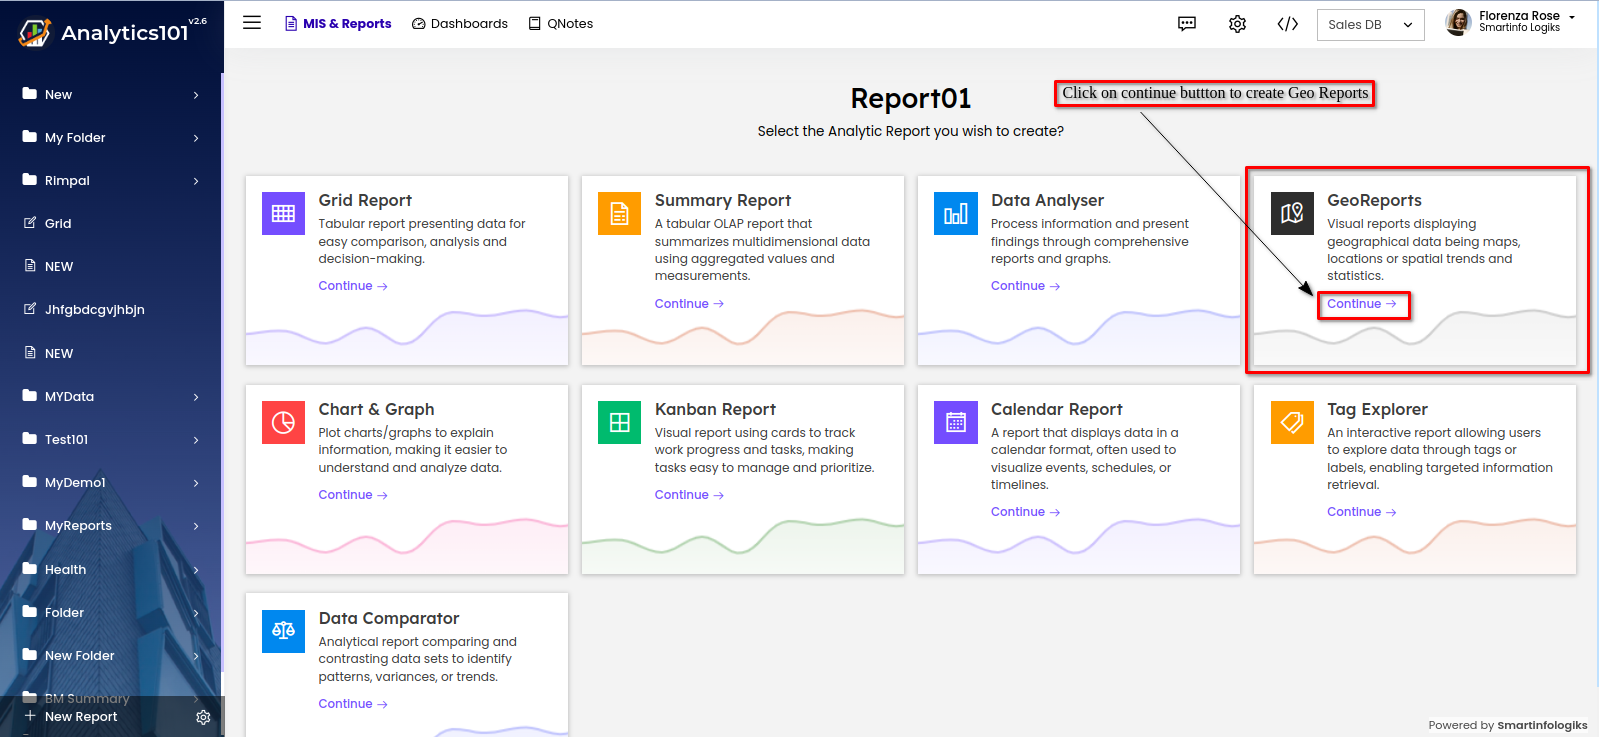
- A window will appear for creating a new Geo Report, like this :
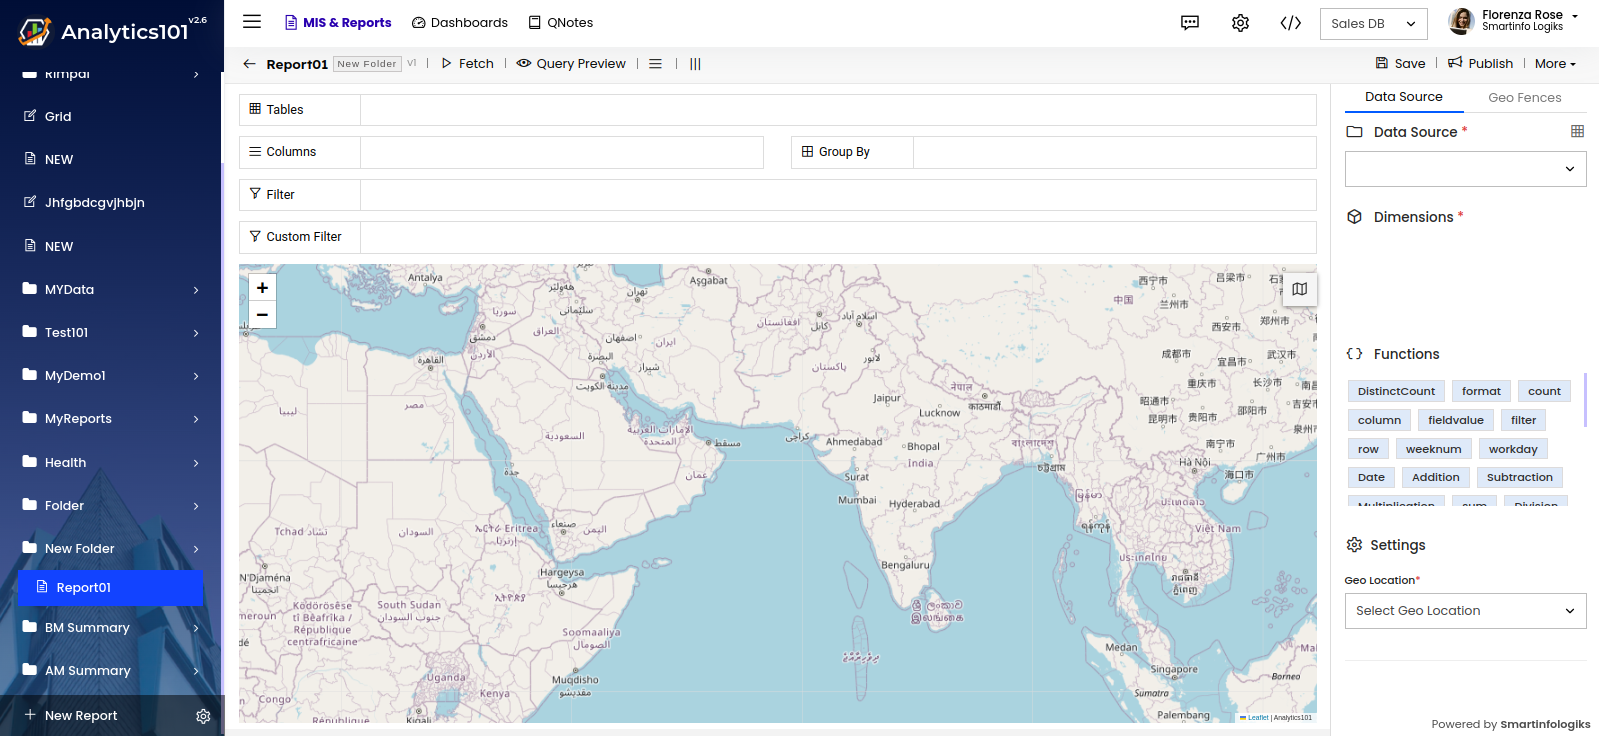
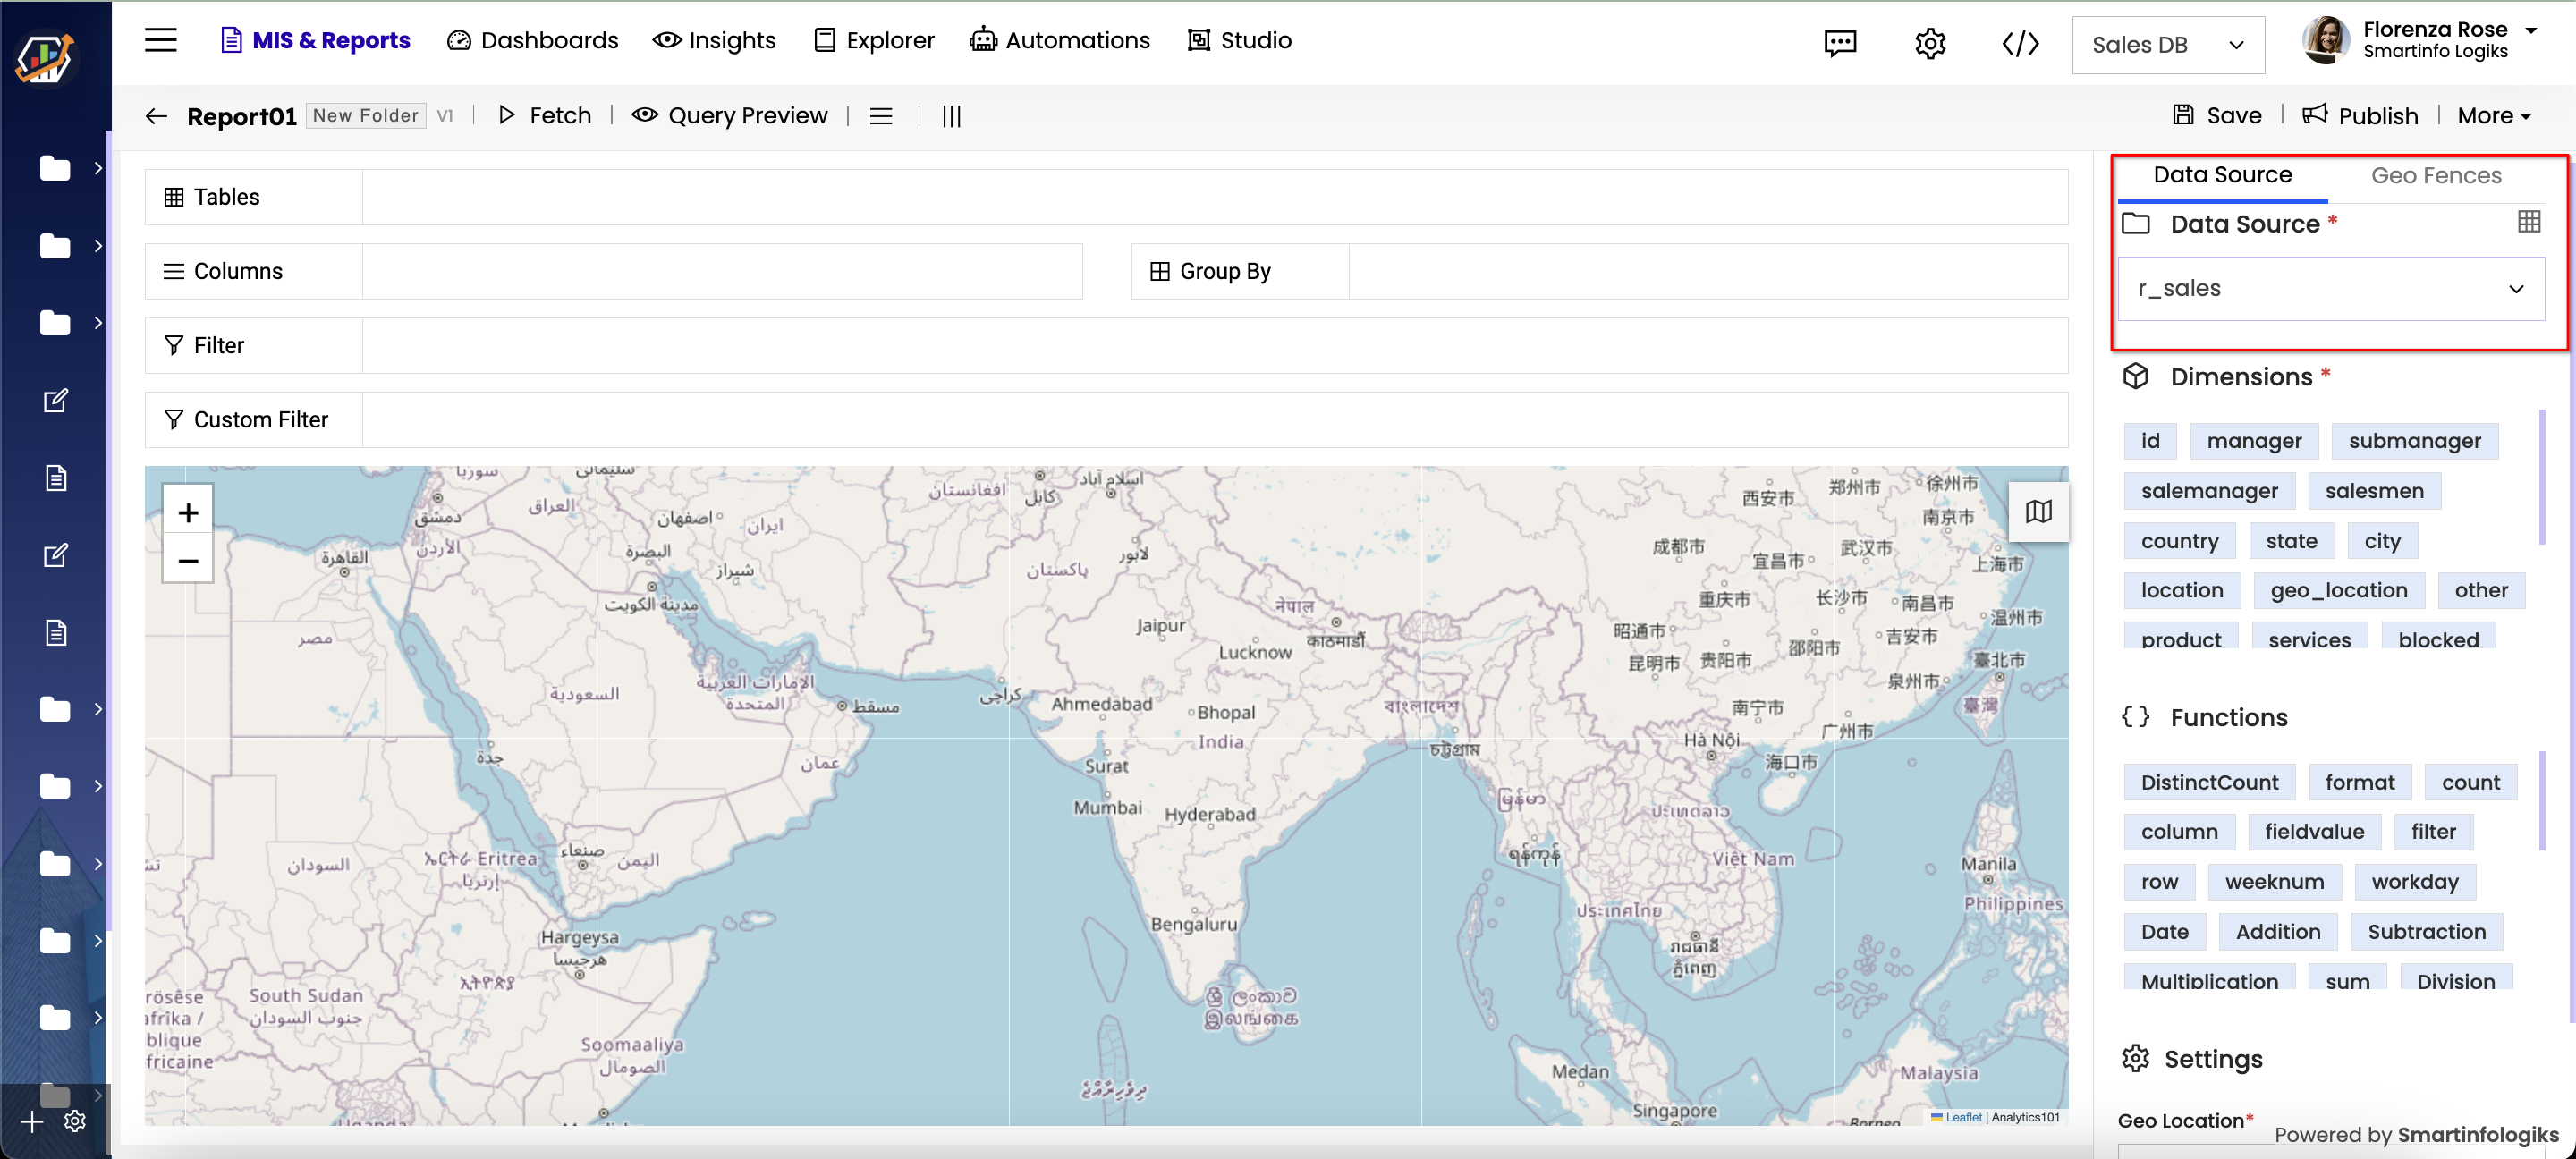
- Select the table form "Data Source" drop down.
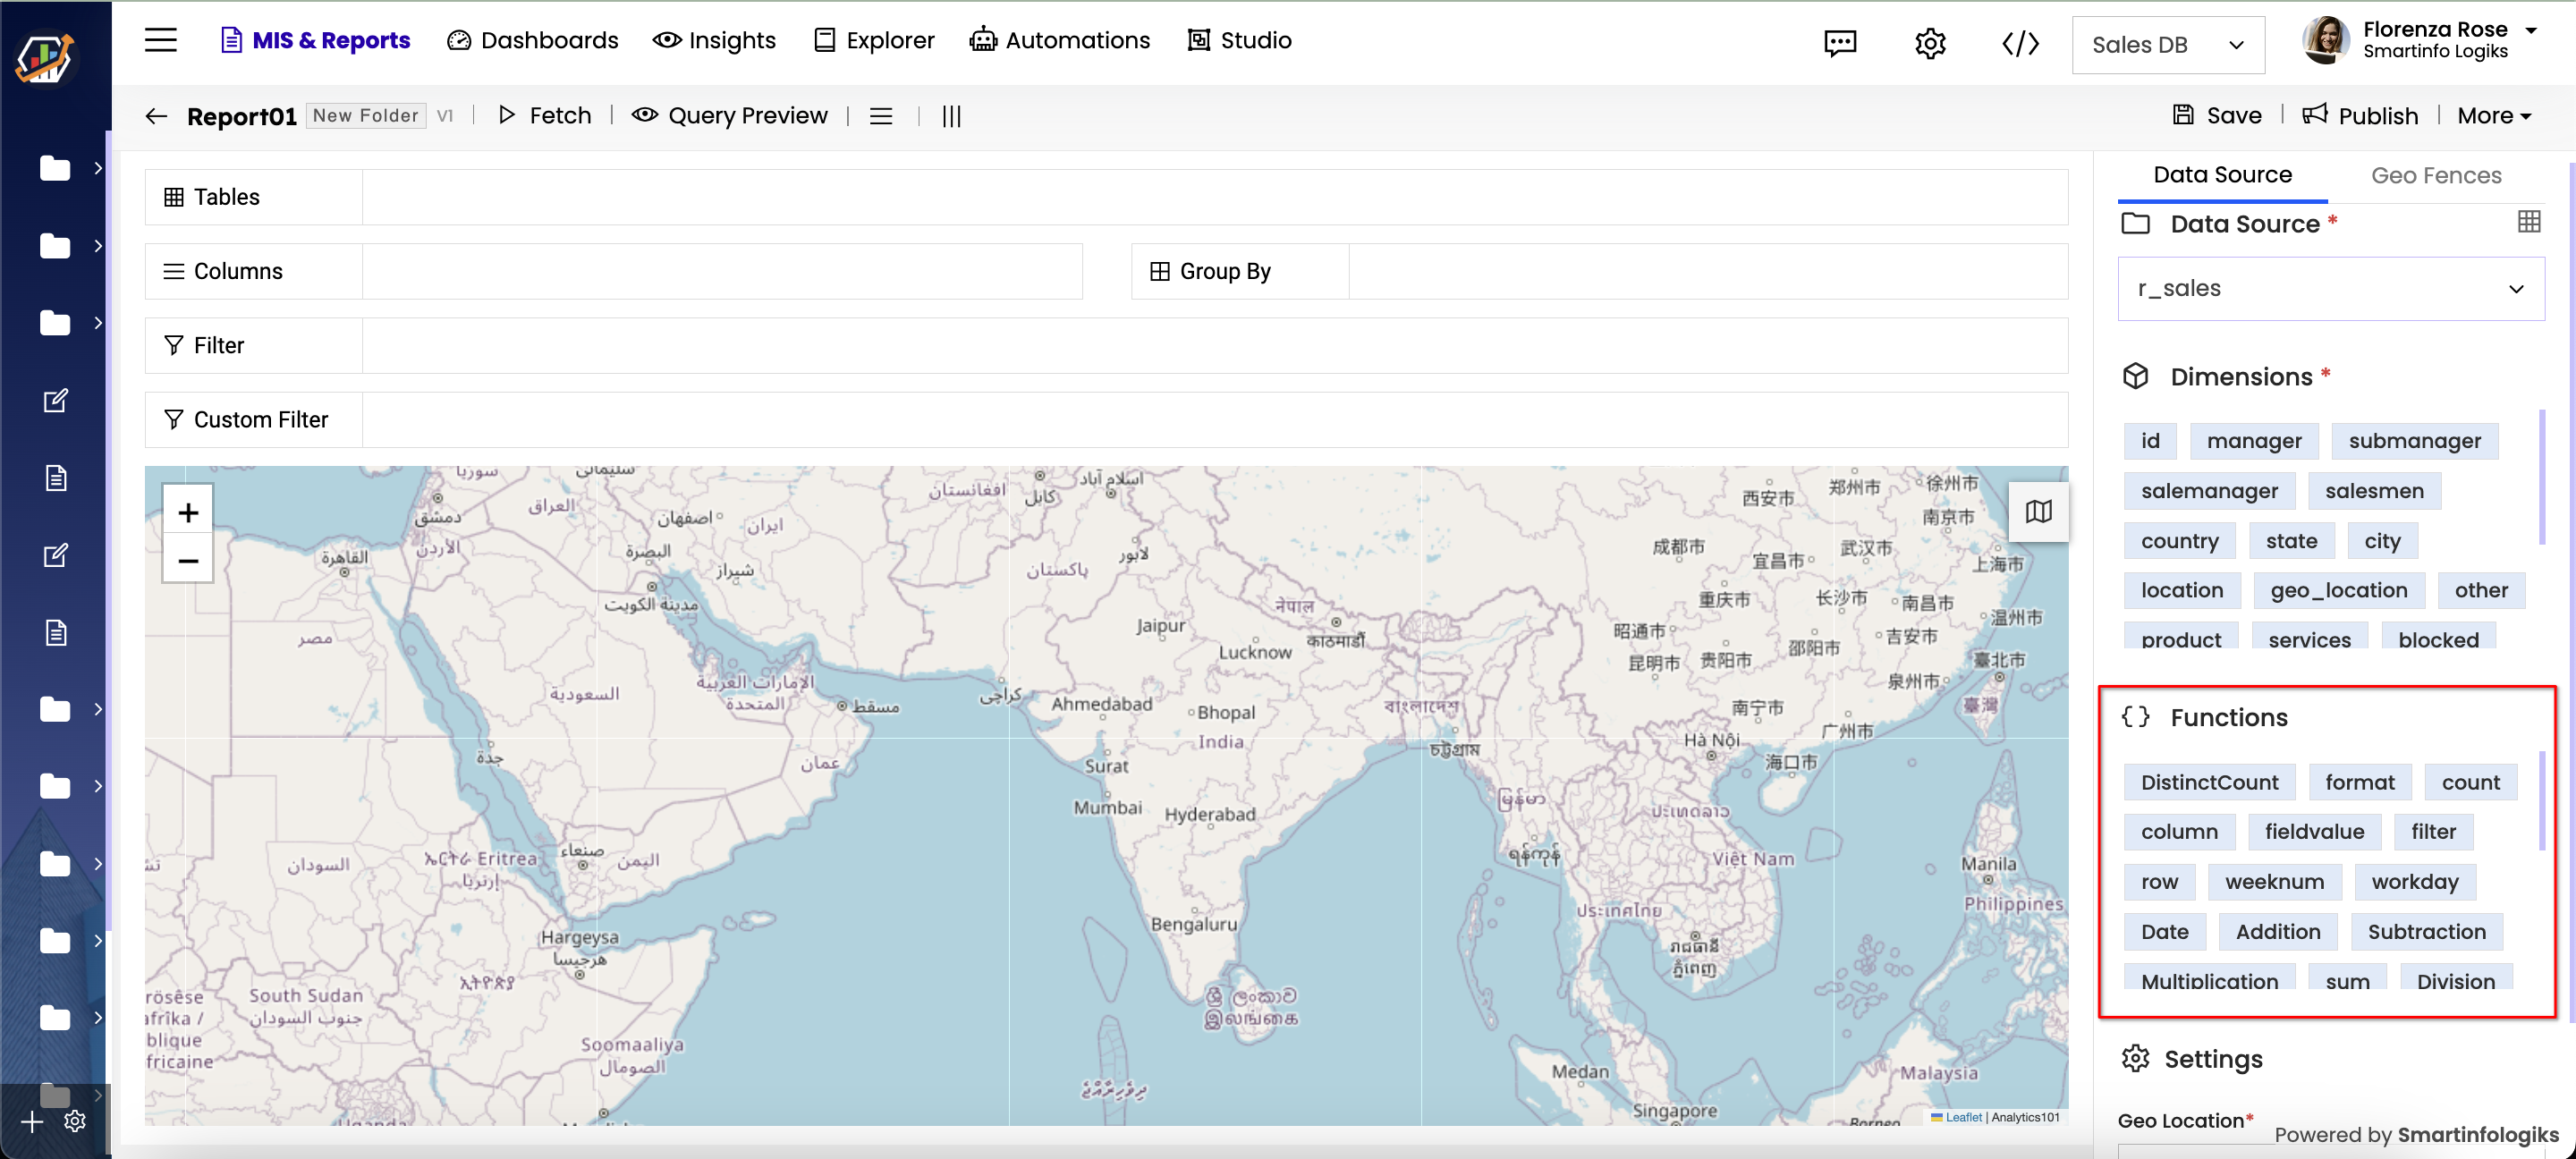
- Columns will appear in the "Dimensions" section as shown below :
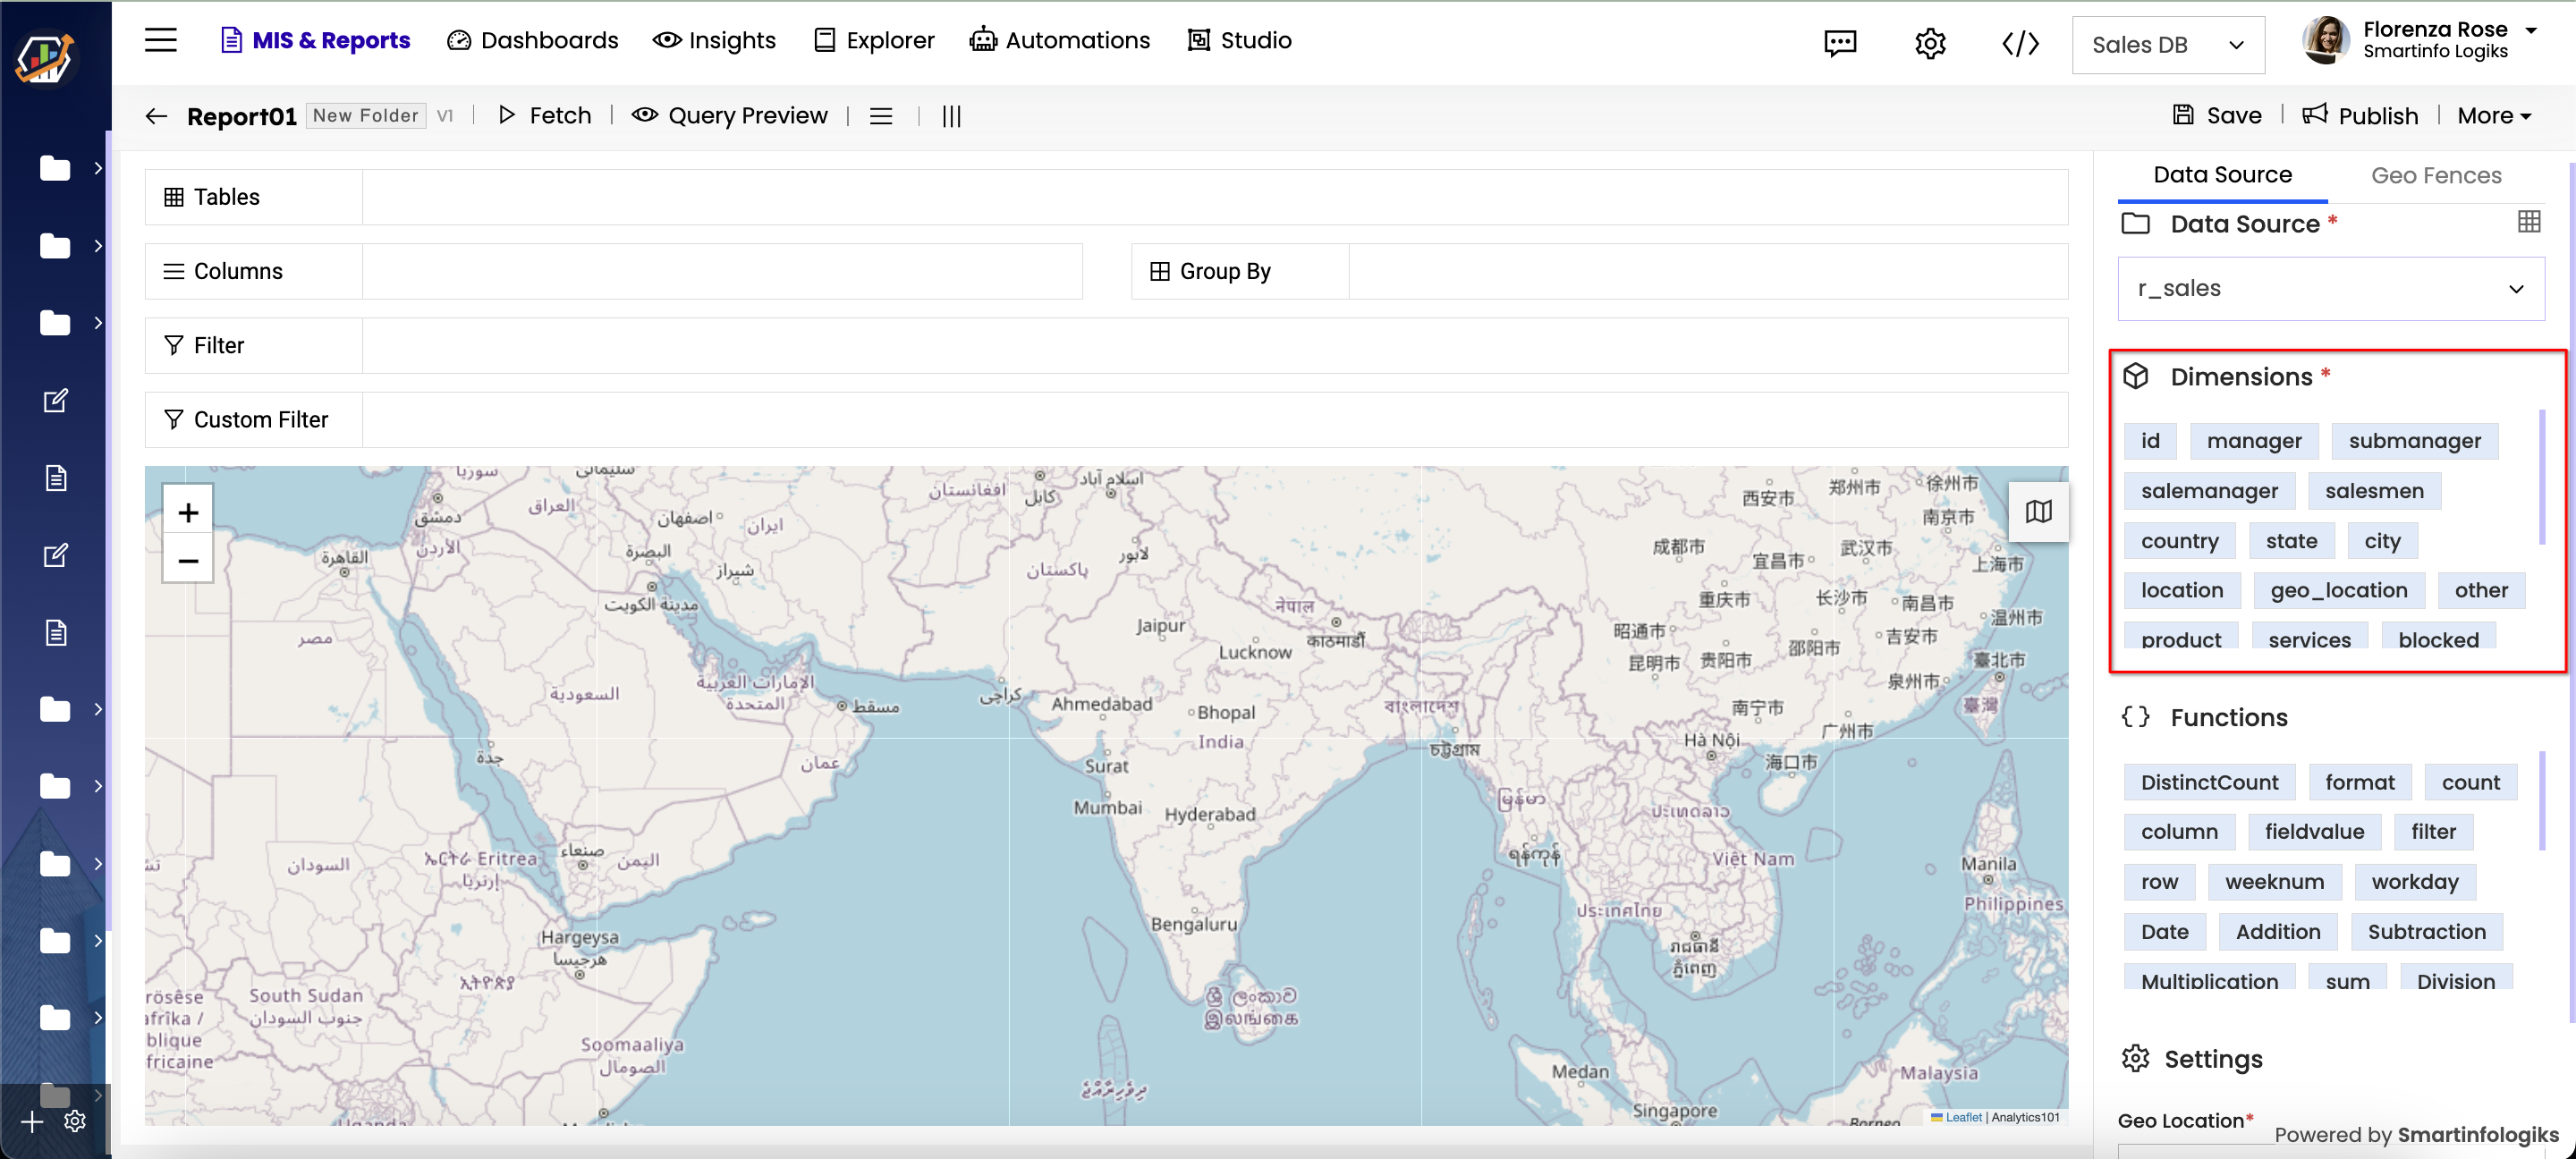
- Functions section under dimensions section contains all the formulas both existing ones in the system as well as user customised formula, enabling users to tailor reports according to their preferences.
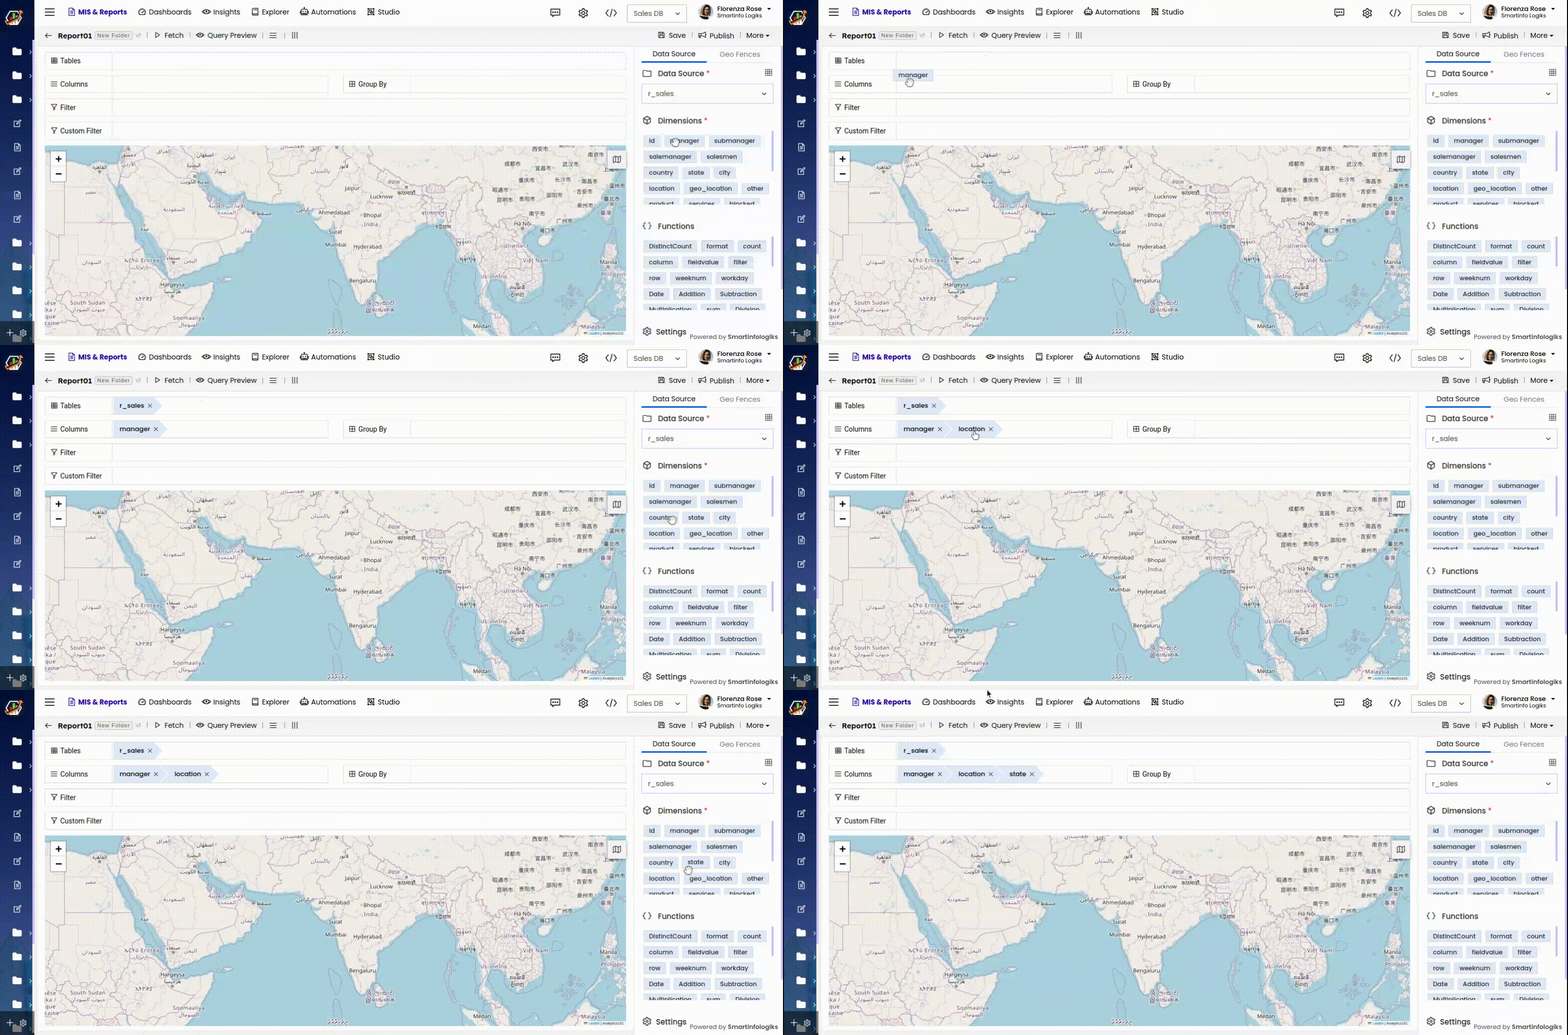
- Drag and drop the columns onto their respective shelves.
- In the 'Geo Location' dropdown, active columns will appear for selection. Users should choose the column containing geo-location coordinates.

- In the Geo Fences Tab, the Get shape button allows users to manually create fences on the map, circle or polygon
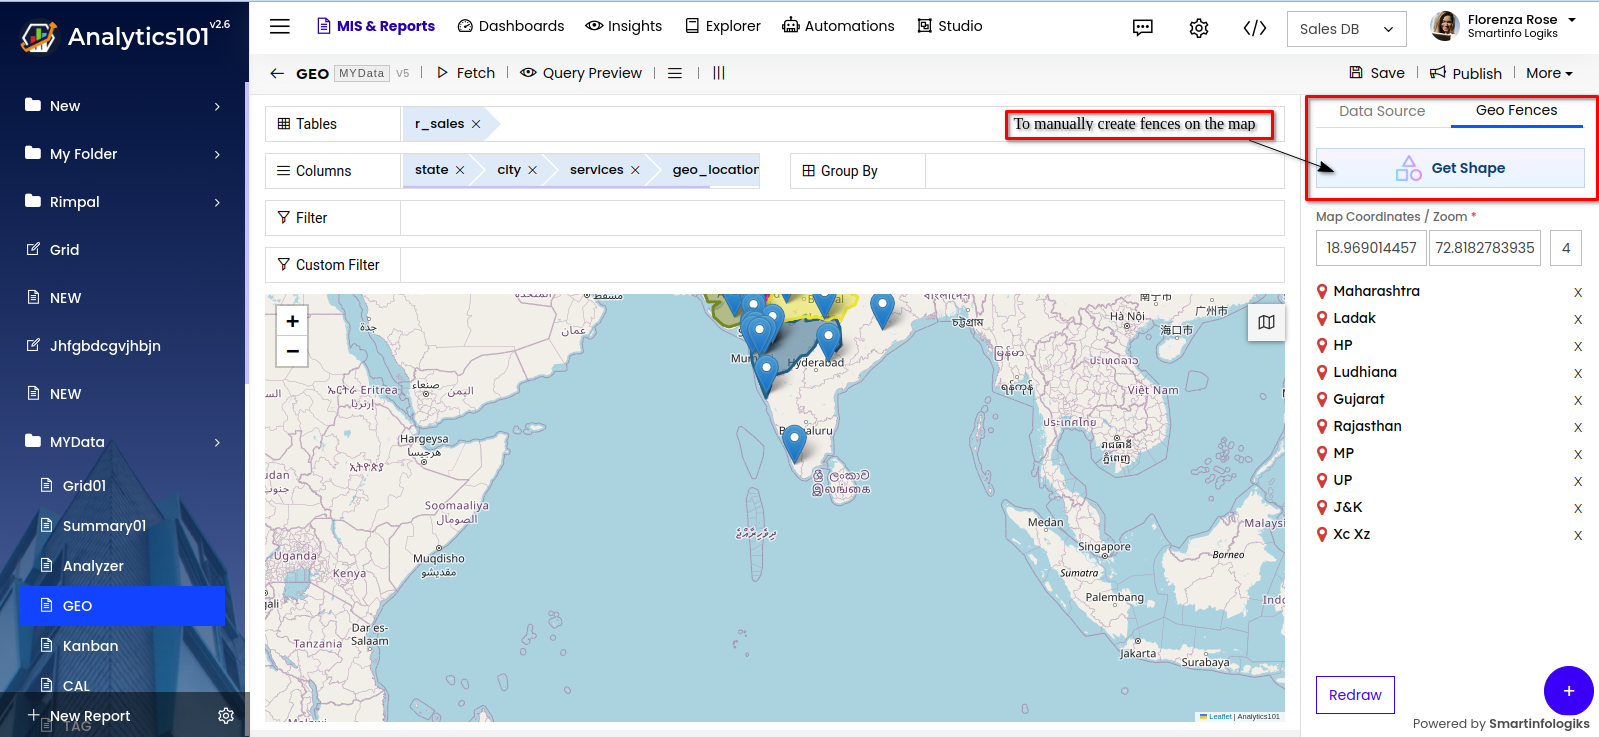
- Clicking on the "Get Shape" button will open a new window where you can draw shapes on the map.
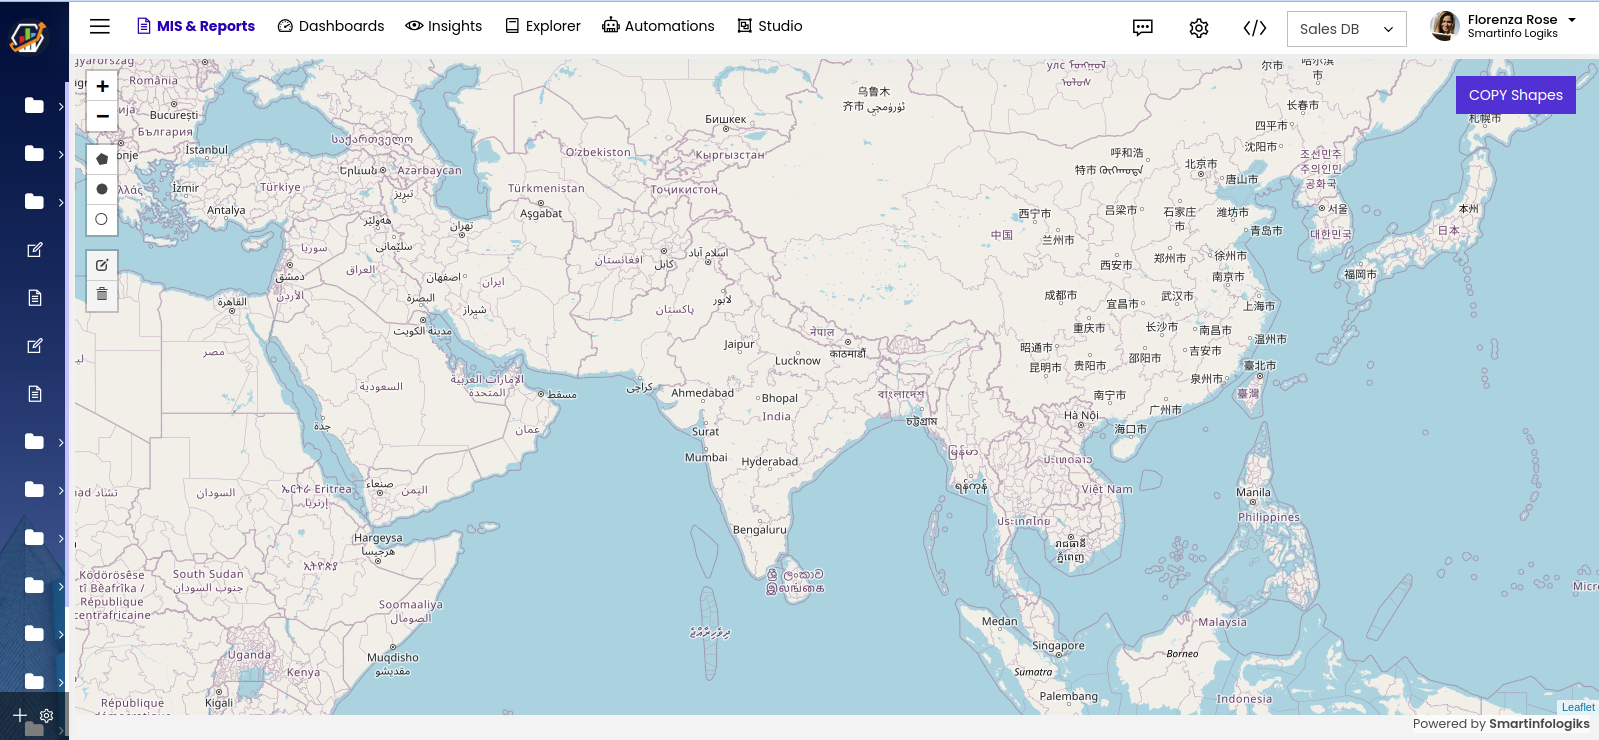
- To Draw Shapes on the map follow the steps mentioned below:
Step 1 : Click on any shape to draw it on the map for example, click on the polygon shape, draw the shape, and then click "Finish".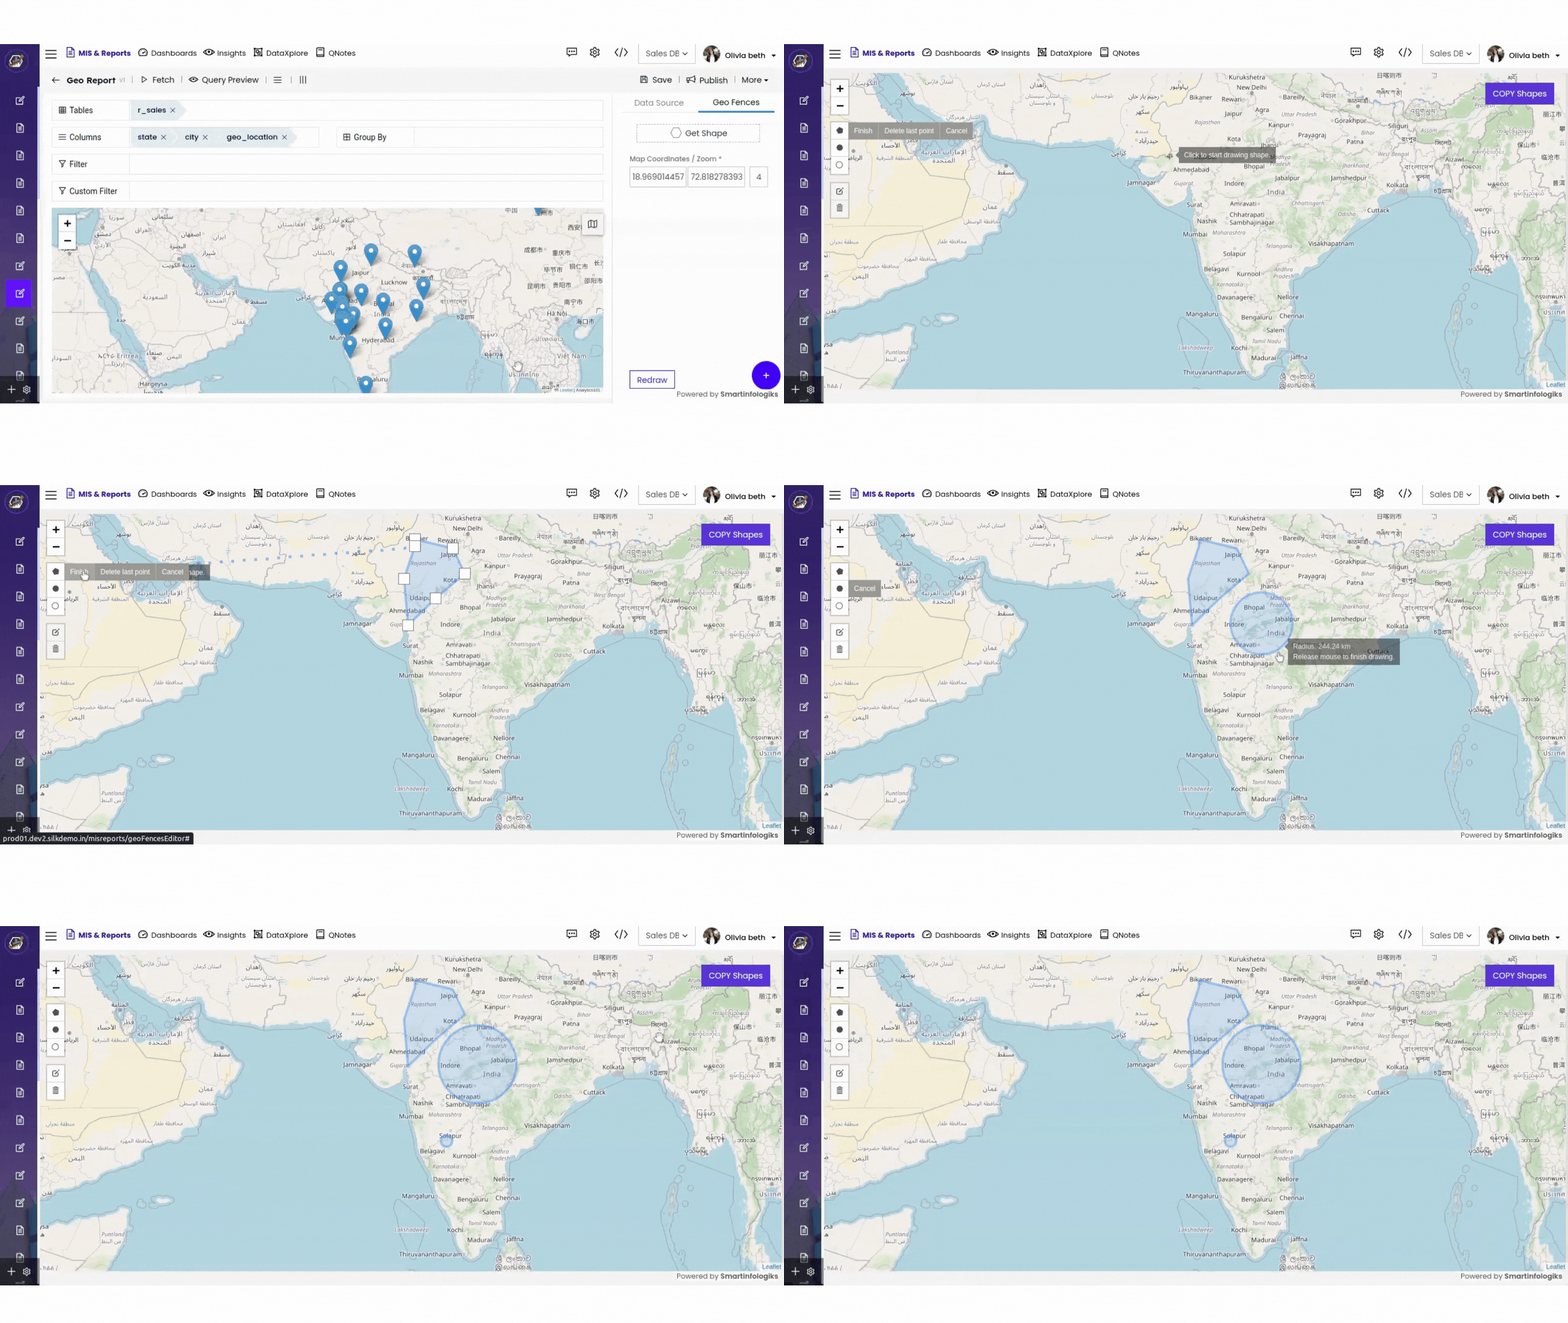
Step 2 : "COPY Shapes" button to copy the Shape JSON code.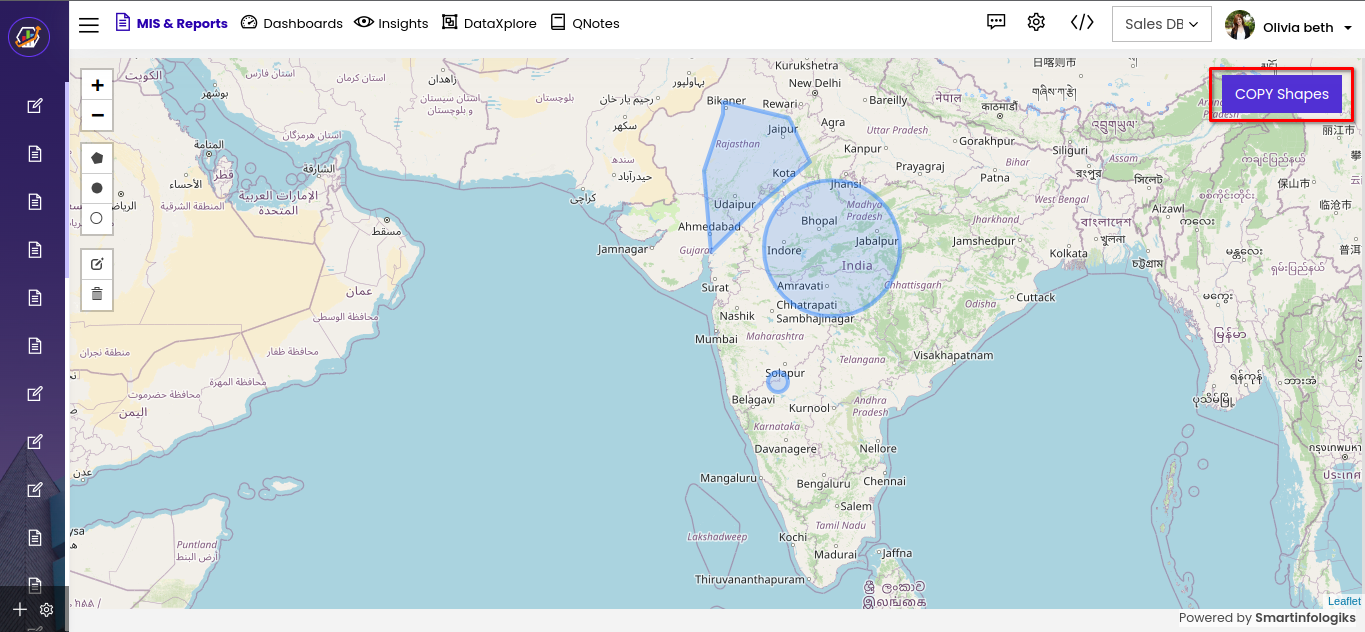
Step 3 : The JSON code is automatically copied after selecting the "COPY Shapes" button.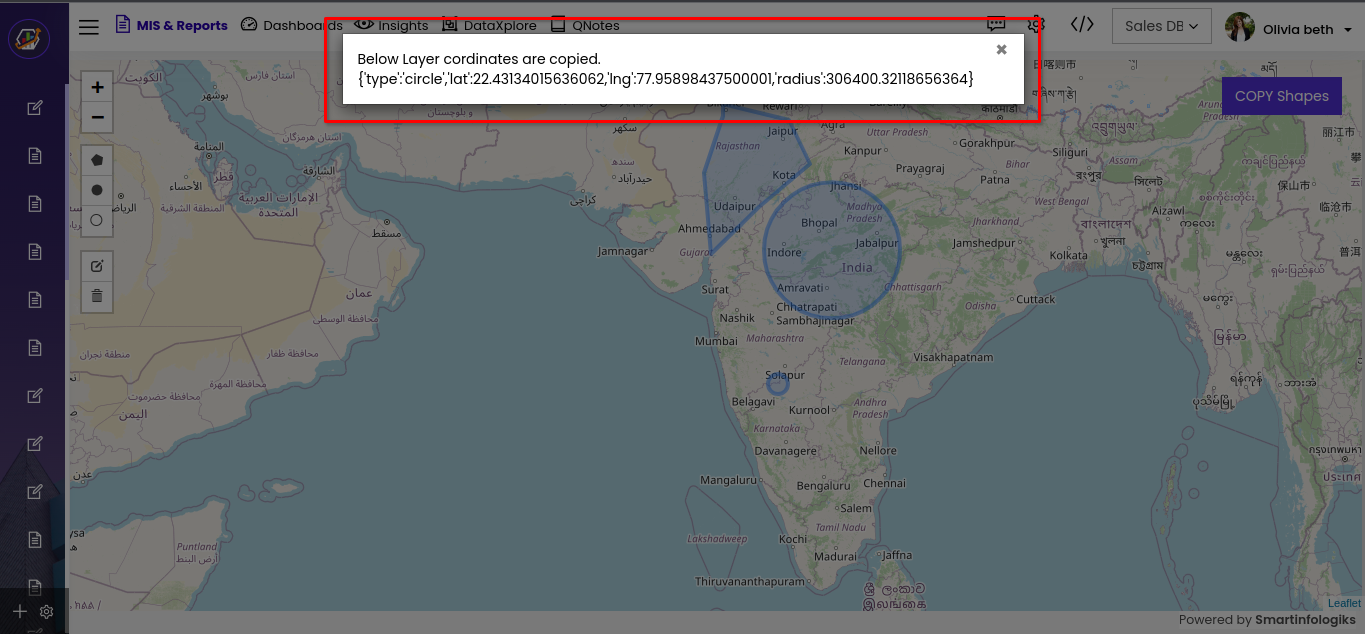
Step 4 : Shape can be edited or deleted as shown below.
Step 5 : Once the json object has been copied, return to the old tab and click on + icon to add the fence.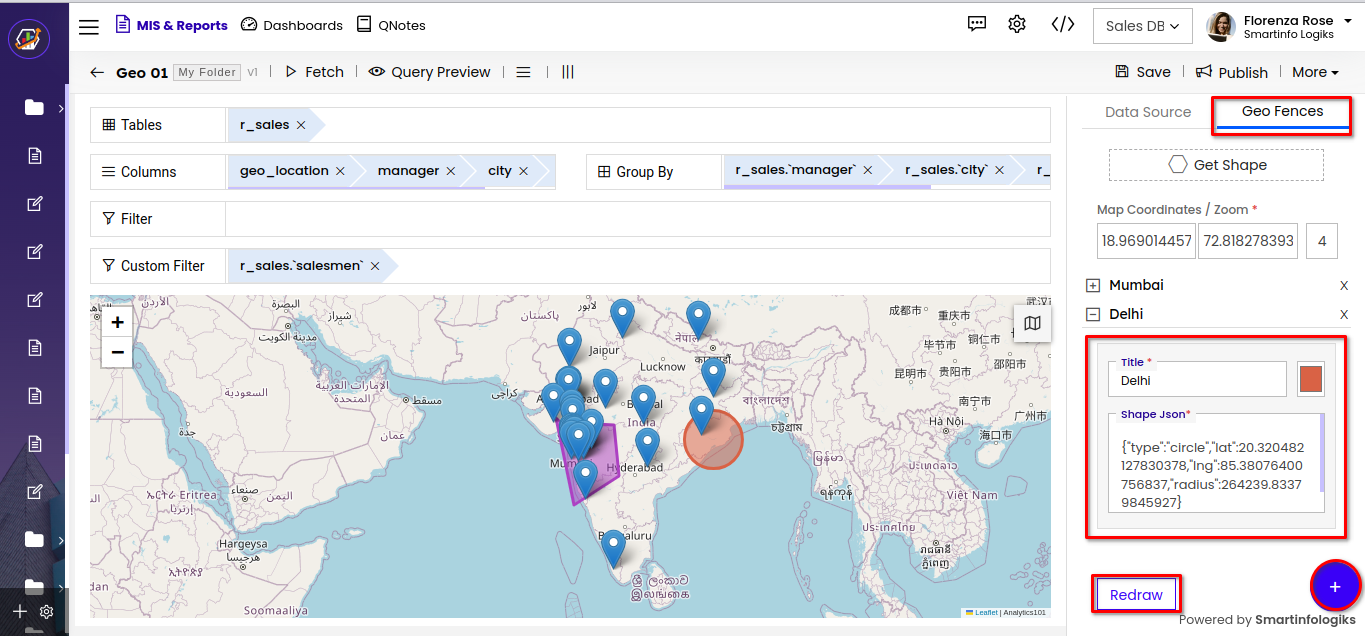
Another useful feature is an option to zoom in and out and add map coordinates, shown in the below.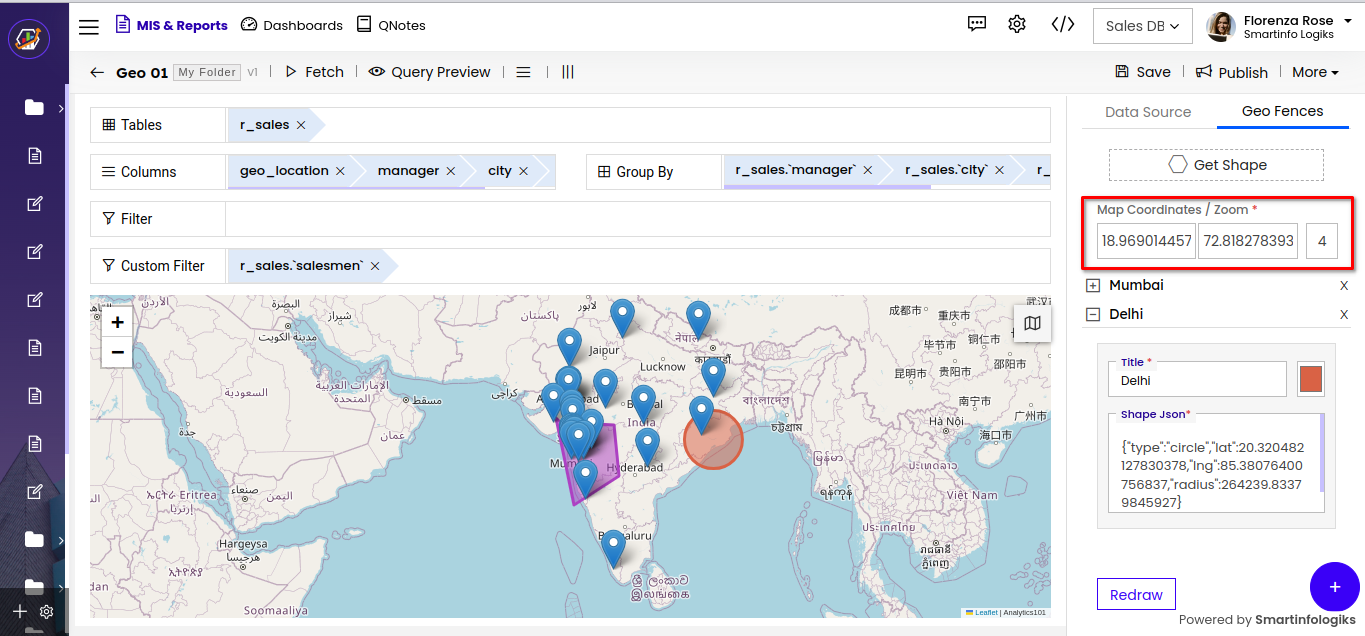
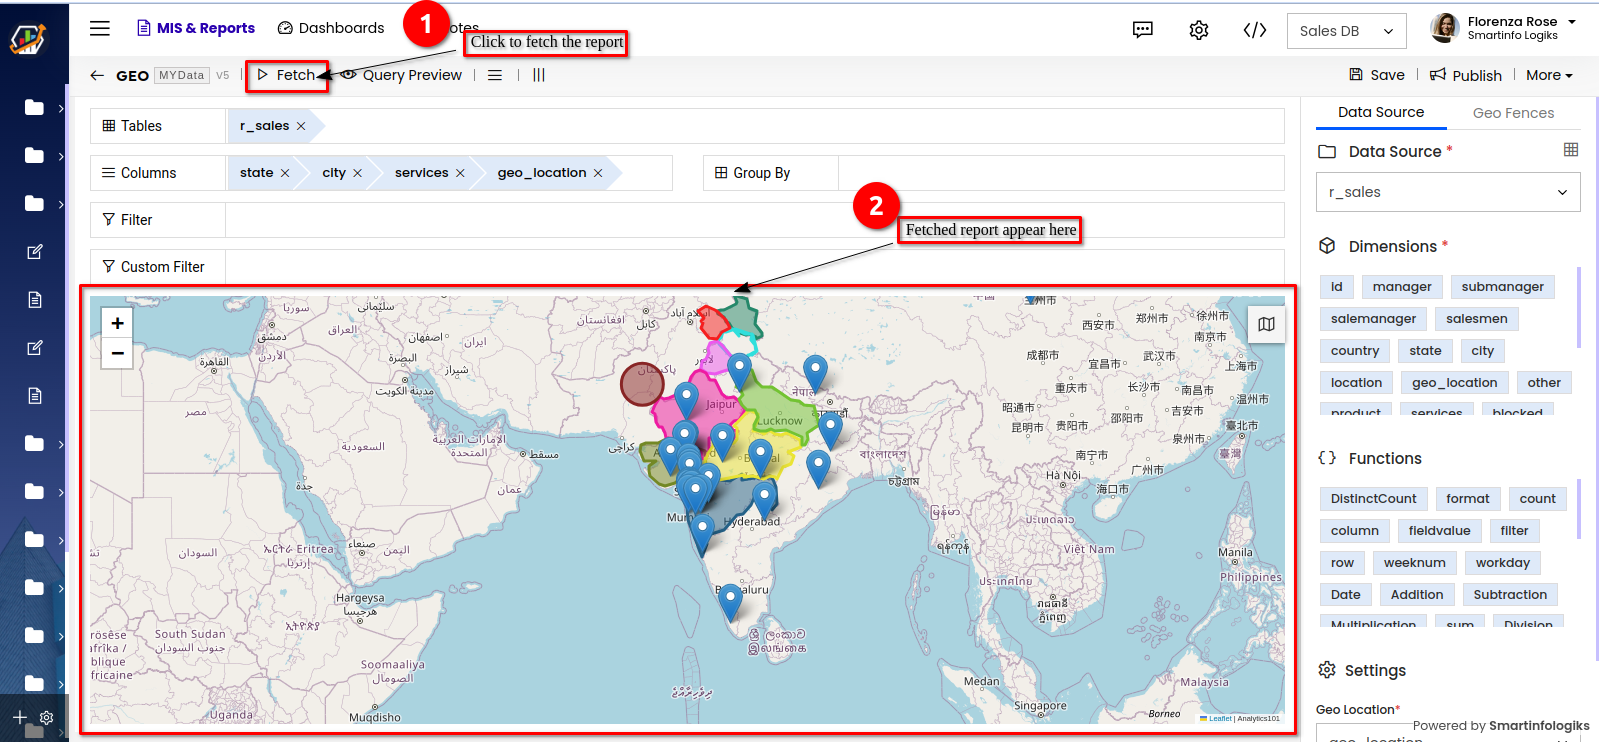
- Click the Fetch button to Generate Geo Report, the generated report will appear on the screen.
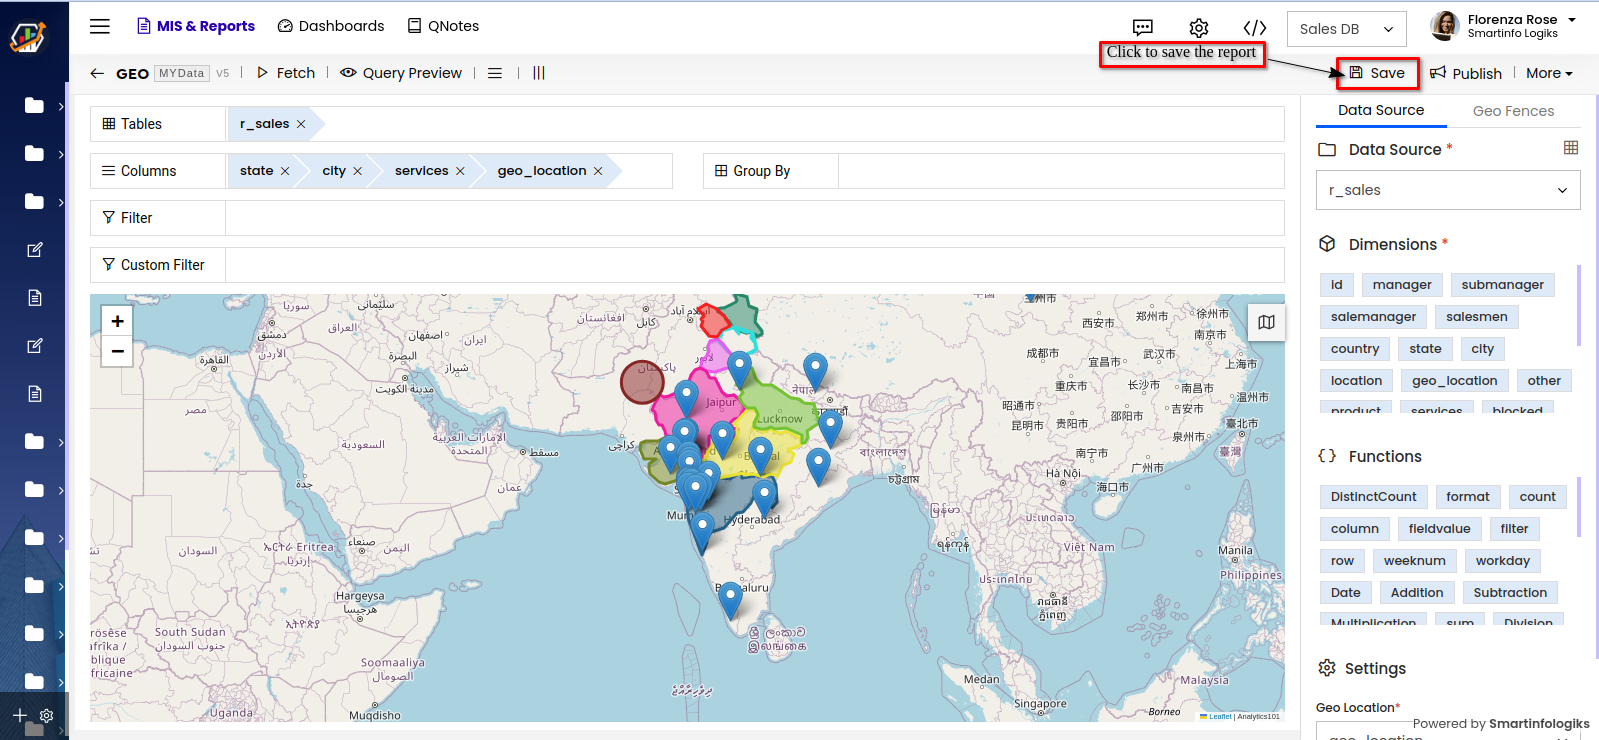
- Click the "Save" button to save the Geo report.
- Click the "Publish" button to publish the Geo report.
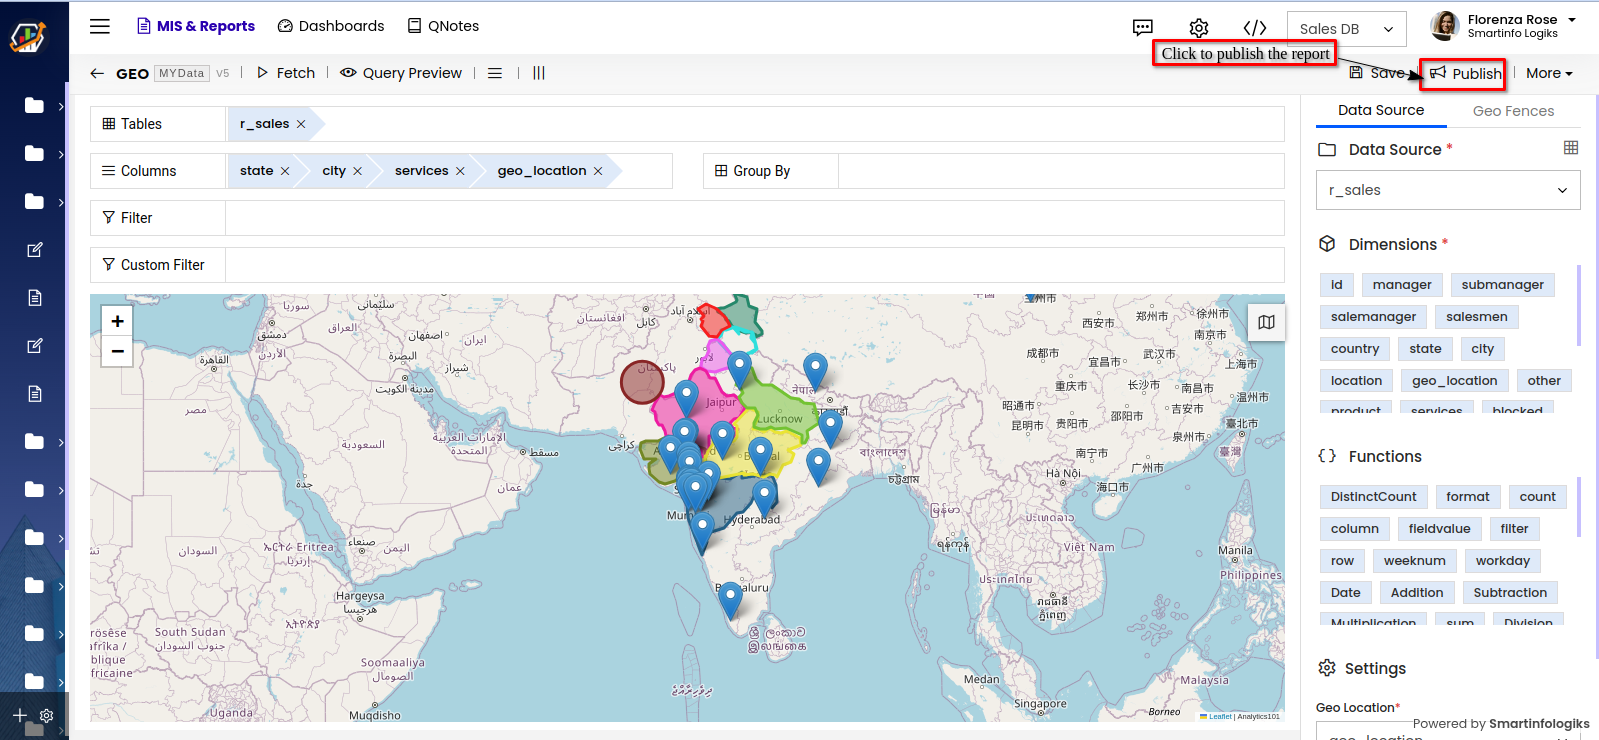
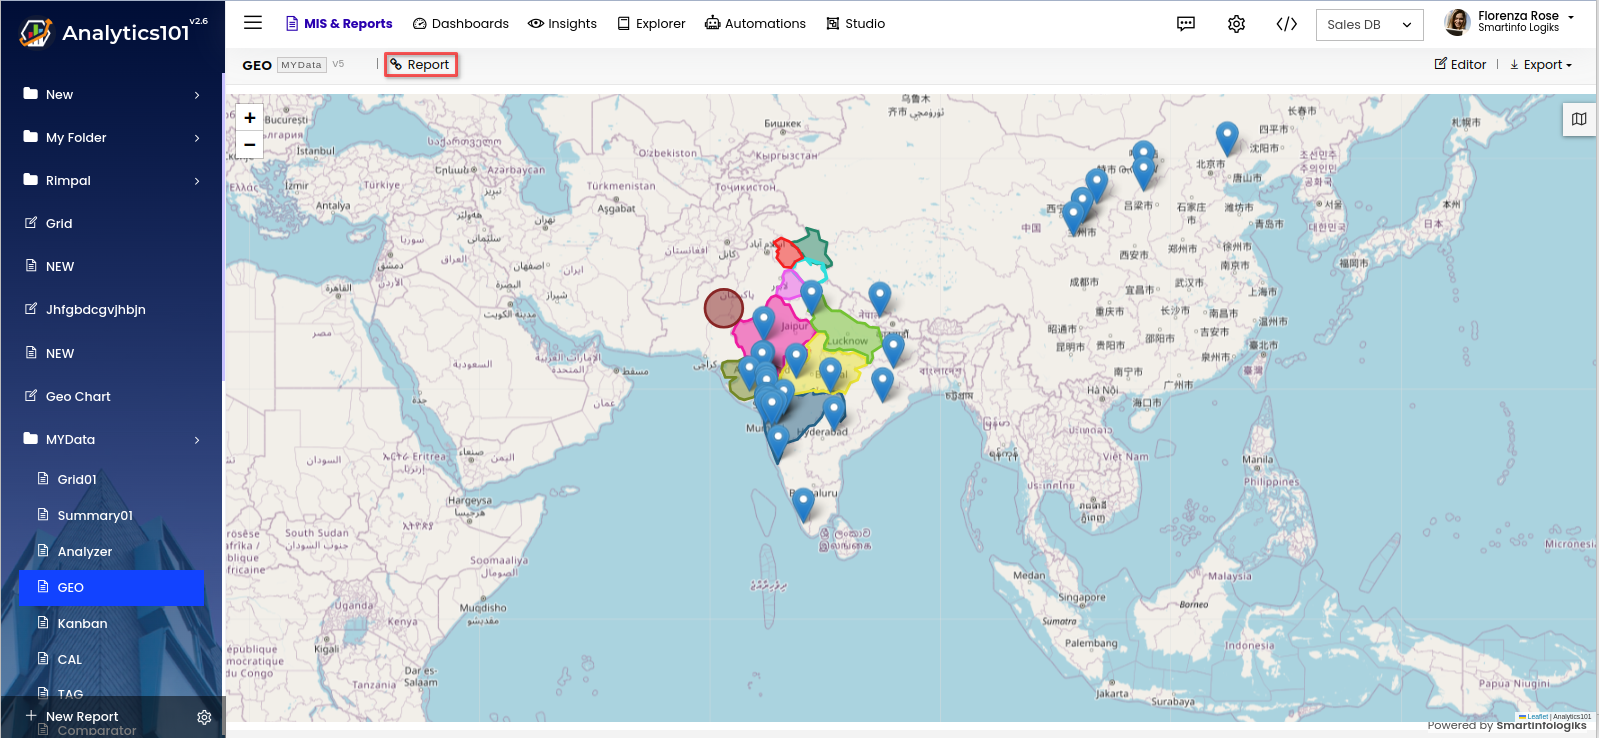
- After publishing the Geo Report, it will be visible on the screen shown below:
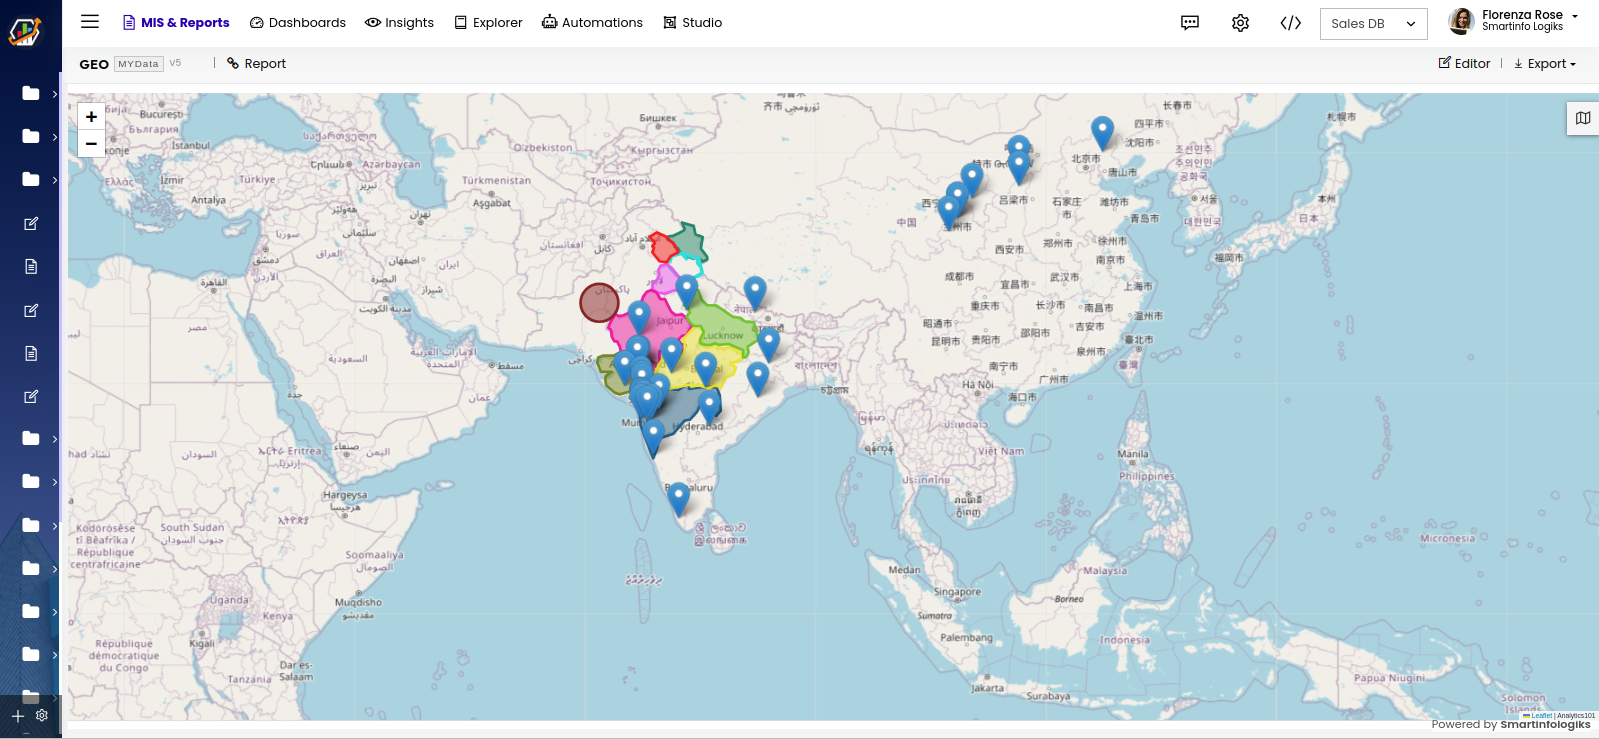
More in Geo Report Editor
To manage the report click on the More , different options for managing the report will be displayed.
Edit:
- Click the Edit to edit the report.
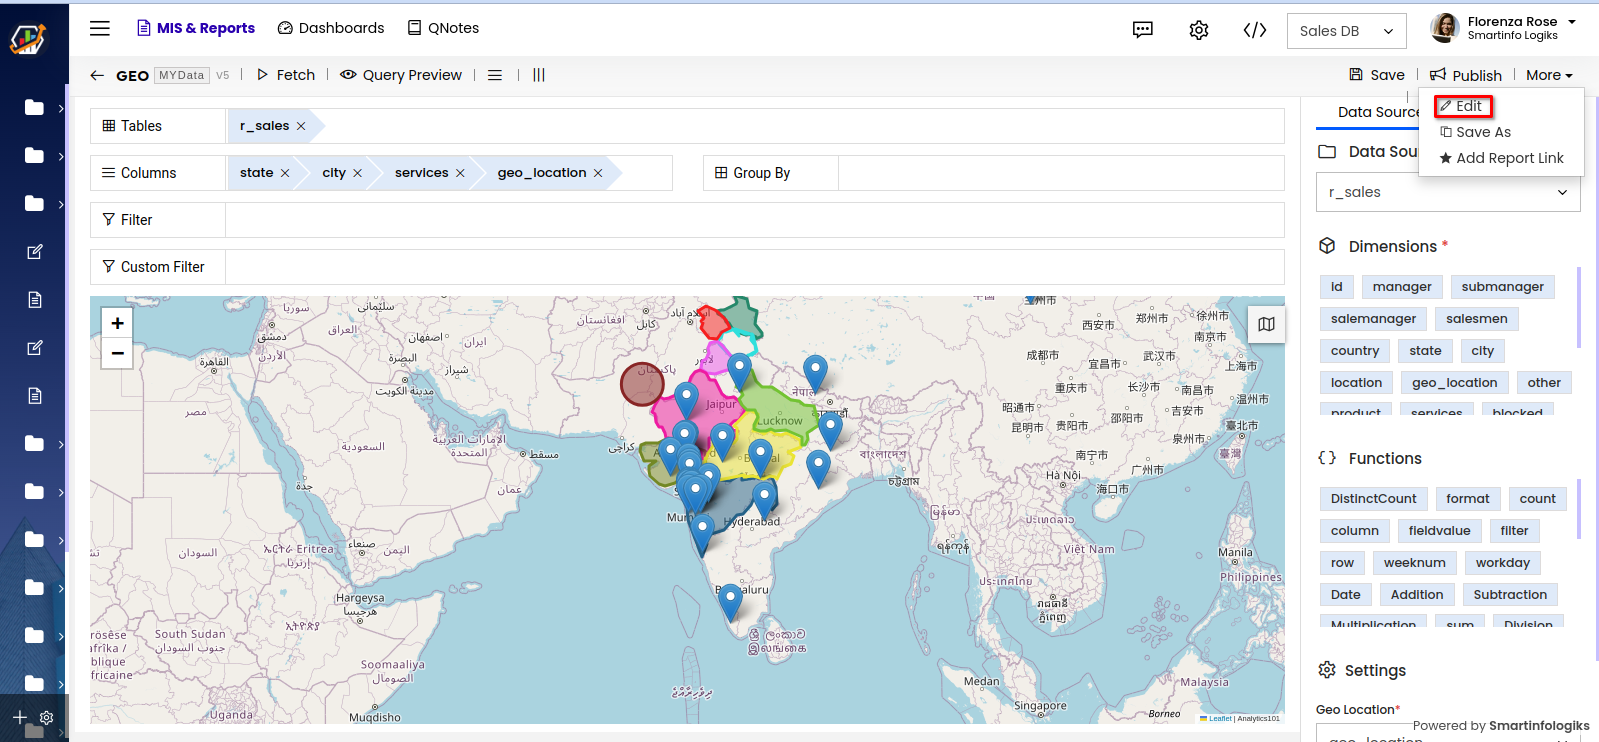
- A Pop up window for editing the report will appear.
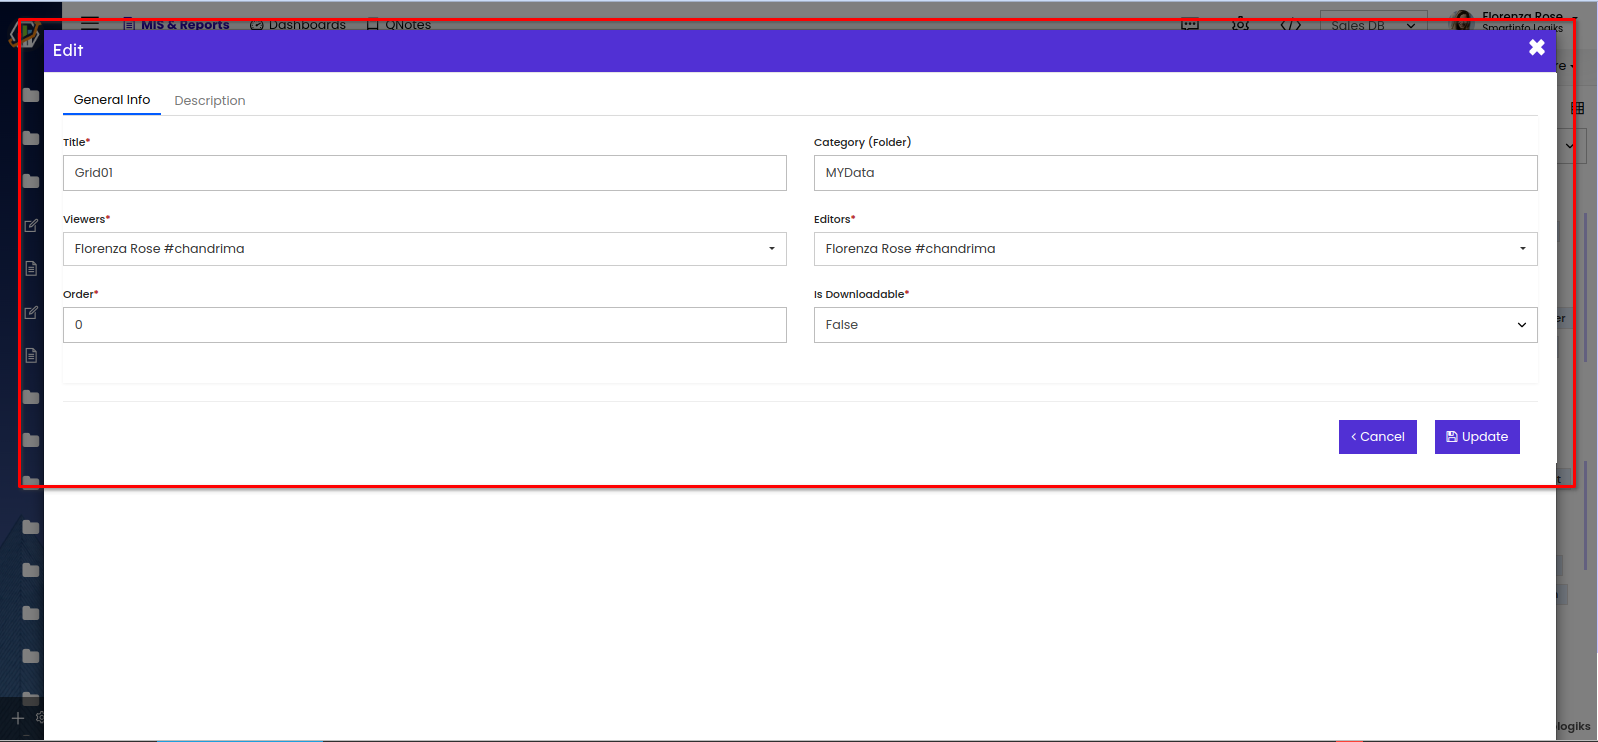
Title- User can edit the title of the Report.
Category- To edit the folder of the report.
Viewers- Gives viewing access to the users selected.
Editors- Gives editing access to the selected users.
Order- User can assign the position of a report like 1st, 5th, etc.
Is Downloadable- enables users to download the published report.
- Click the Edit to edit the report.
Save As:
- Click the 'Save As' to clone the report.
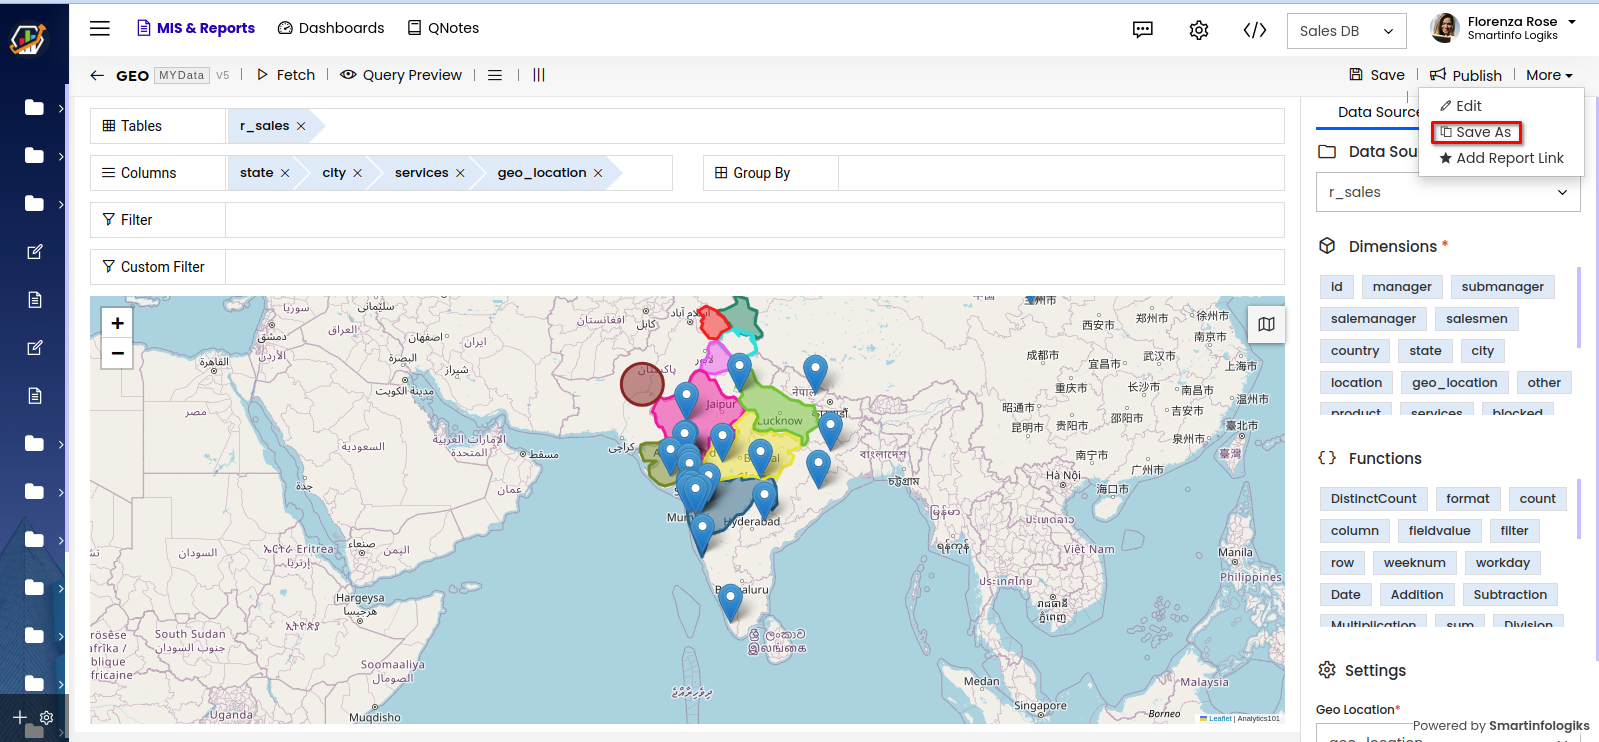
- A Confirmation window will be displayed.
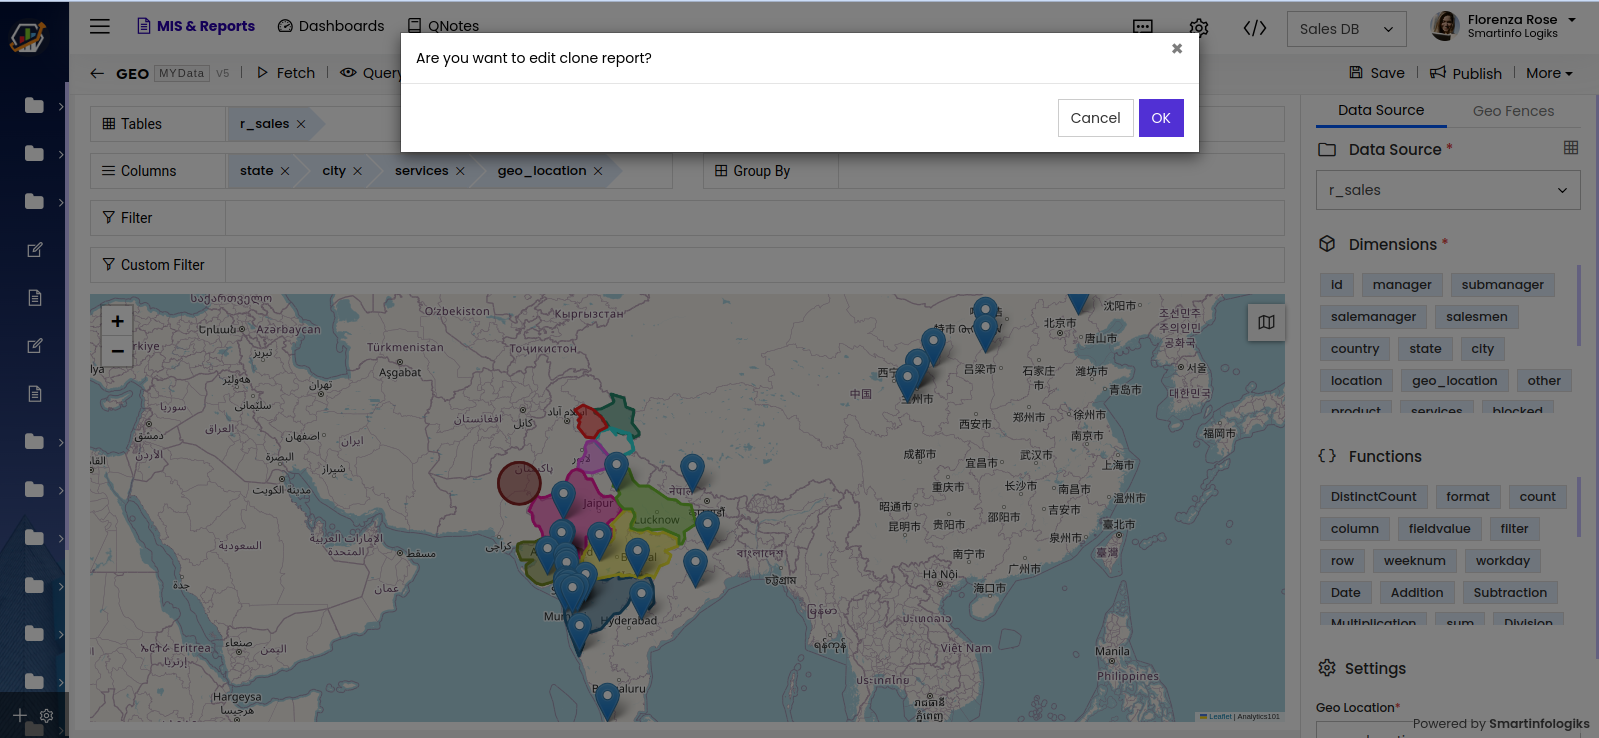
- On clicking the 'OK' button, the report will be cloned.
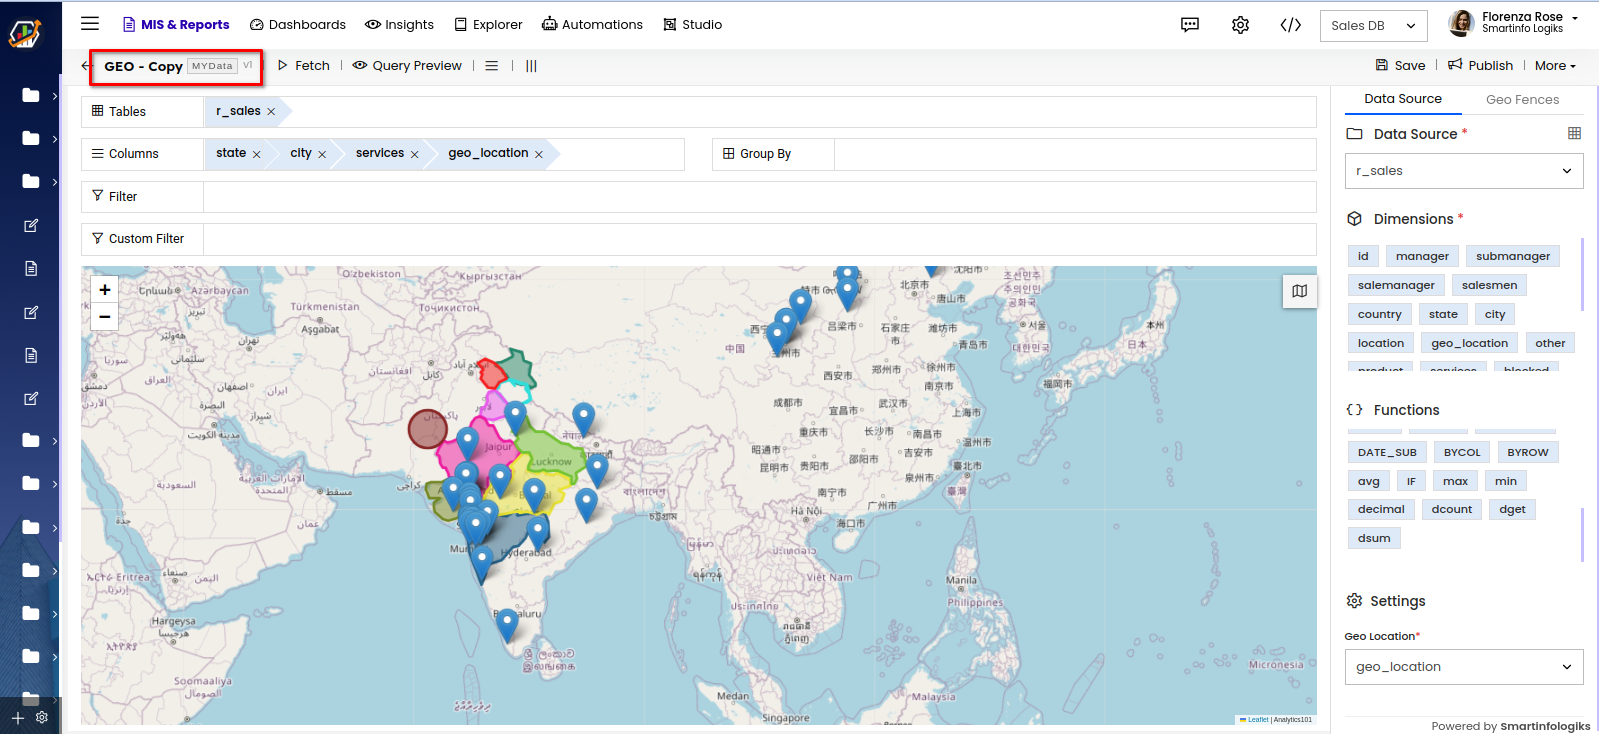
- Click the 'Save As' to clone the report.
Add Report Link
- Click the "Add Report Link" located under the More to link another report to this Geo report.

- The add link form opens shown below after clicking the Add Report link.
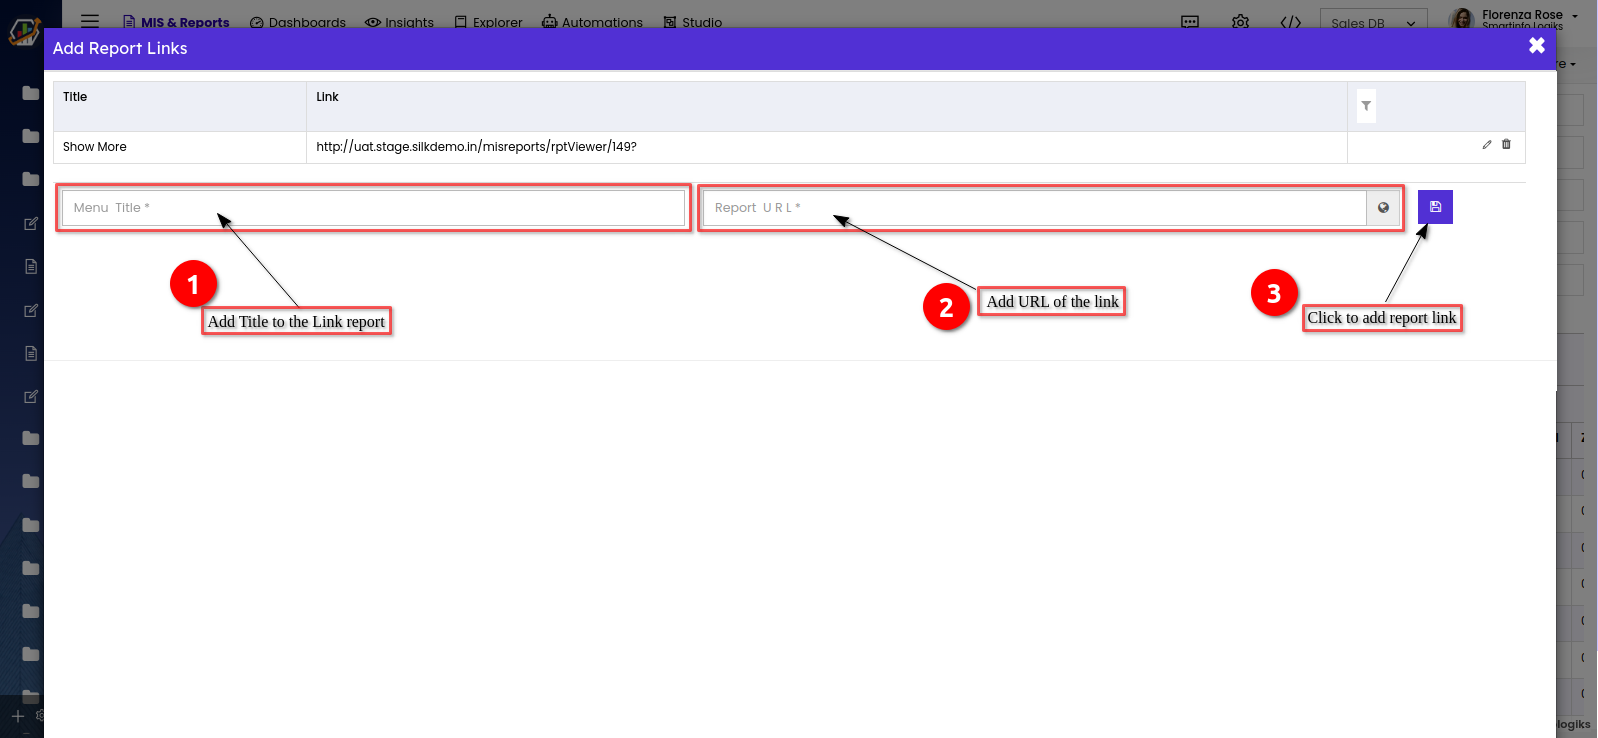
Title - Enter the Title you would want to view on the report link.
Link - Enter the URL of the report you wish to link to or show with another report. - As shown below, when the report is linked, it appears in a specific link added report.
- Click the "Add Report Link" located under the More to link another report to this Geo report.
