Calendar Report
The Calendar Report in MIS & Reports presents events or data for specific dates, offering views by months, weeks, and more. It also highlights timed events occurring on a given day, facilitating better scheduling, planning and analysis.
For tag explorer, Keep it on hold. Its still WIP so i'll talk to sir first regarding this.
Creating A Calendar Report
Follow these steps to create a Calendar report:
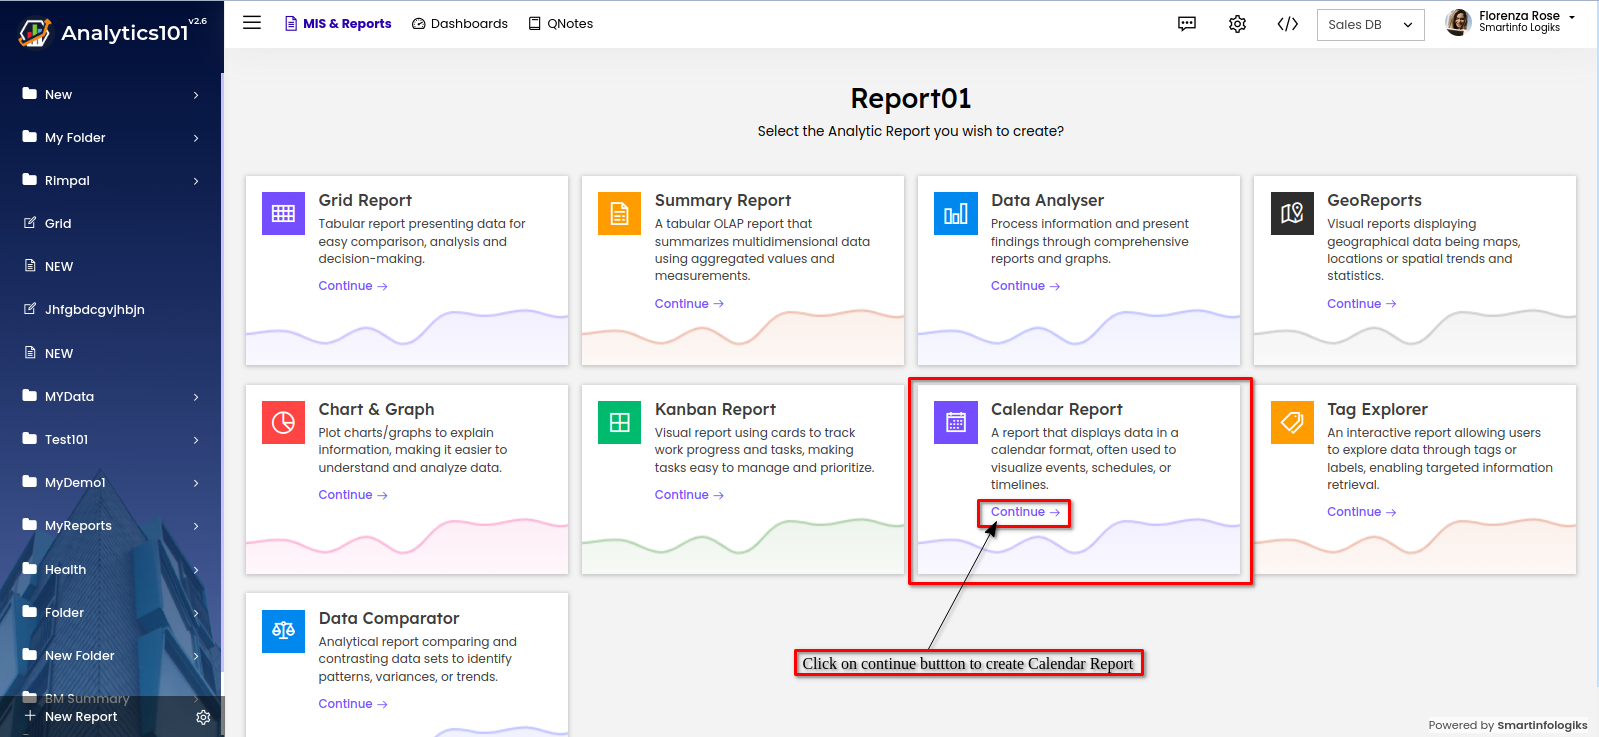
- Click on the "Continue" button to create a Calendar Report.
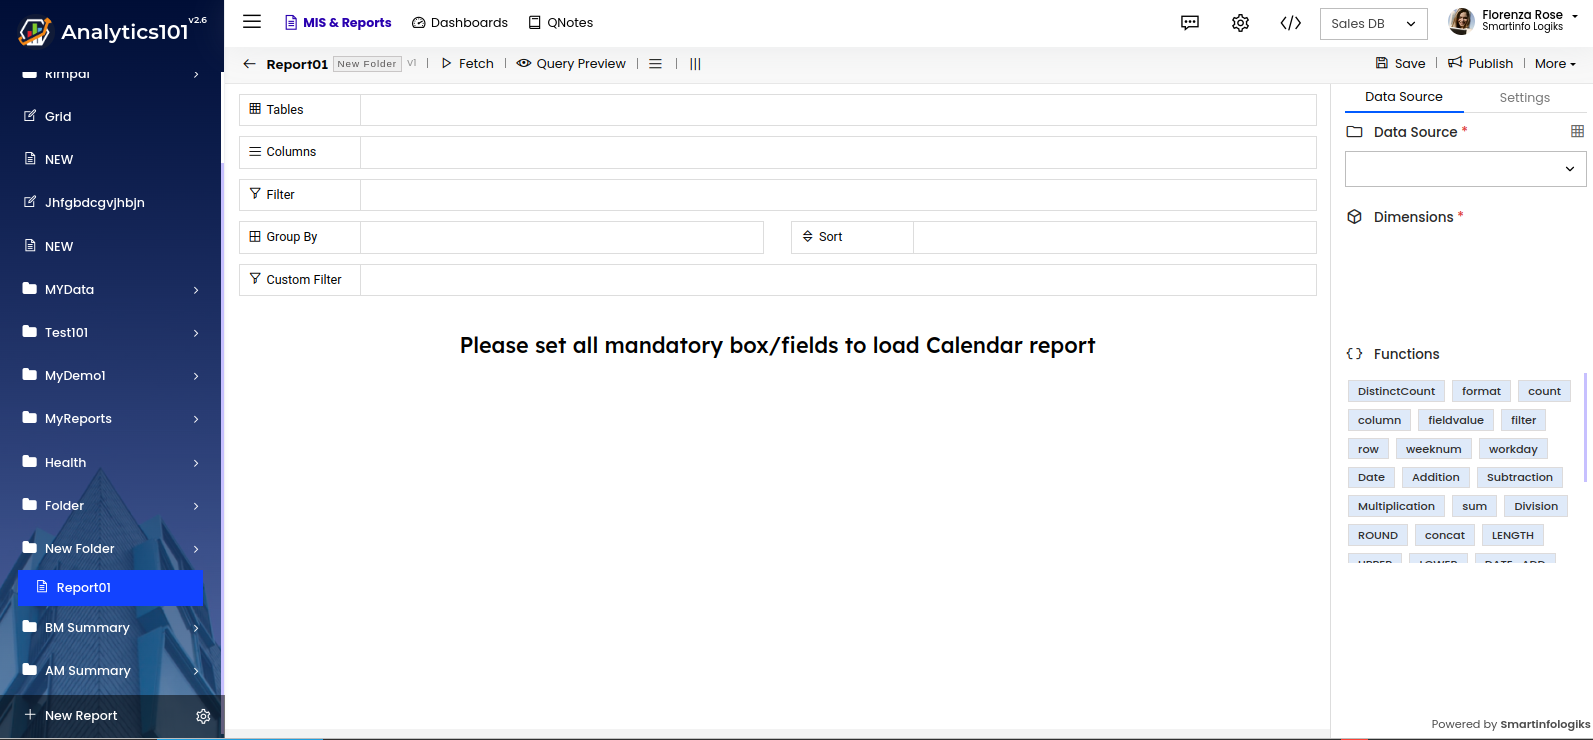
- A window will appear for creating a new Calendar Report, like this :
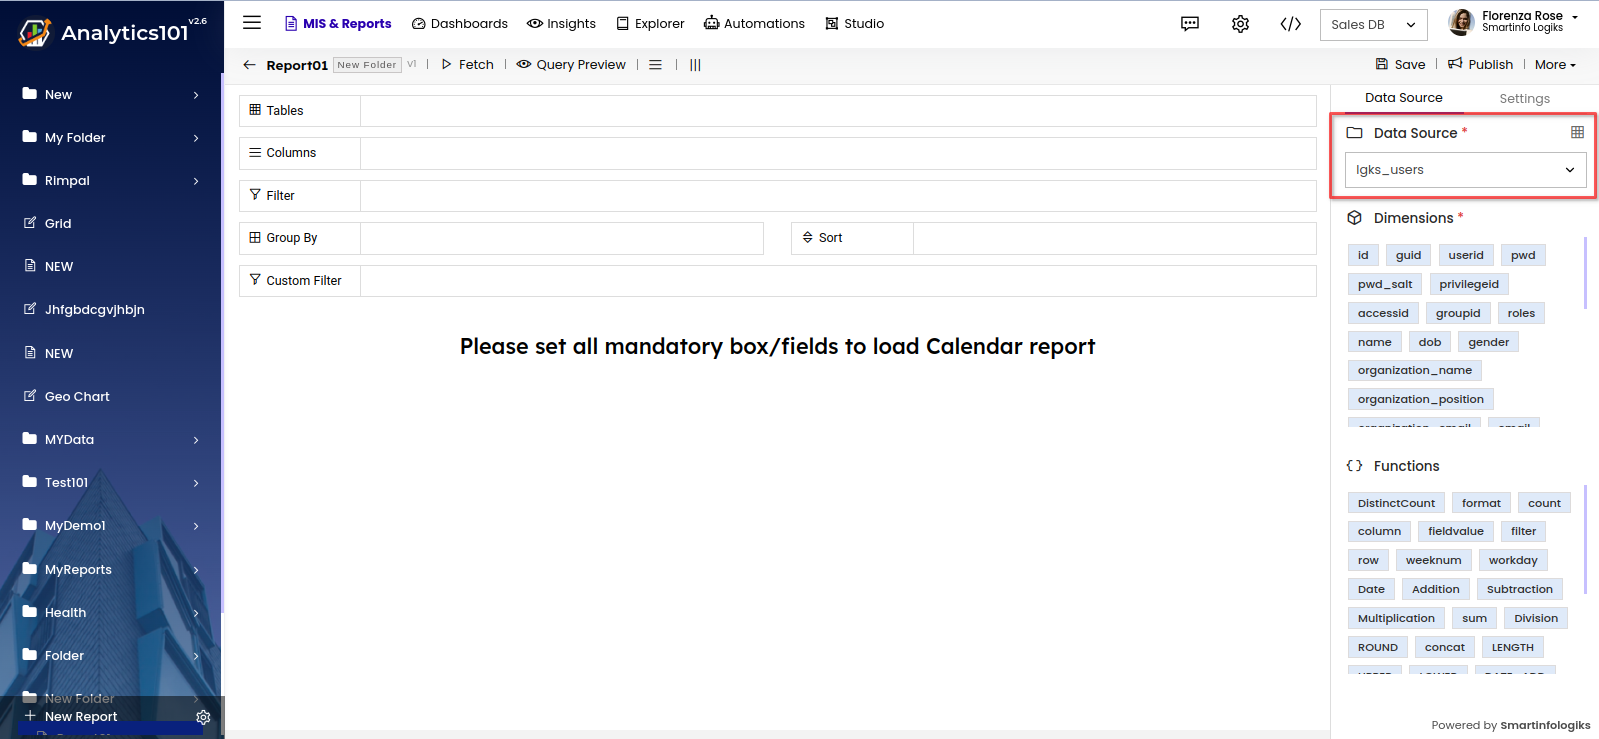
- Select the table form "Data Source" drop down.
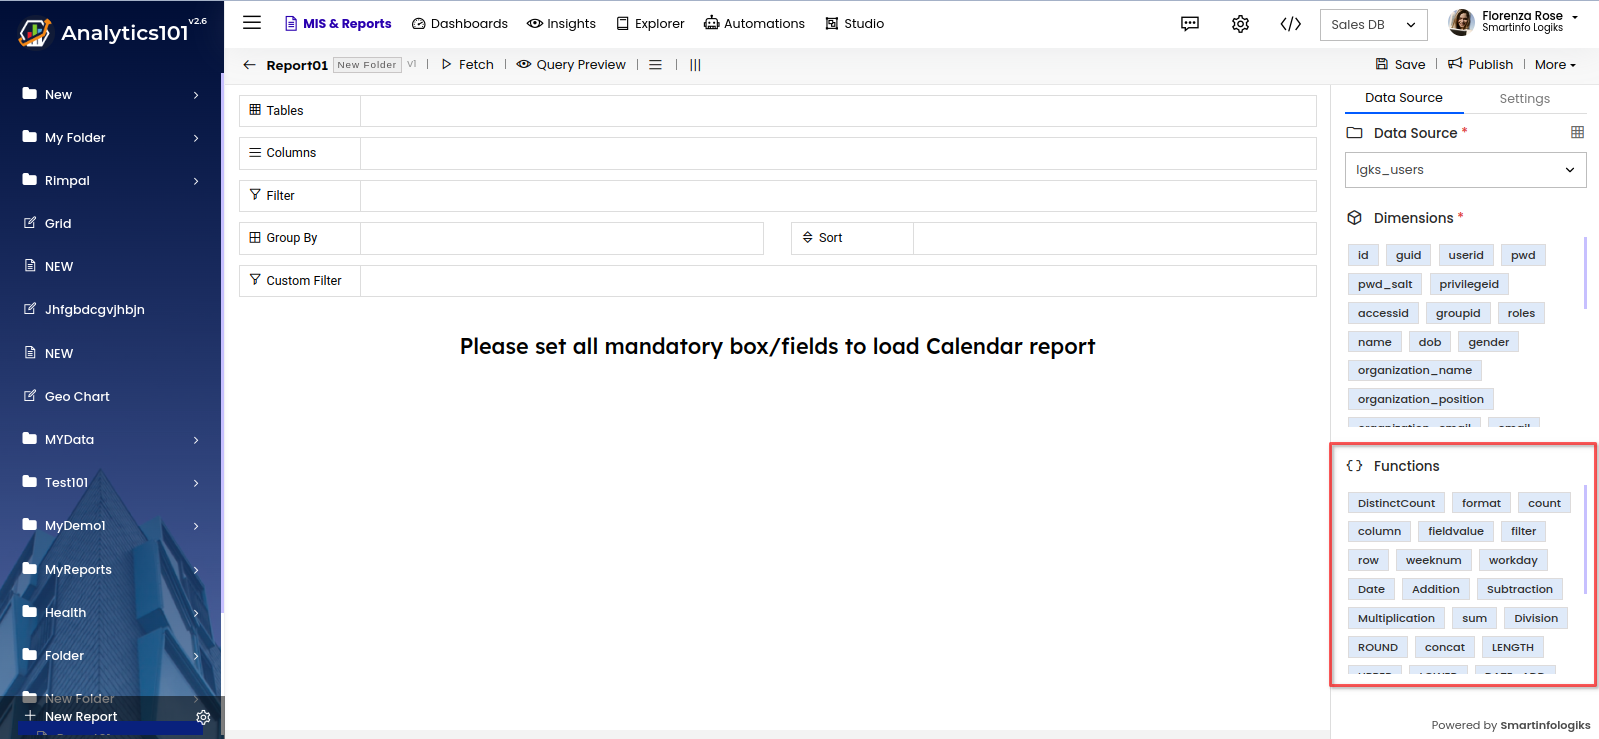
- Columns will appear in the "Dimensions" section as shown below :
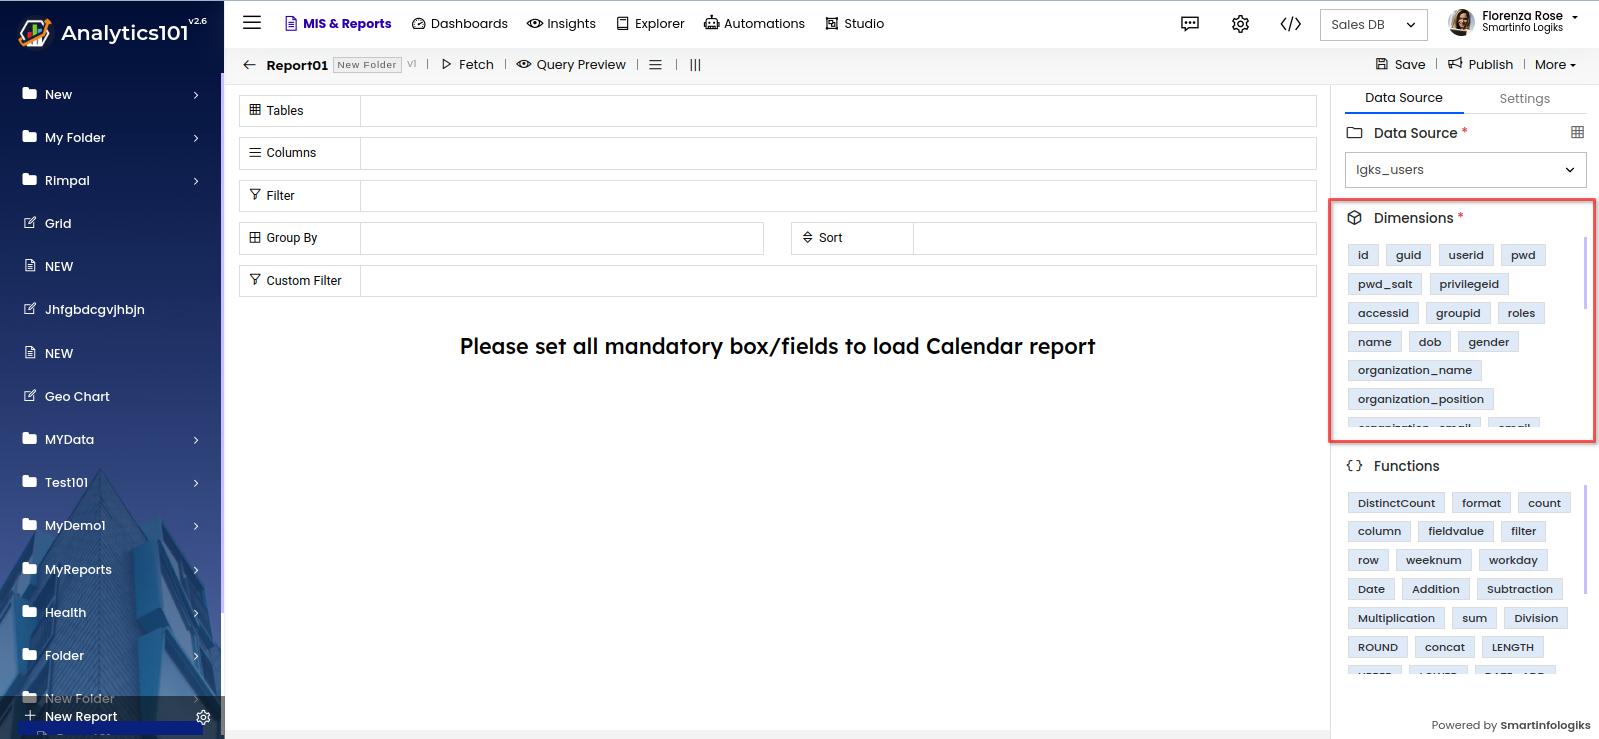
- Functions section under dimensions section contains all the formulas both existing ones in the system as well as user customised formula, enabling users to tailor reports according to their preferences.
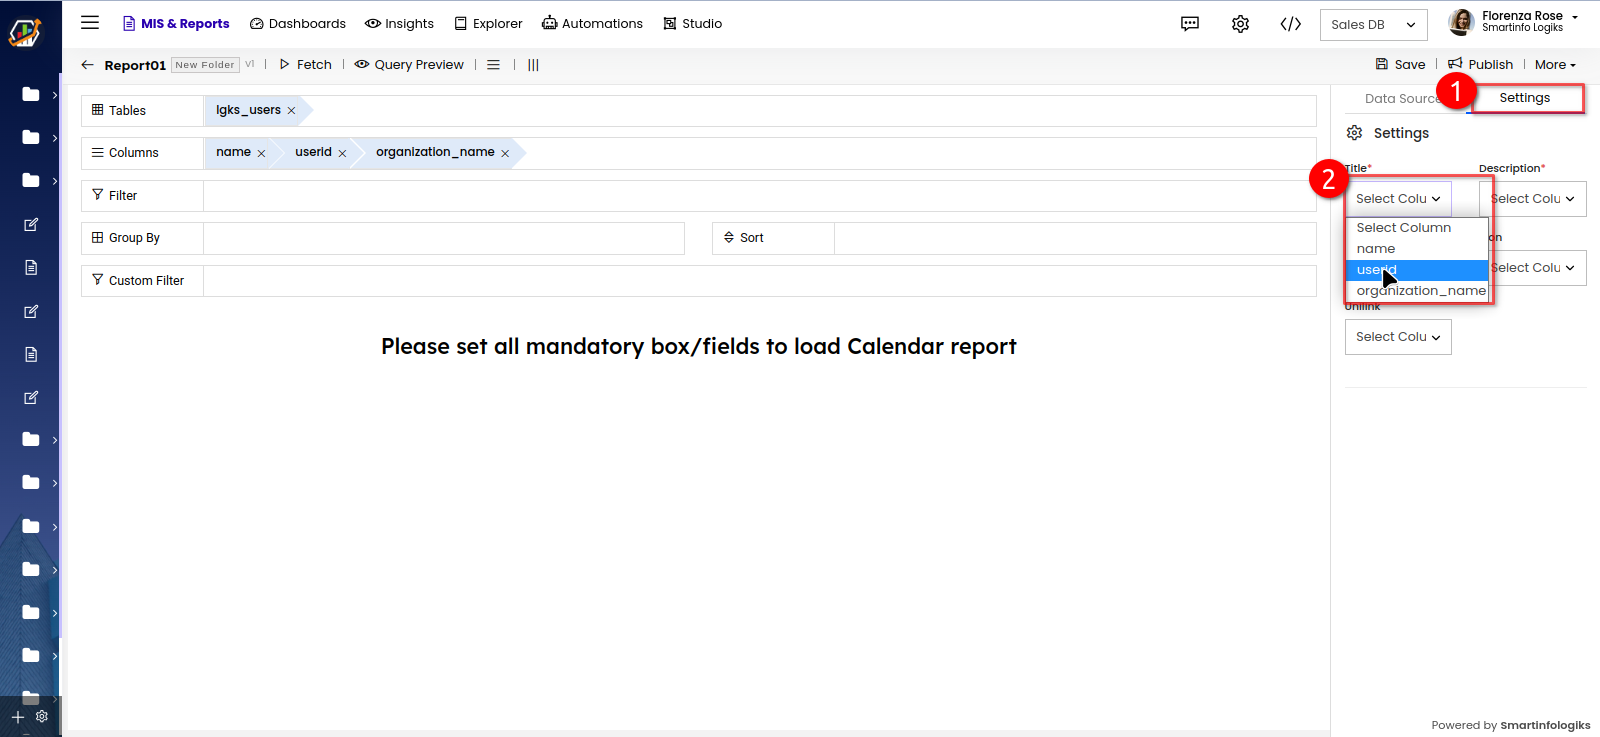
- After users have dragged and dropped fields into their respective shelves, they need to configure the settings section according to their requirements before retrieving the report.
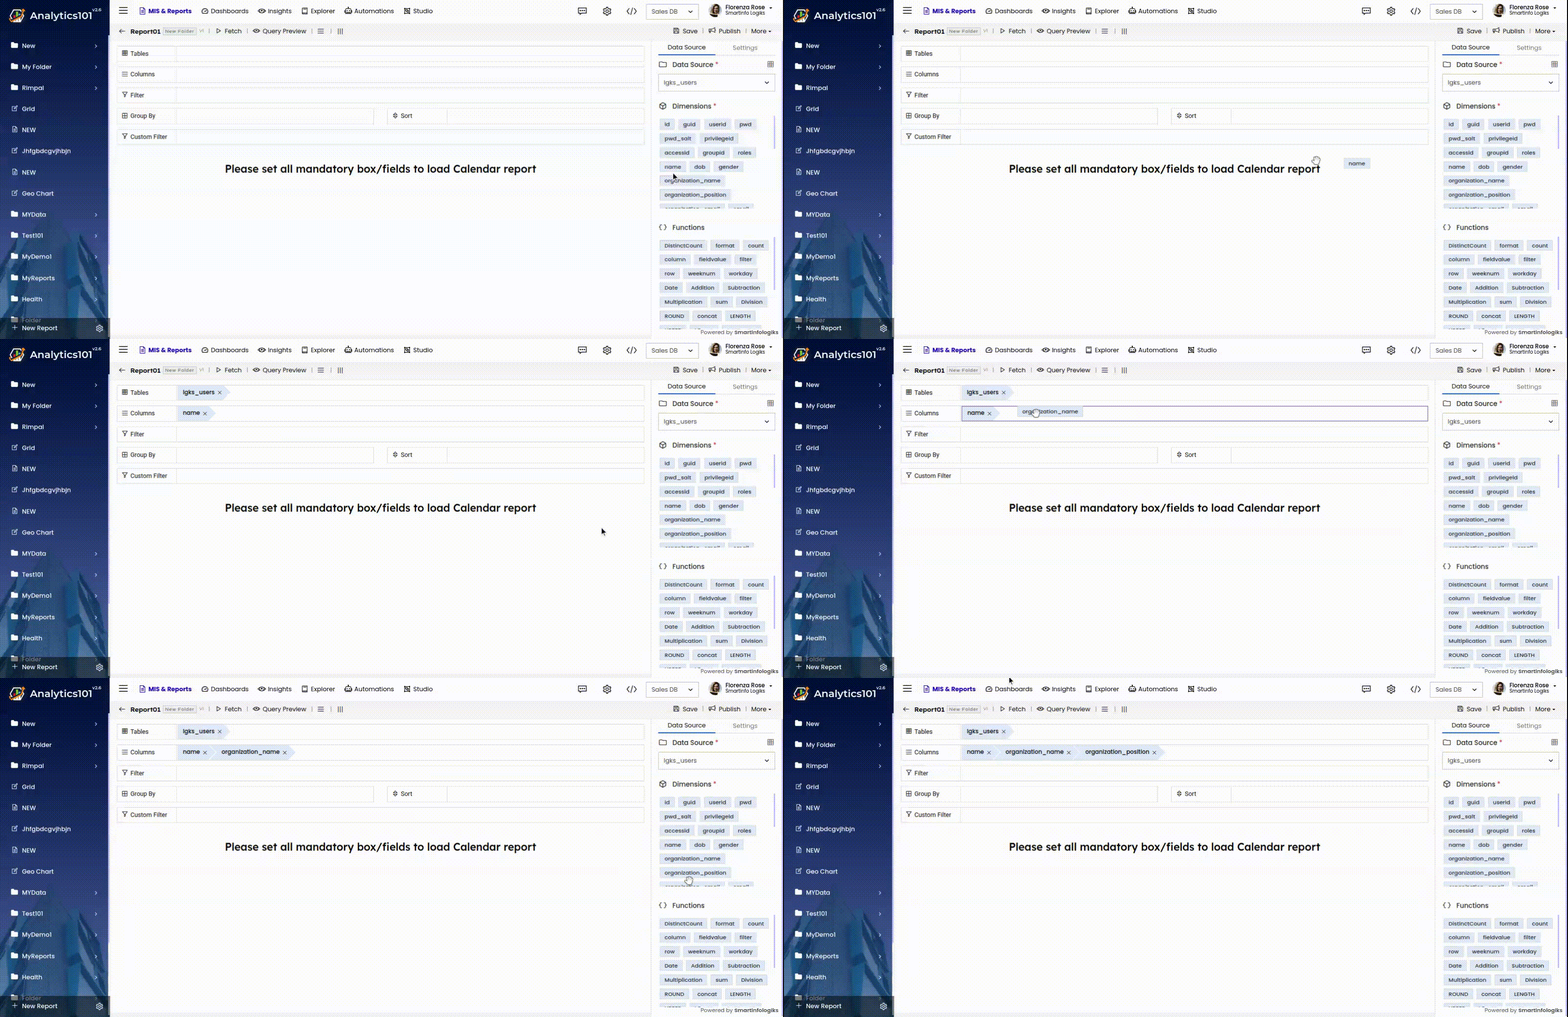
- Drag and drop the columns onto their respective shelves.
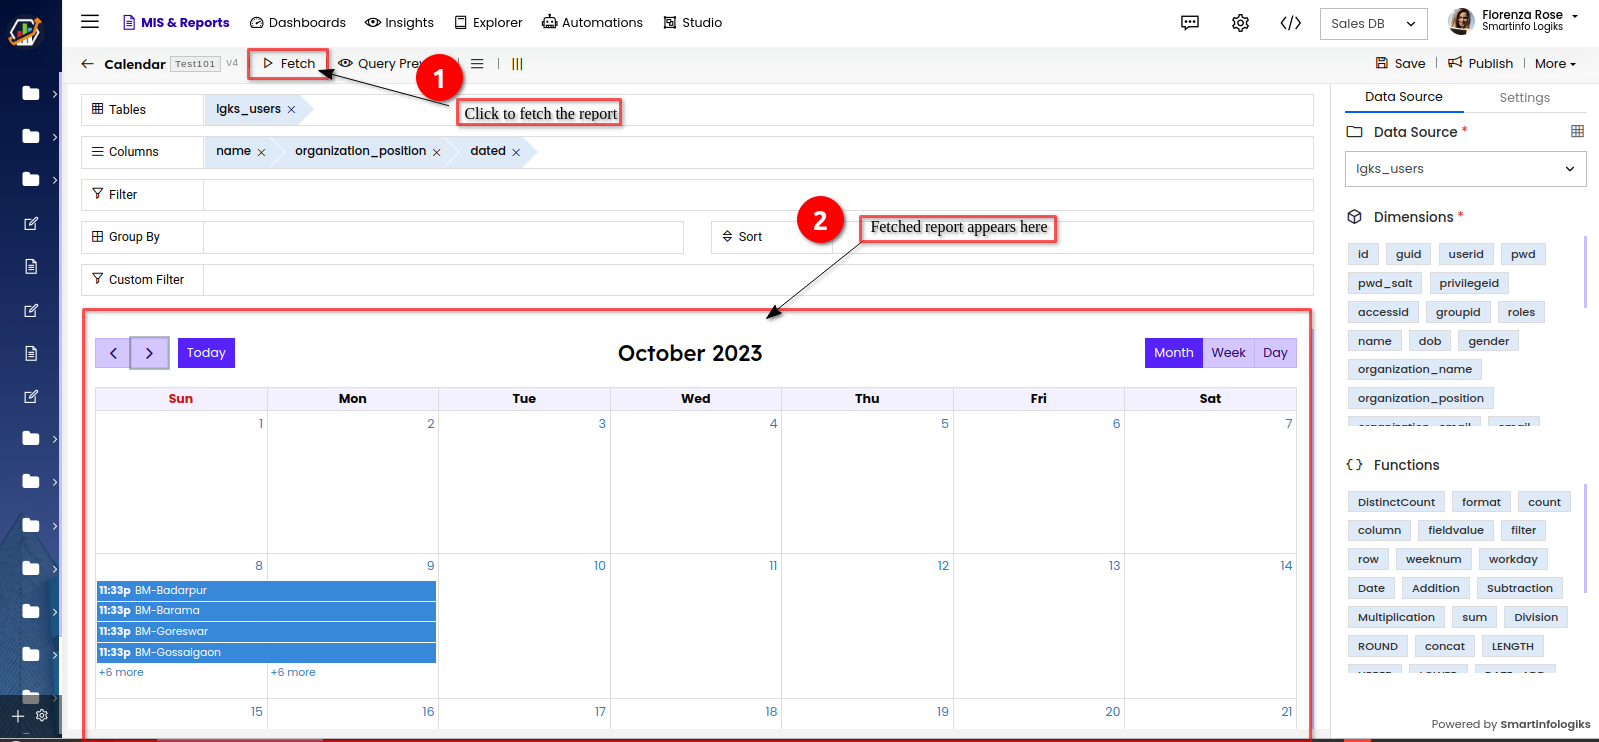
- Click the Fetch button to Generate Calendar Report, the generated report will appear on the screen.
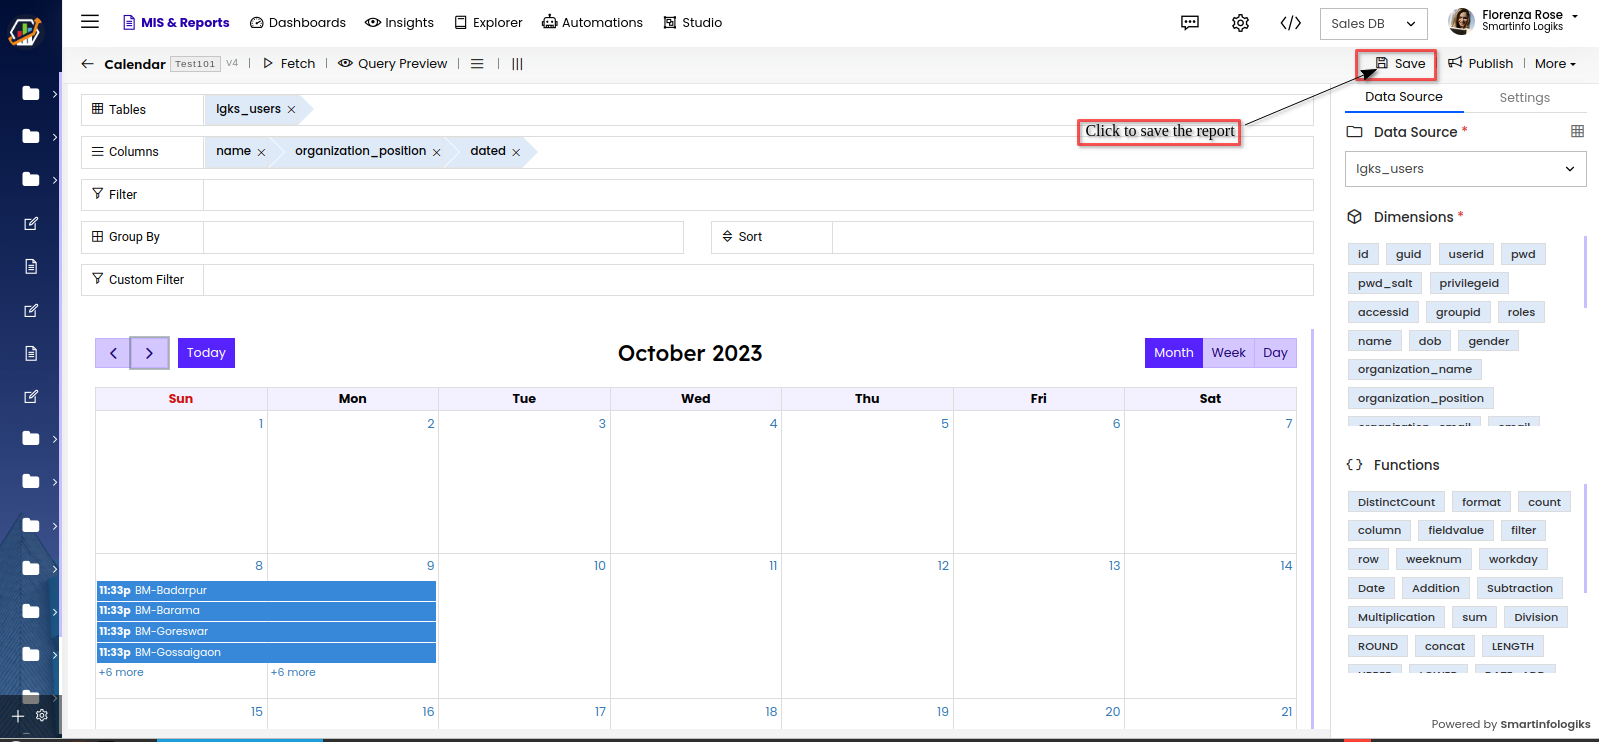
- Click the "Save" button to save the Calendar report.
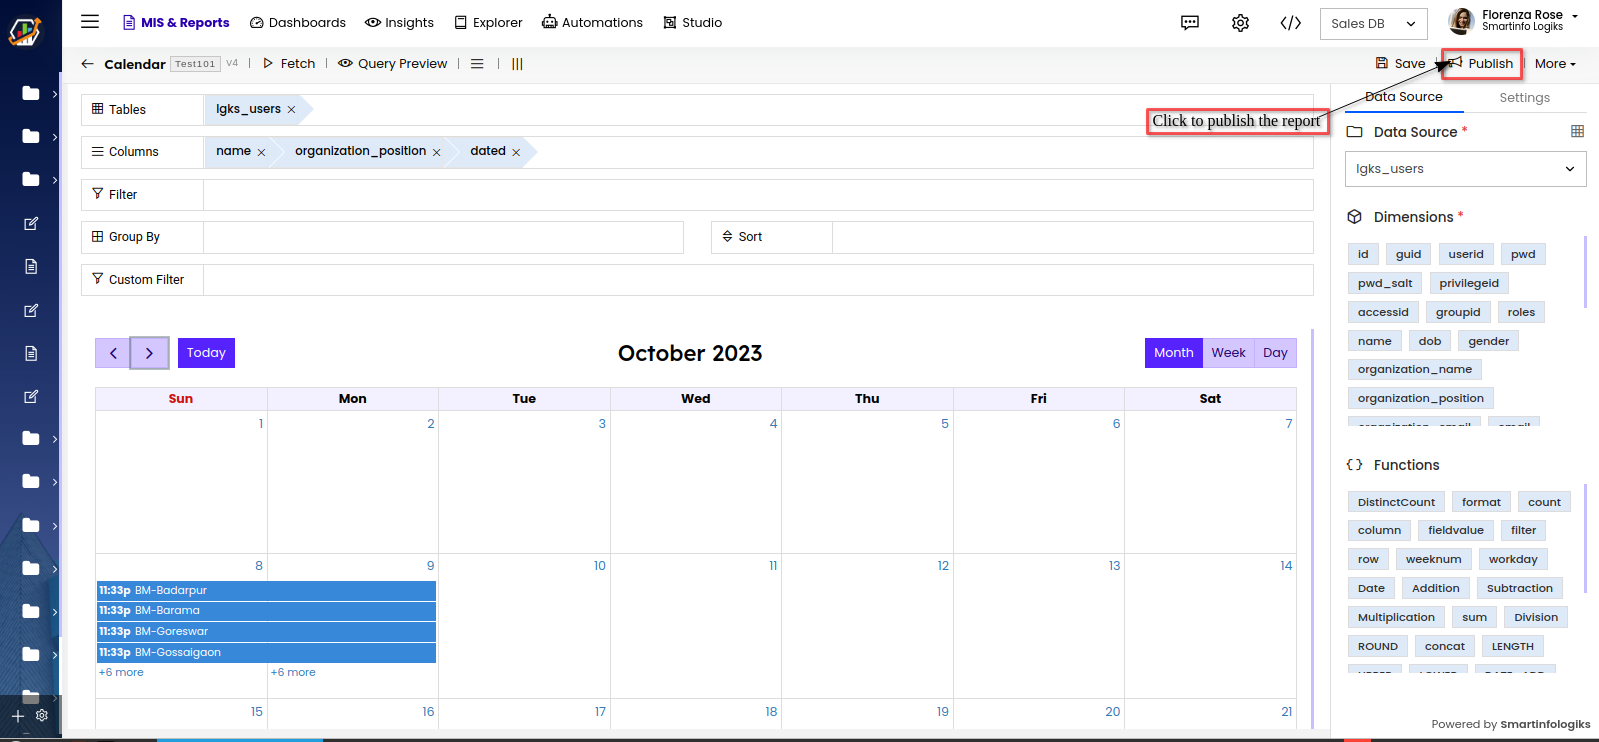
- Click the "Publish" button to publish the Calendar report.
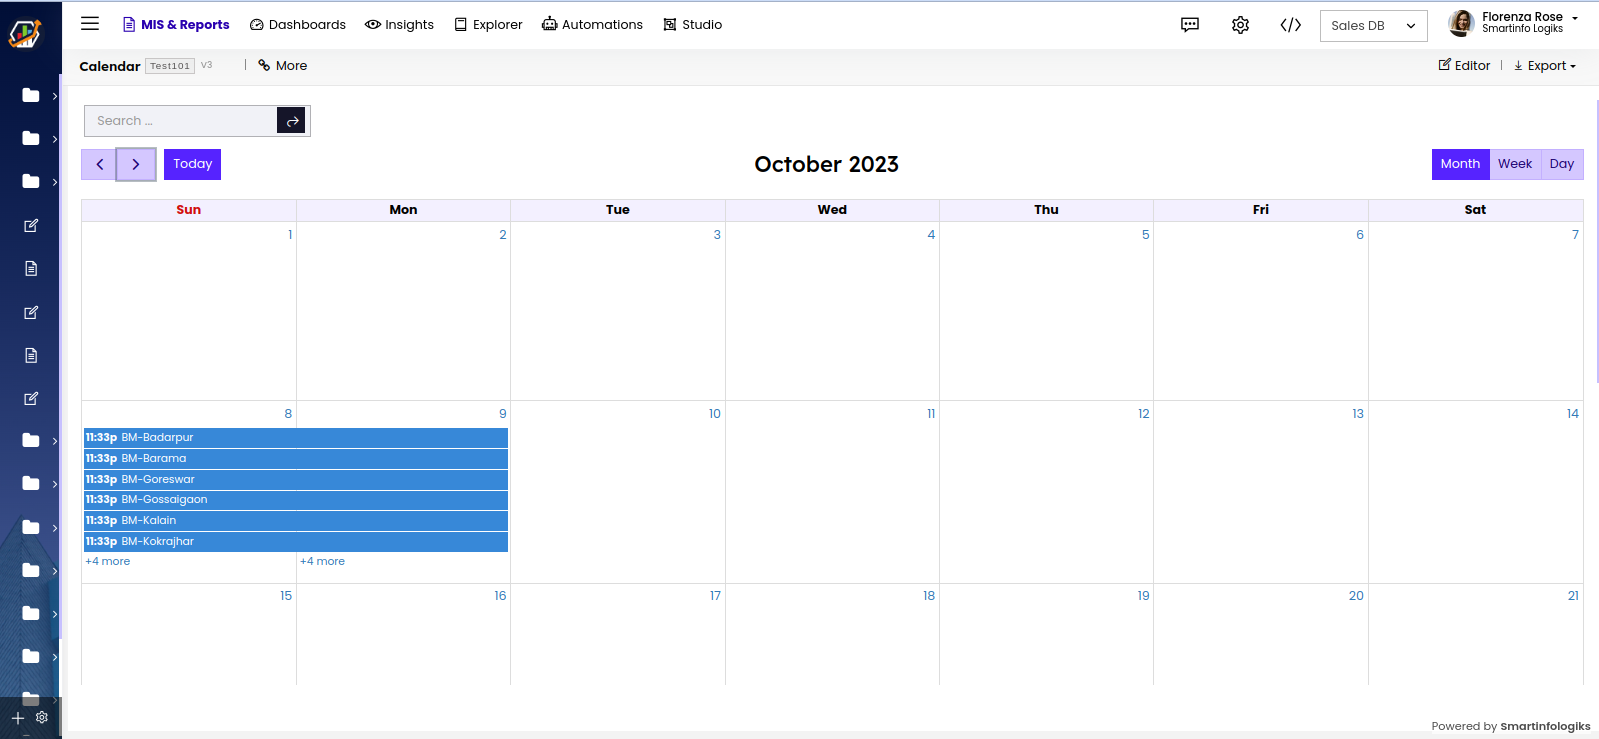
- After publishing the Calendar, it will be visible on the screen shown below:
More in Calendar Report Editor
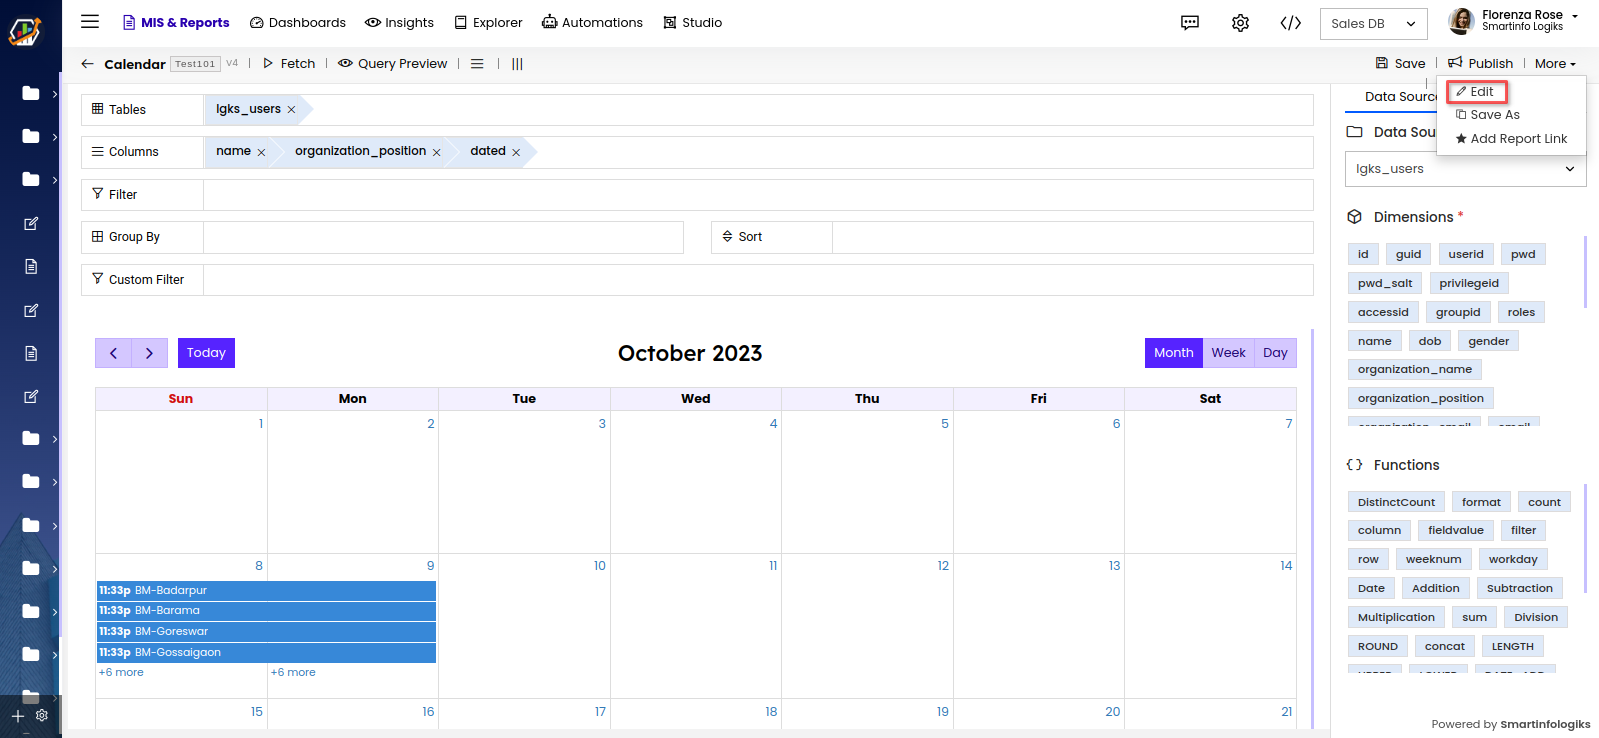
To manage the report click on the More where different options for managing the report will be displayed:
Edit:
- Click the Edit to edit the report.
- A Pop up window for editing the report will appear.
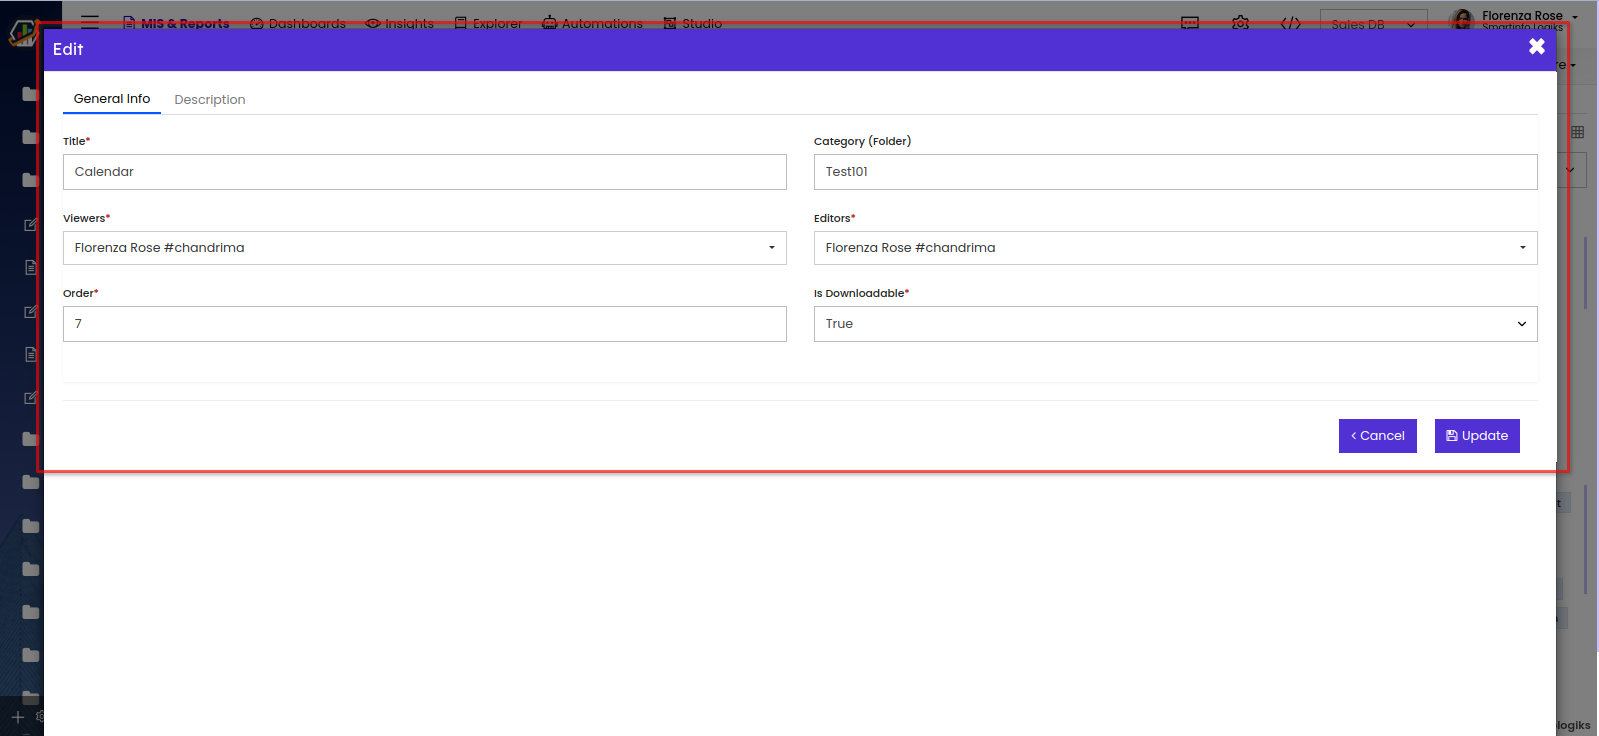
Title- User can edit the title of the Report.
Category- To edit the folder of the report.
Viewers- Gives viewing access to the users selected.
Editors- Gives editing access to the selected users.
Order- User can assign the position of a report like 1st, 5th, etc.
Is Downloadable- enables users to download the published report.
- Click the Edit to edit the report.
Save As:
- Click the 'Save As' to clone the report.
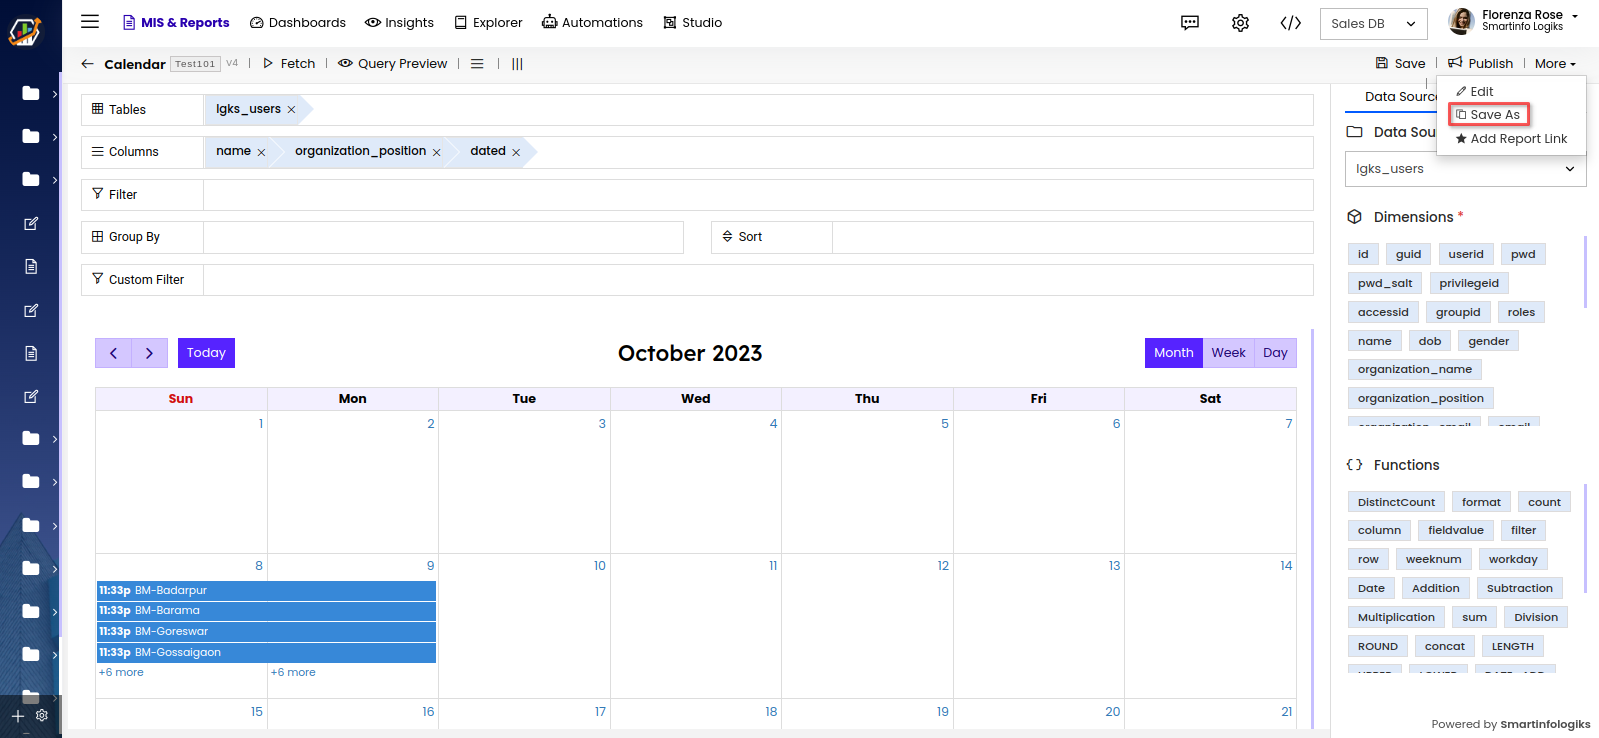
- A Confirmation window will be displayed.
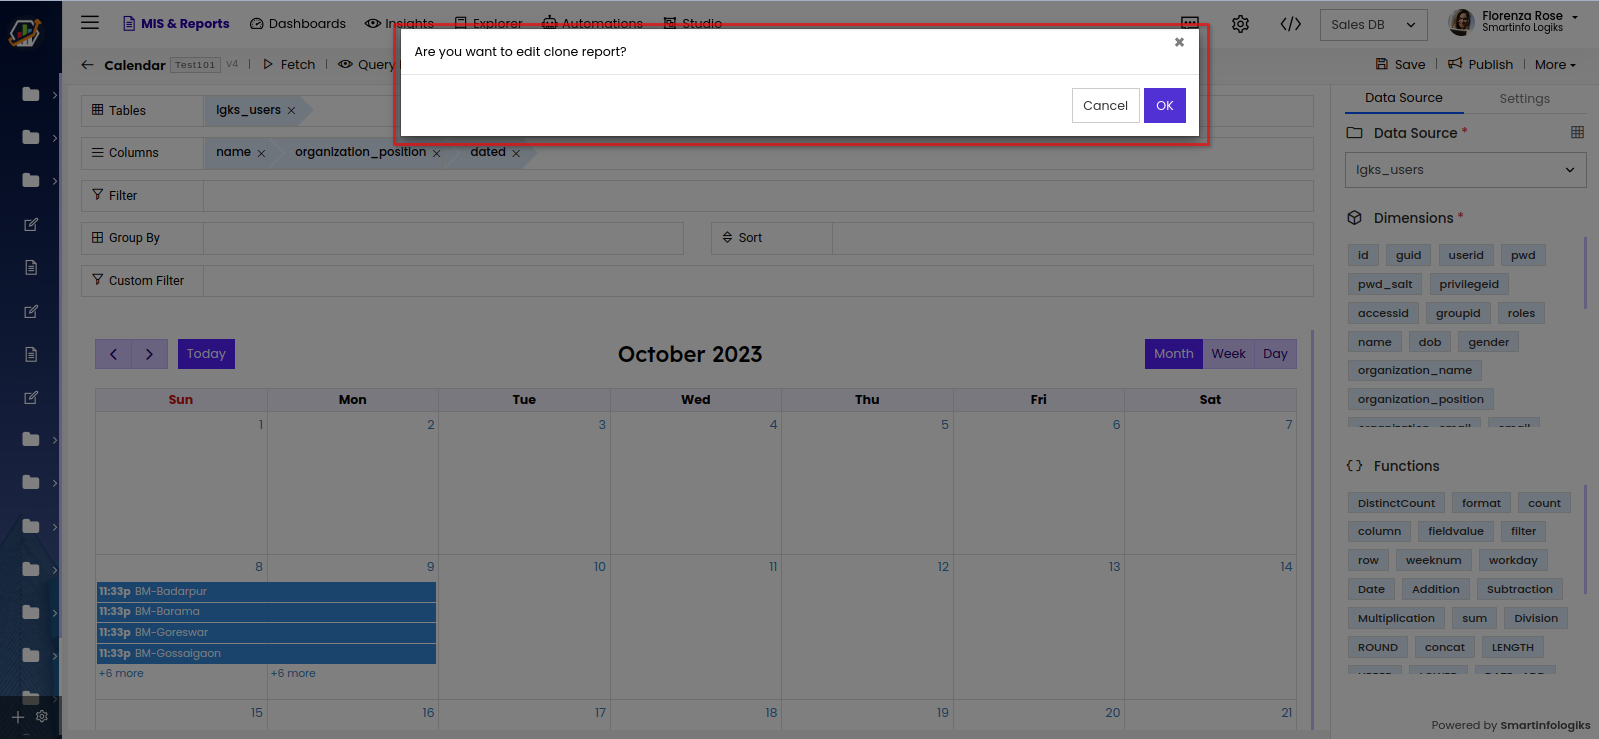
- On clicking the 'OK' button, the report will be cloned.
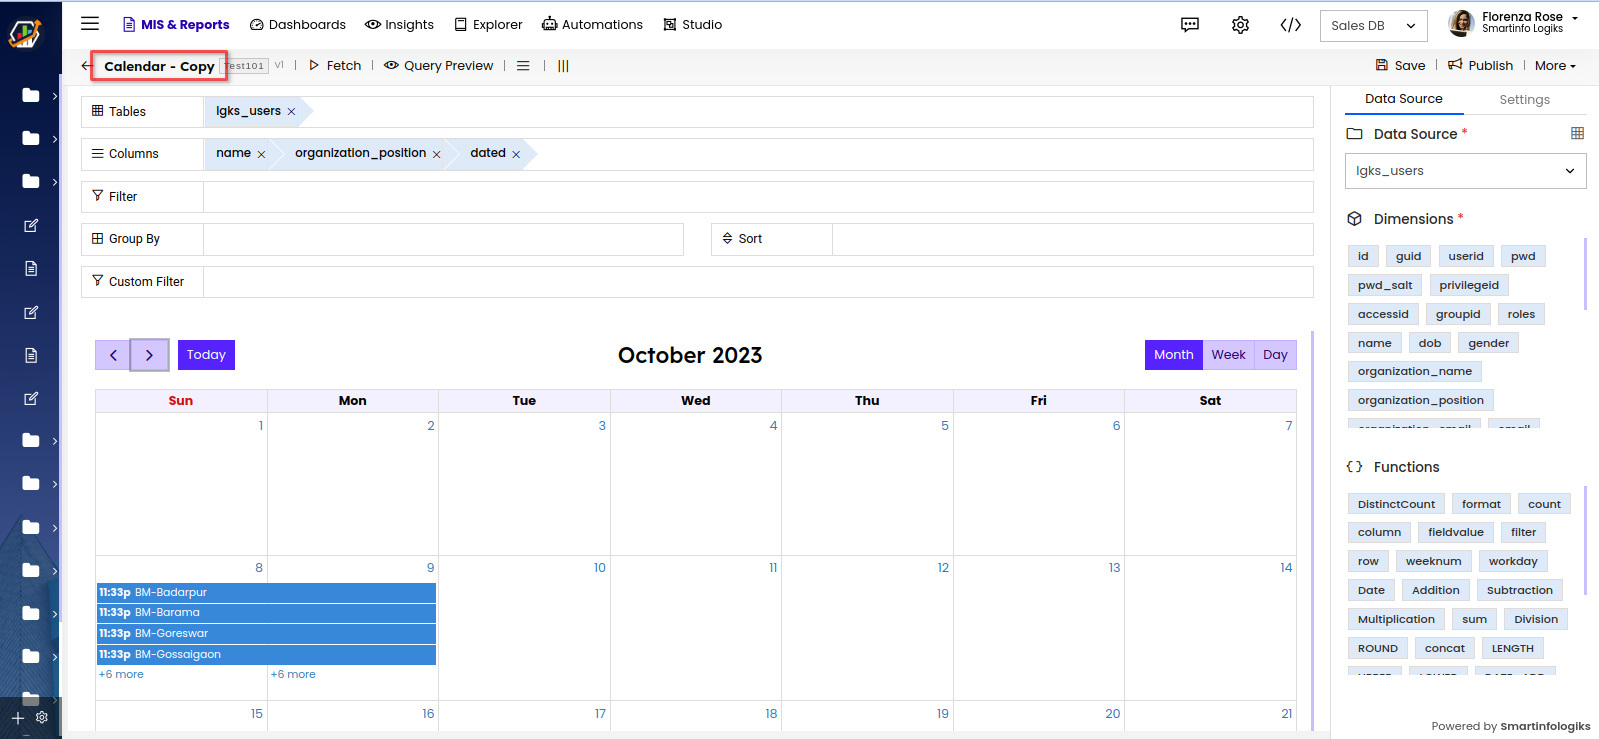
- Click the 'Save As' to clone the report.
Add Report Link:
- Click the "Add Report Link" located under the More to link another report to this Calendar report.
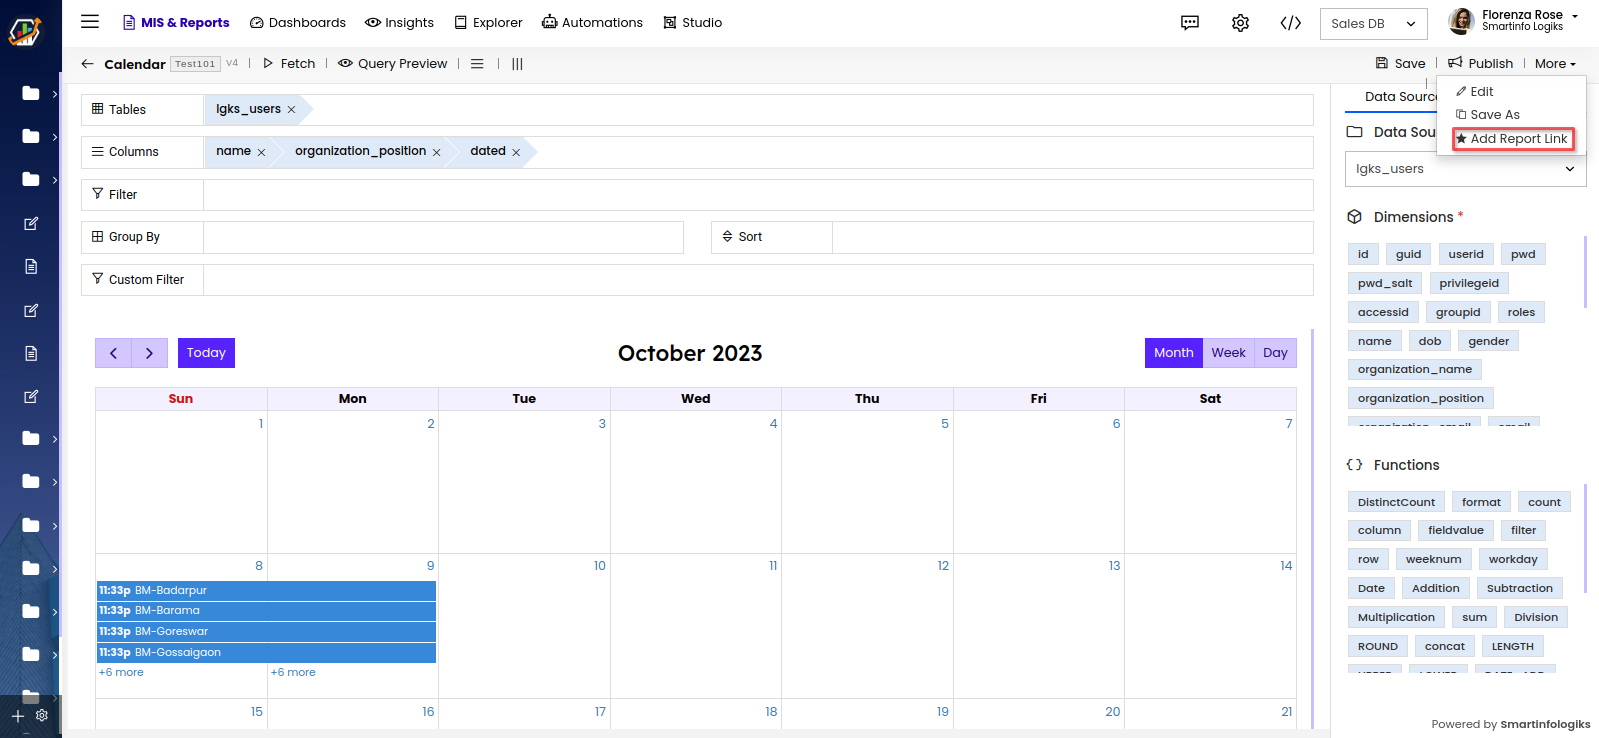
- The add link form opens shown below after clicking the Add Report link.
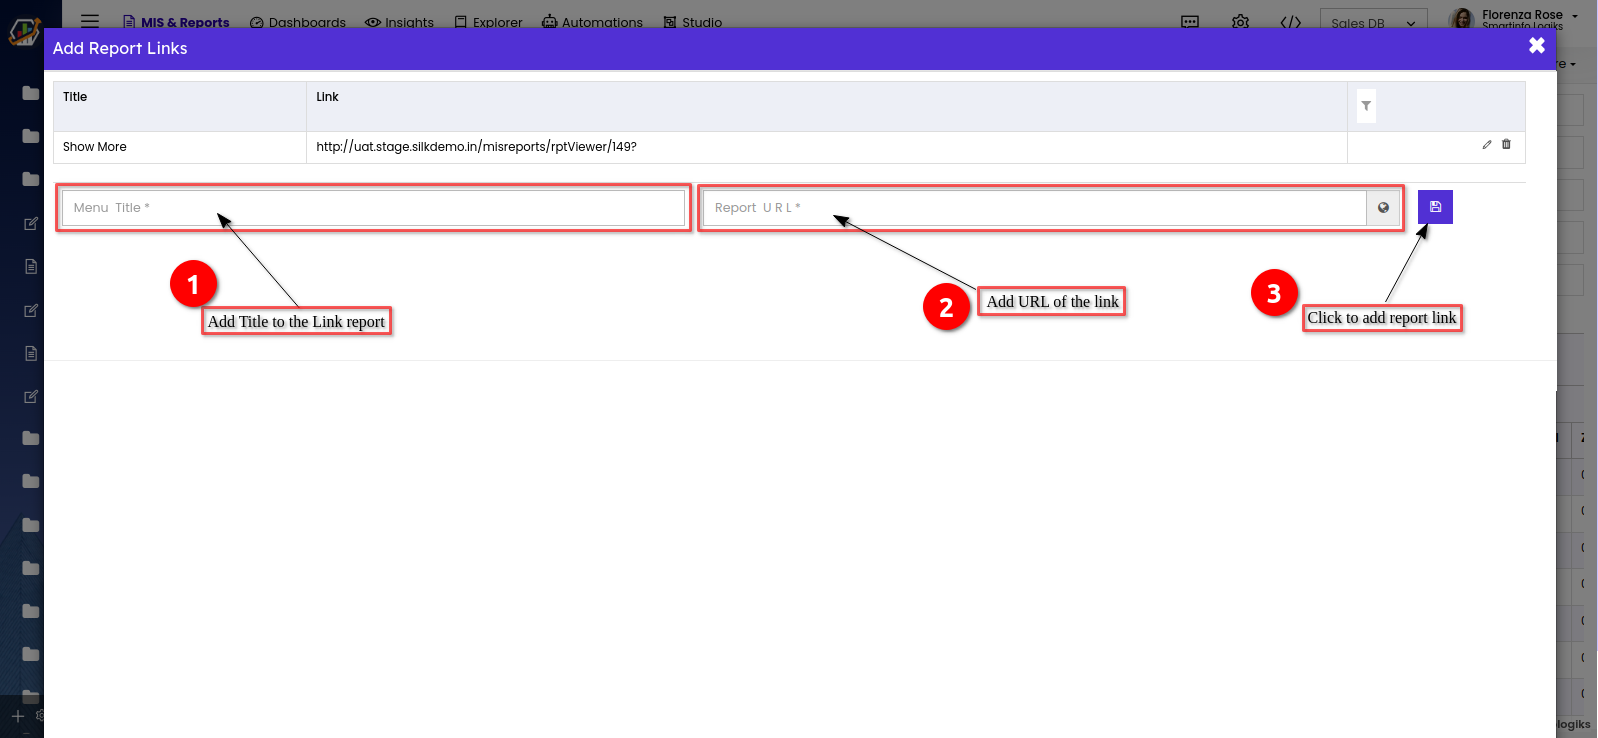
Title - Enter the Title you would want to view on the report link.
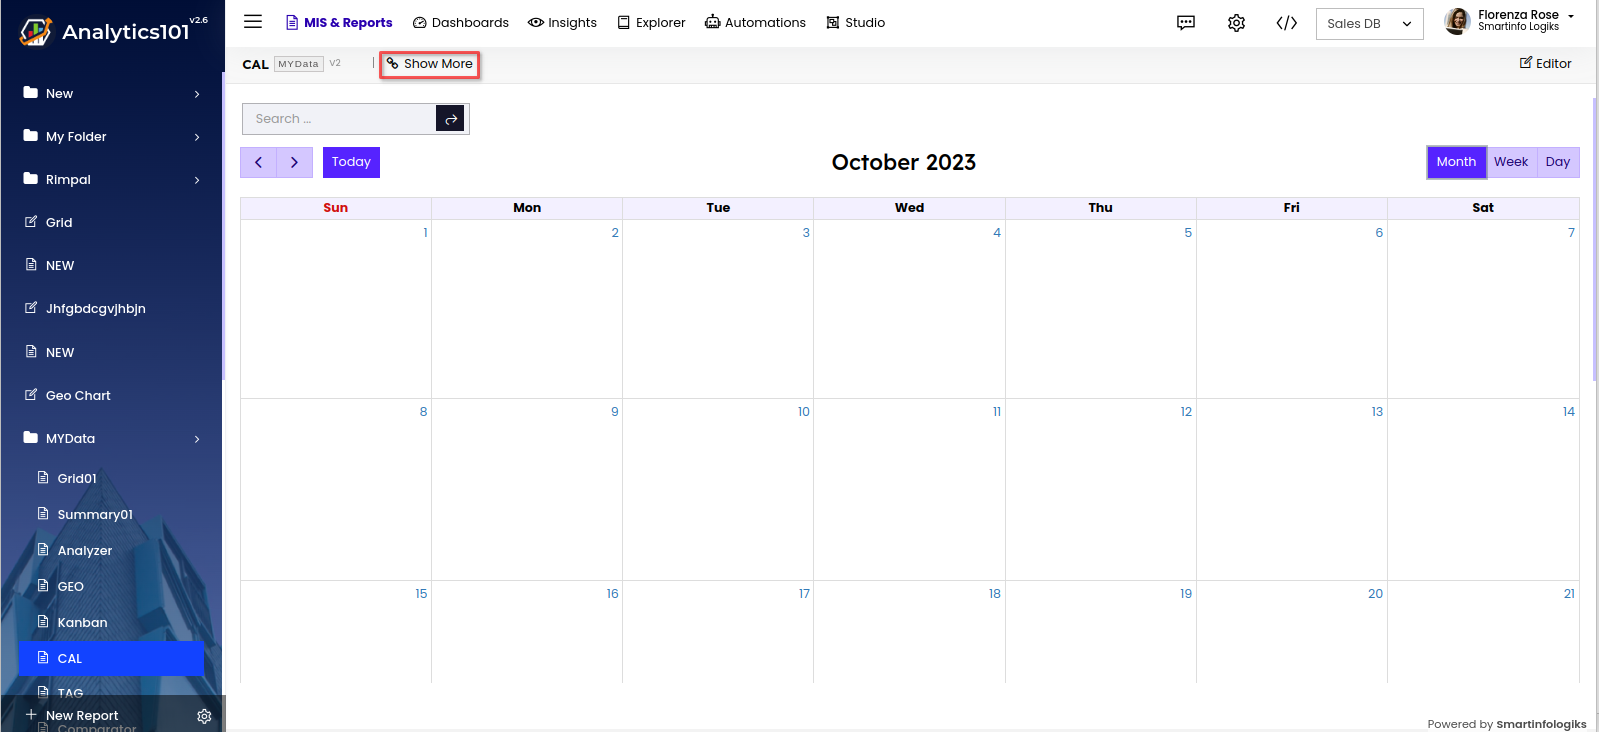
Link - Enter the URL of the report, you wish to link to or show with another report. - As shown below, when the report is linked, it appears in a specific link added report.
- Click the "Add Report Link" located under the More to link another report to this Calendar report.
