4.PO Received tab:
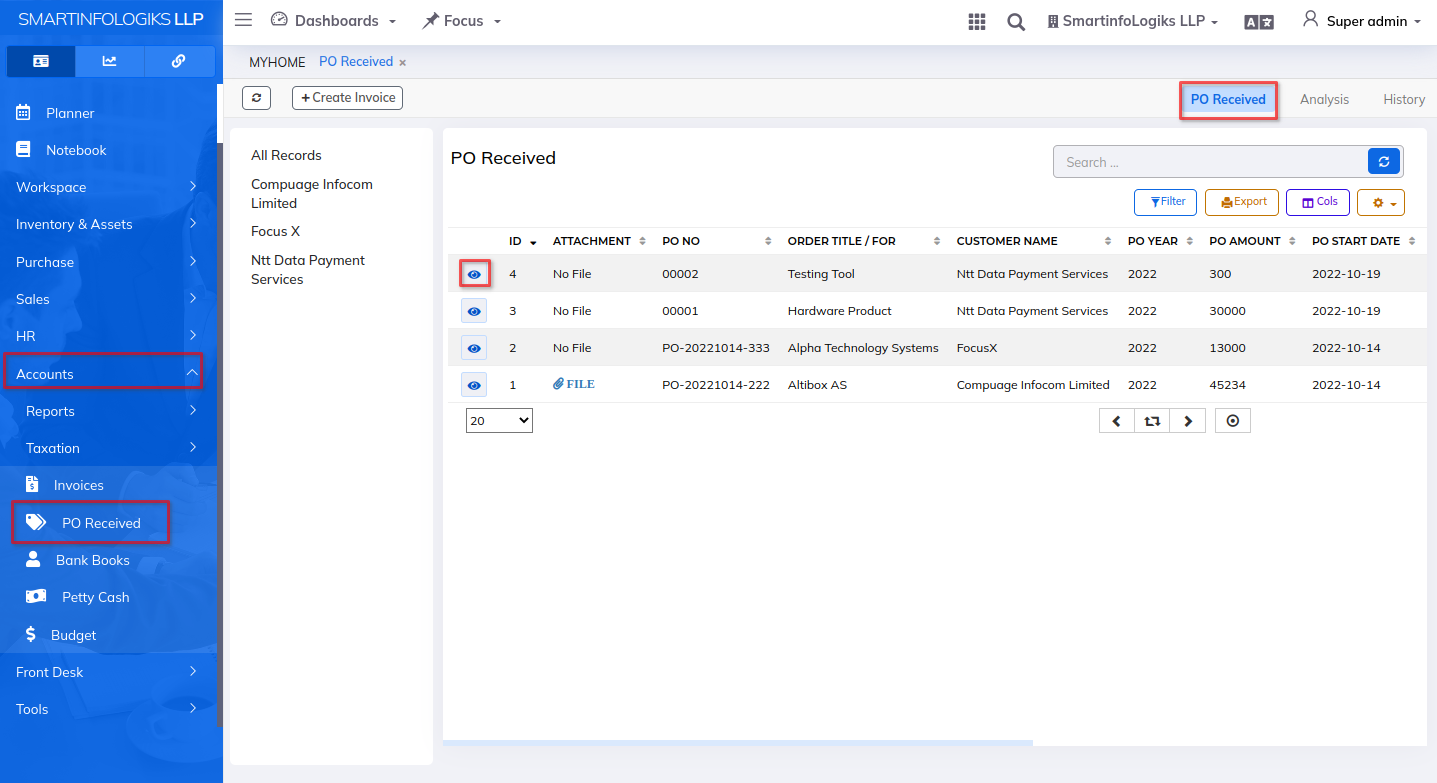
- PO Received dashboard will be shown as below image:
- Added PO is displayed in Reports as shown in the below image.
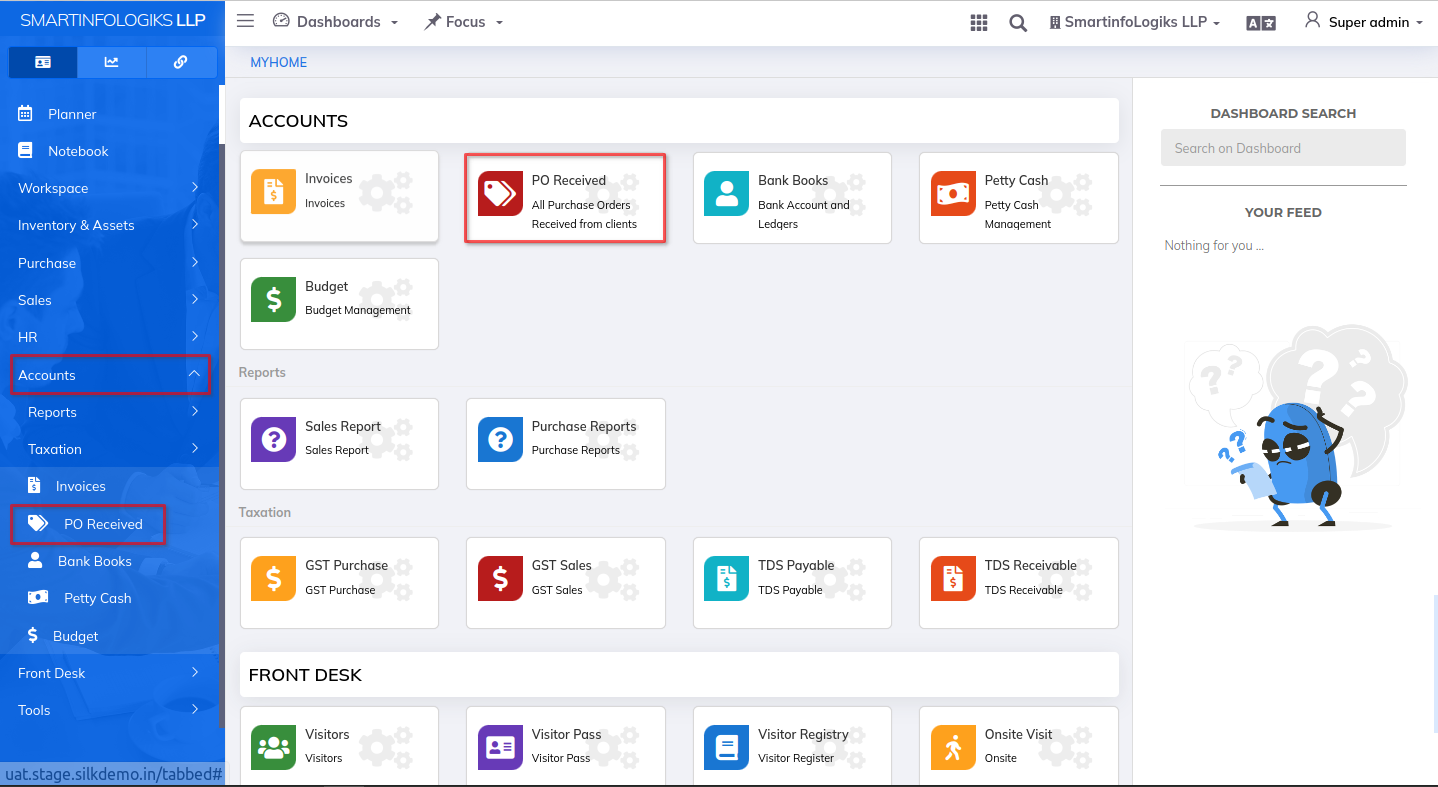
- Click on the PO Received tab.
- Once PO is Received it will get stored in this tab.
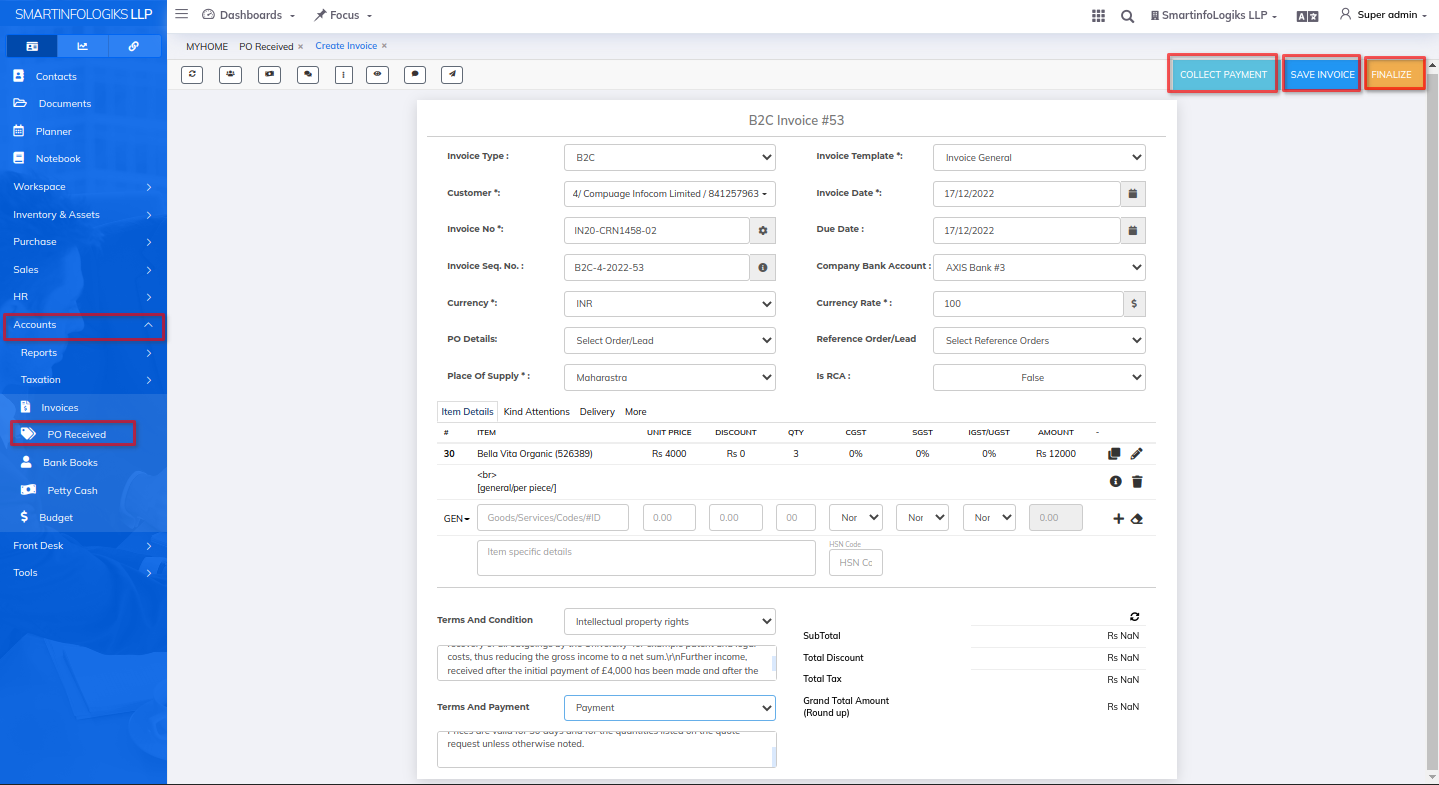
4.1.Create Invoice:
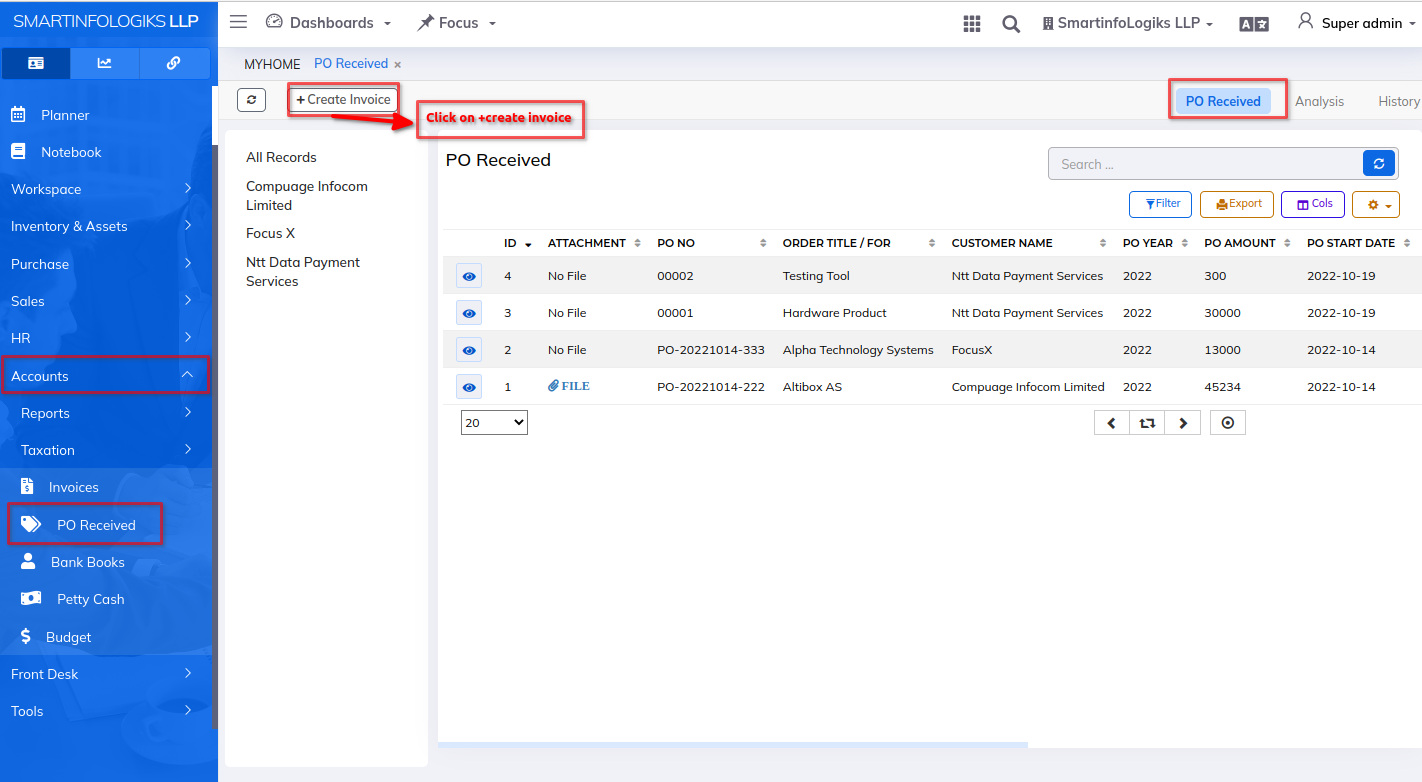
- Click on left side Menu List Click on Account Click on PO Received tab Click on +create Invoice
- For PO Received tab, form will open as per the below image.
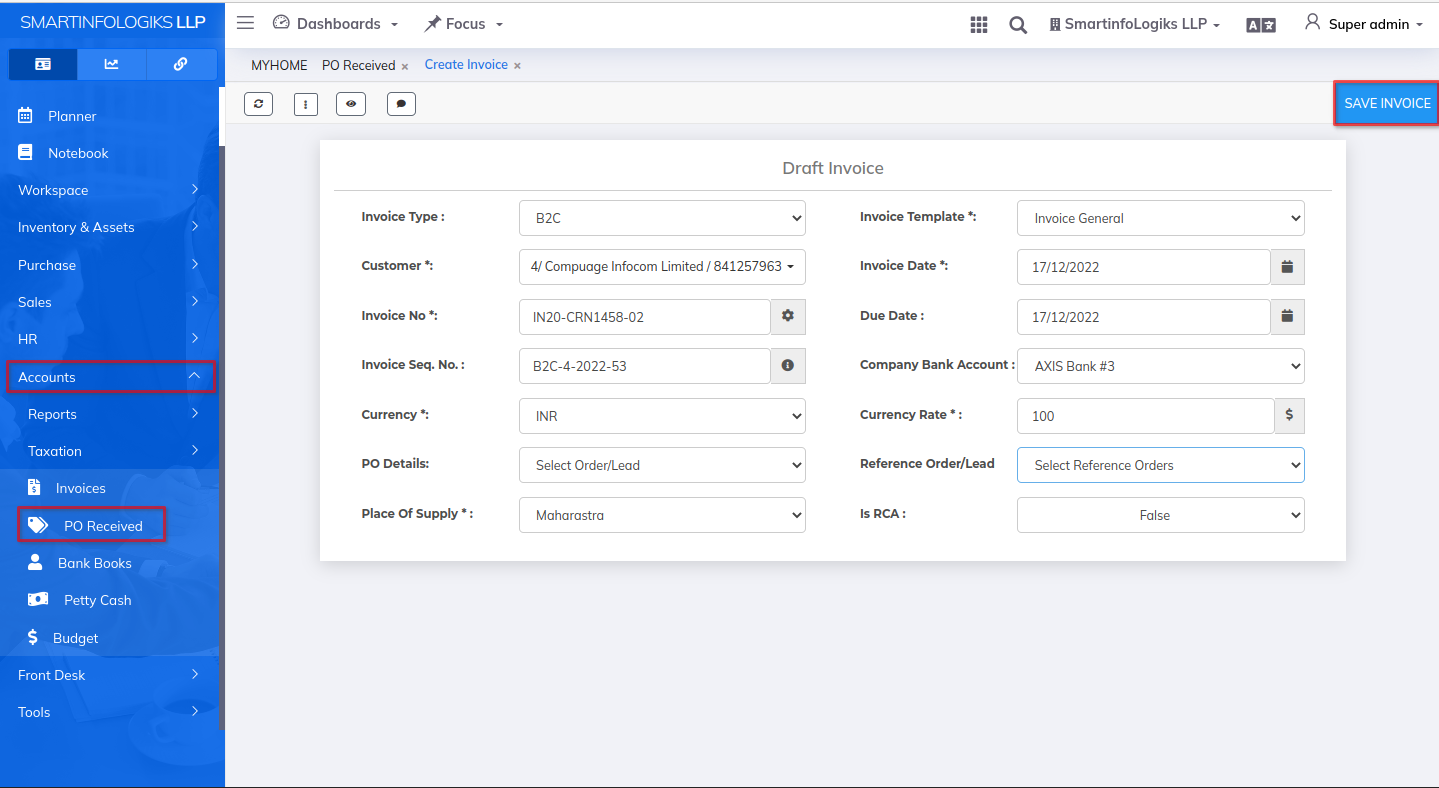
- Enter all Required Details.
1.Invoice Type:Select invoice type using the dropdown list.
2.Invoice Template: Select invoice Template using the dropdown list.
3.Customer: Select the customer using the dropdown list.
4.Invoice Date: Select the invoice date.
5.invoice no: Generate the invoice no.
6.Due date: Select the due date.
7.Invoice Seq.No:Enter the invoice seq no
8.Company bank account: Select the company bank account name using dropdown list.
9.Currency :Select the currency type using dropdown list.
10.Currency Rate: Enter the currency rate.
11.PO Details: Enter the po details.
12.Reference Order/Lead: Enter Reference Order/Lead using dropdown list
13.Place Of Supply:Select Place Of Supply using dropdown list
14.Is RCA:Select Is RCA using dropdown list - After filling all the mandatory fields click on the Save Invoice button. On click of Save invoice, the Product will be added successfully.
- Click on Save invoice Button, form will open as per the below image.