Planner
Dashboard:-
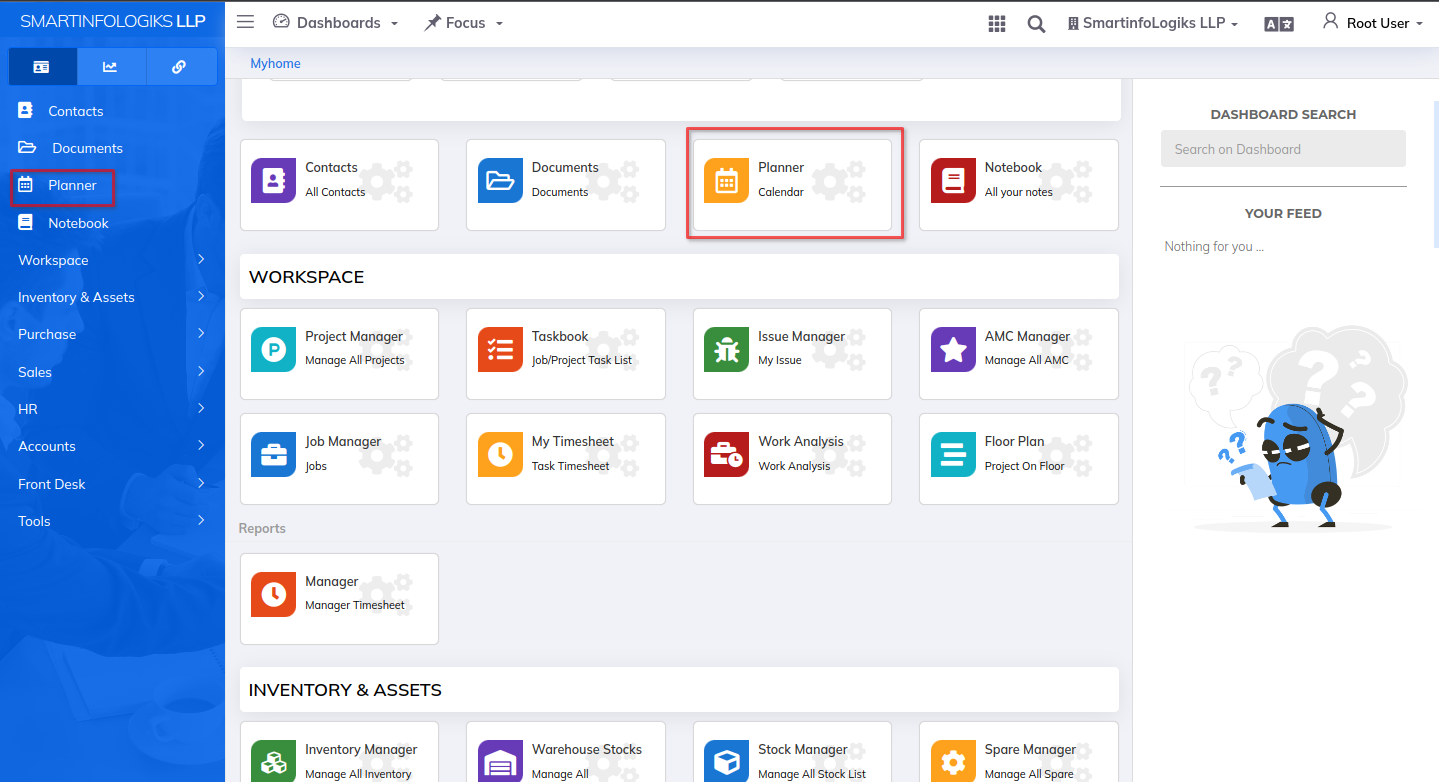
- Planner dashboard will be shown as below image:
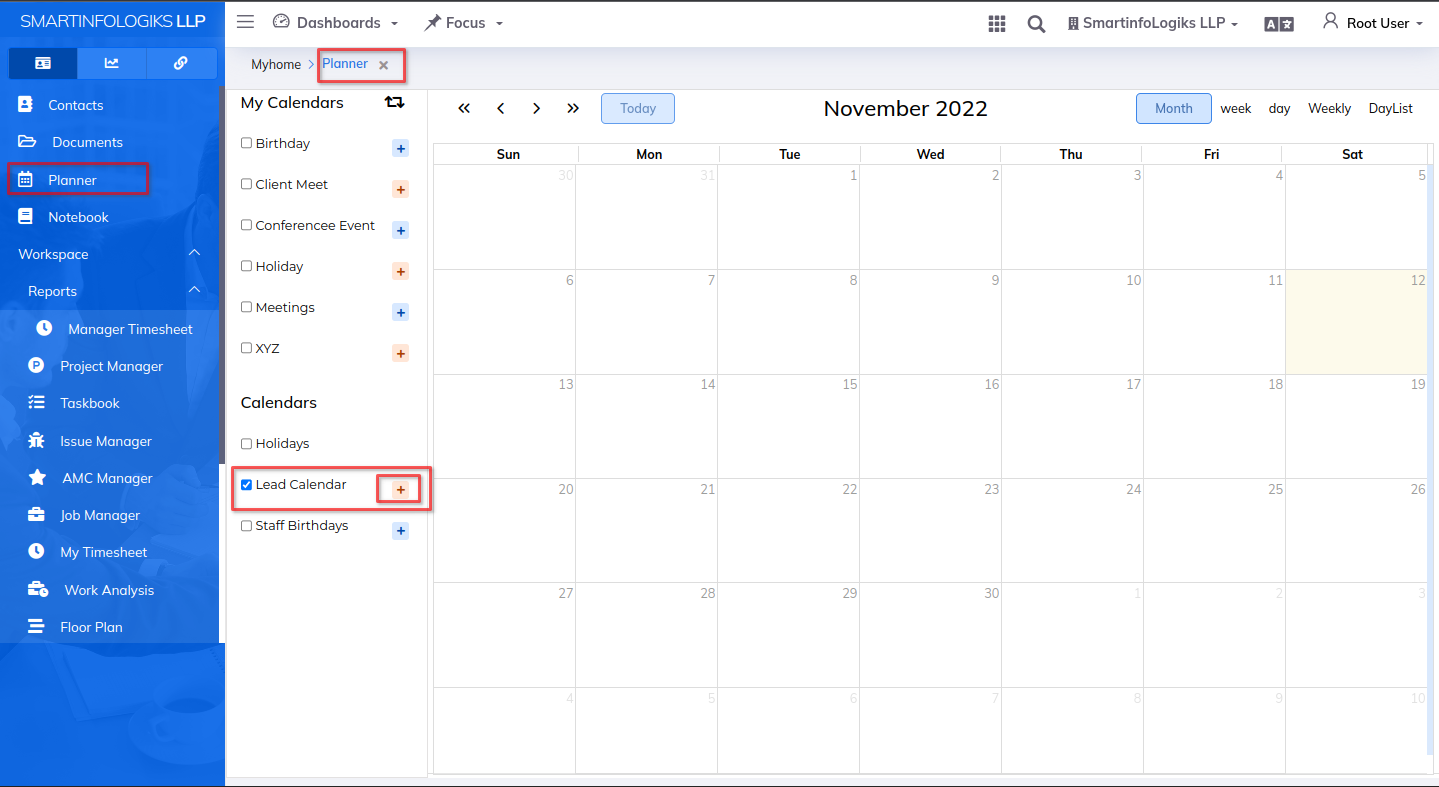
- Click on the left side Menu List Click on Planner Click on Lead Calendar + .
- For Lead Details tab form will get open as per the below image & fill required details .
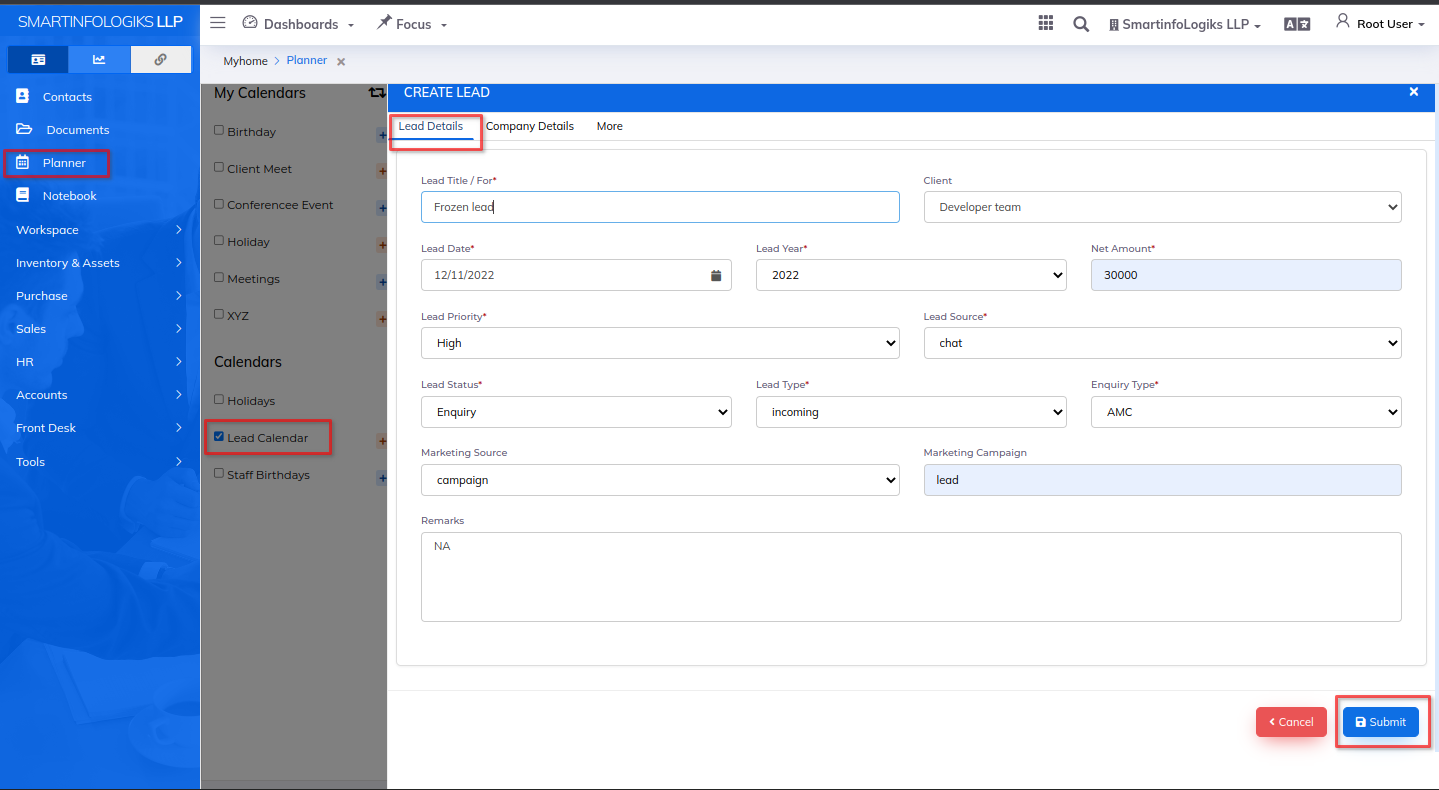
1.Lead Title For: Enter the Lead title.
2.Lead Date: Select date.
3.Lead Status: Select Lead status using dropdown.
4.Lead Priority: Select Lead priority using dropdown.
5.Lead Source: Select Lead Source using dropdown.
6.Lead Type: Select Lead type using dropdown.
7.Enquiry Type: Select Enquiry type using dropdown.
8.Group: Select Group.
9.Marketing Campaign: Enter the Marketing campaign.
10.Marketing Source: Select the Marketing Source using dropdown.
11.Remarks: Enter the Remarks.
12.Lead Year: Select Year.
13.Net Amount: Enter the Net Amount - Click on the Company Details tab form will open as per the below image & fill required details.
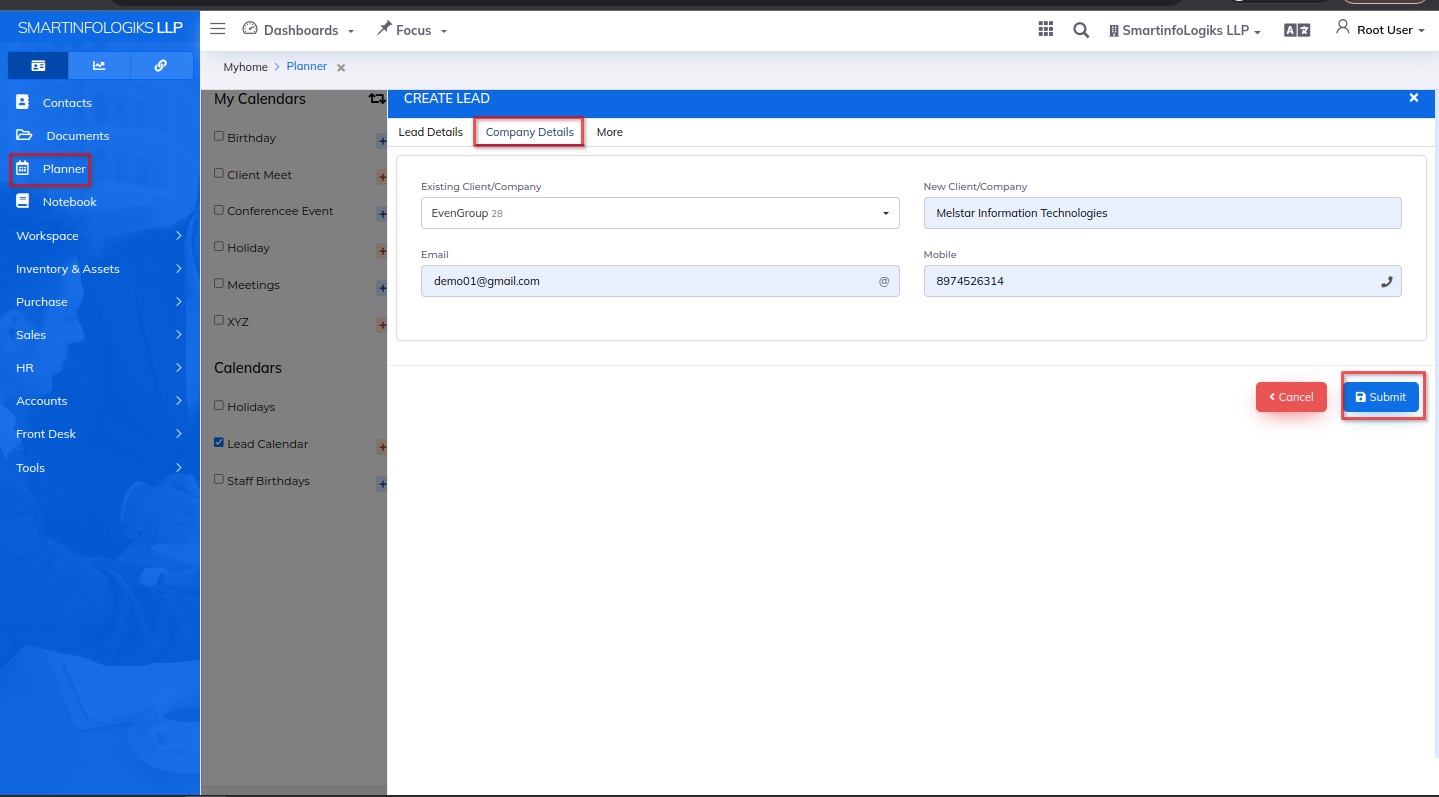
1.Existing Client/Company: Select Client/Company using dropdown.
2.New Client/Company: Enter the Client/Company.
3.Email: Enter the Email id.
4.Mobile: Enter the Mobile no. - Click on the More tab form will open as per the below image & fill required details.
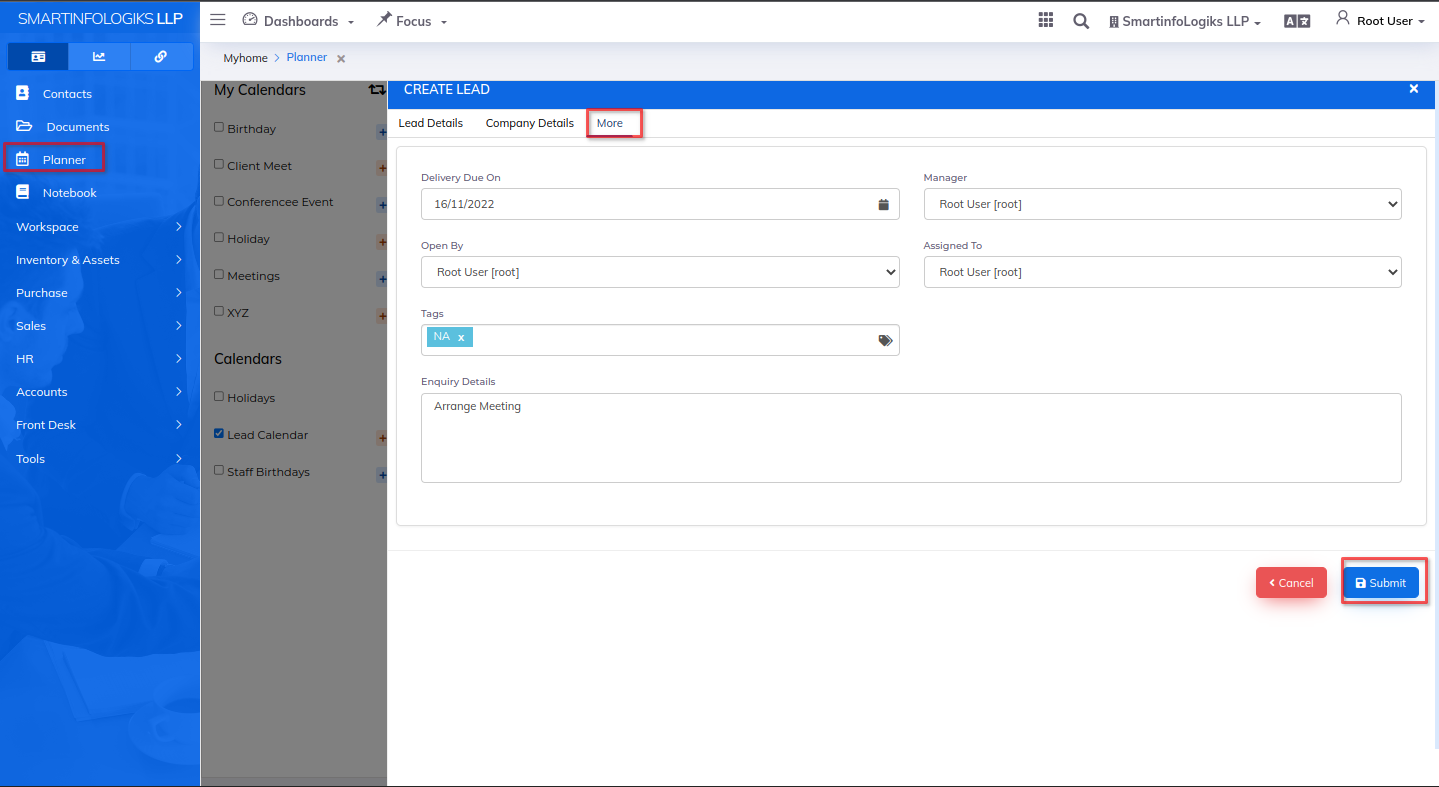
1.Delivery Due On: Select Delivery date.
2.Manager: Select Manager using dropdown.
3.Open By: Select Open by using dropdown.
4.Assigned To: Select Assigned to using dropdown.
5.Tags: Enter the tags.
6.Enquiry Details: Enter the Enquiry details. - After filling all the mandatory fields click on the Submit button.
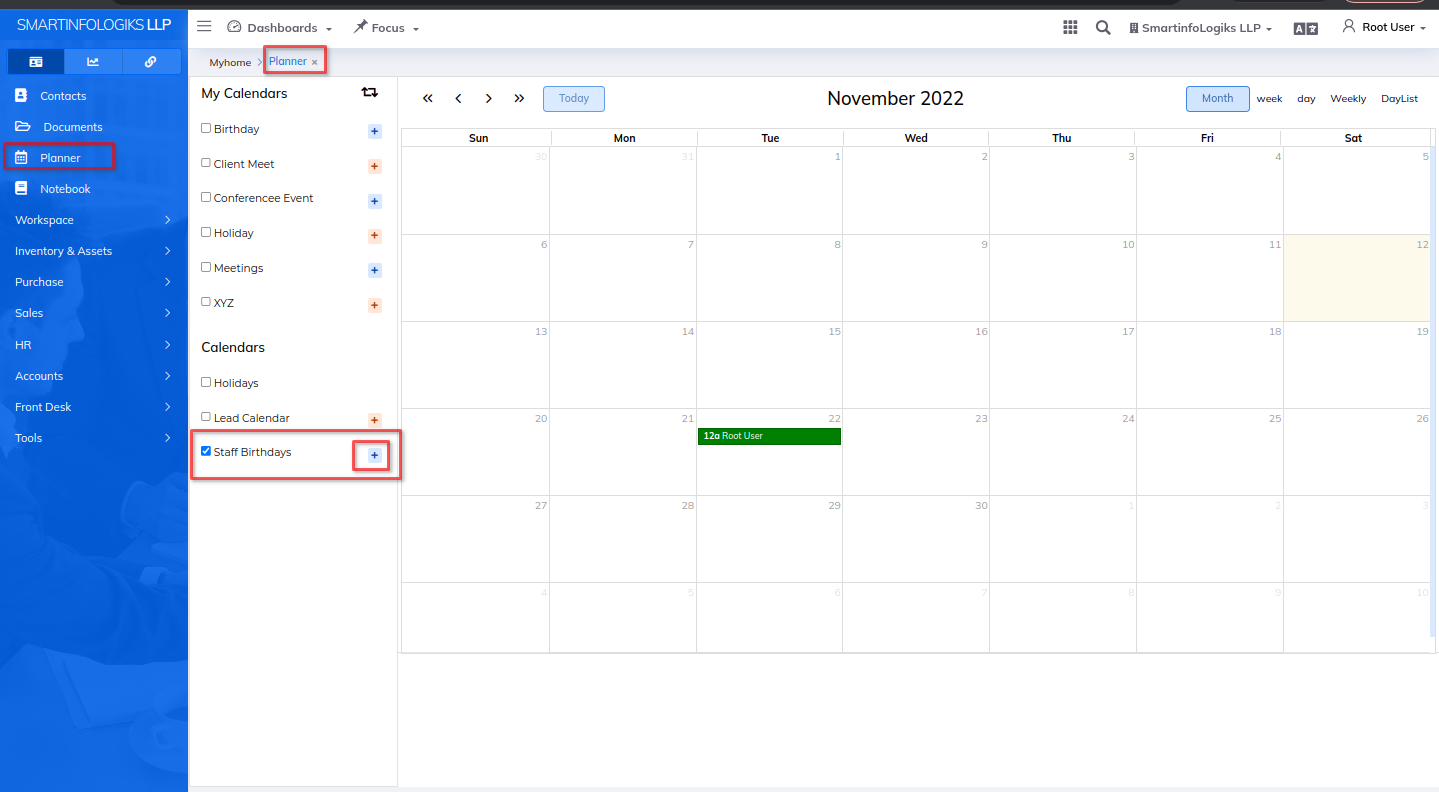
- On click of submitting, the new planner will be added to the Calendar.
- Added Planner is displayed in the Calendar.
Step to Add Staff Birthday:-
- Click on the Staff Birthdays + Create Staff form will get open as per the below image.
- For staff form will get open as per the below image & fill required details .
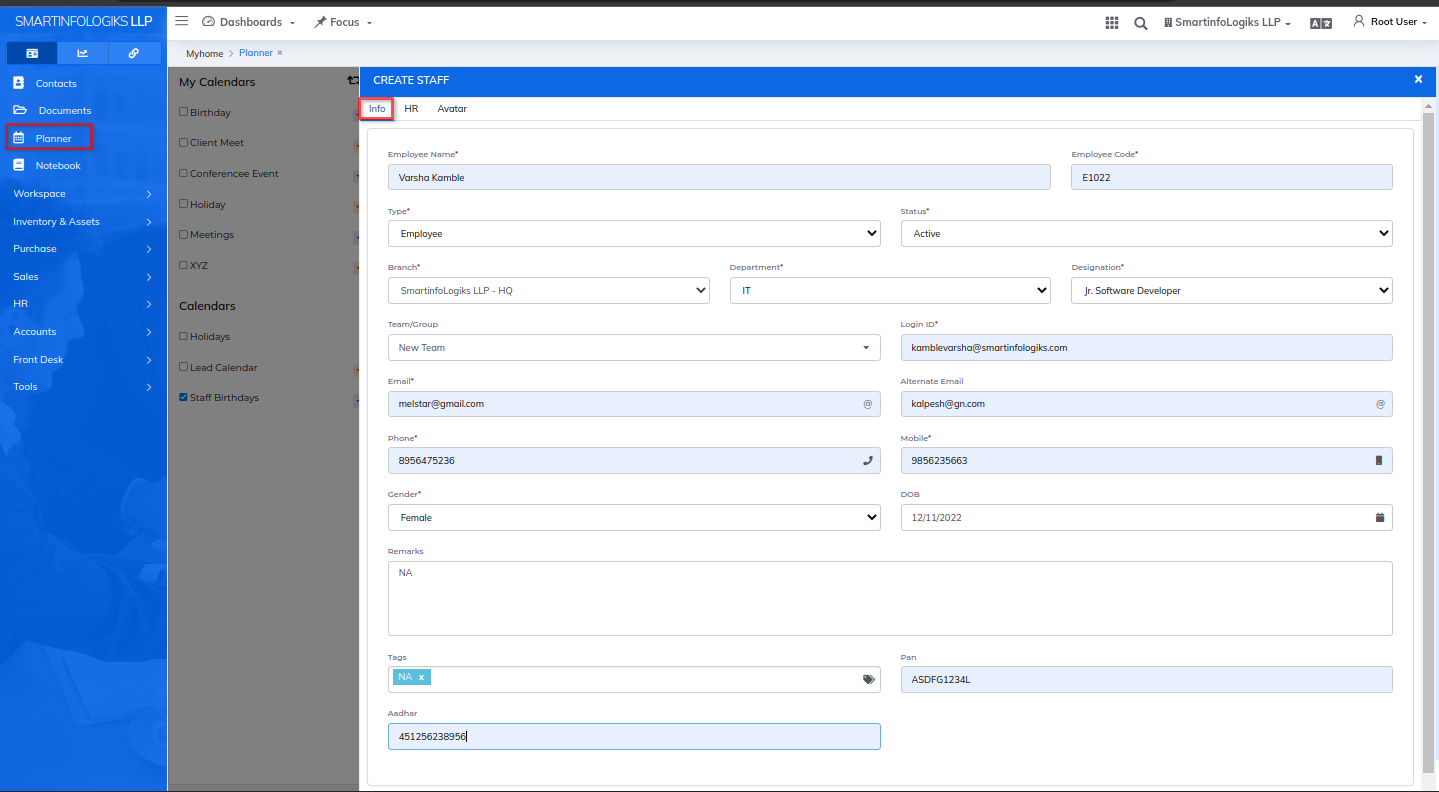
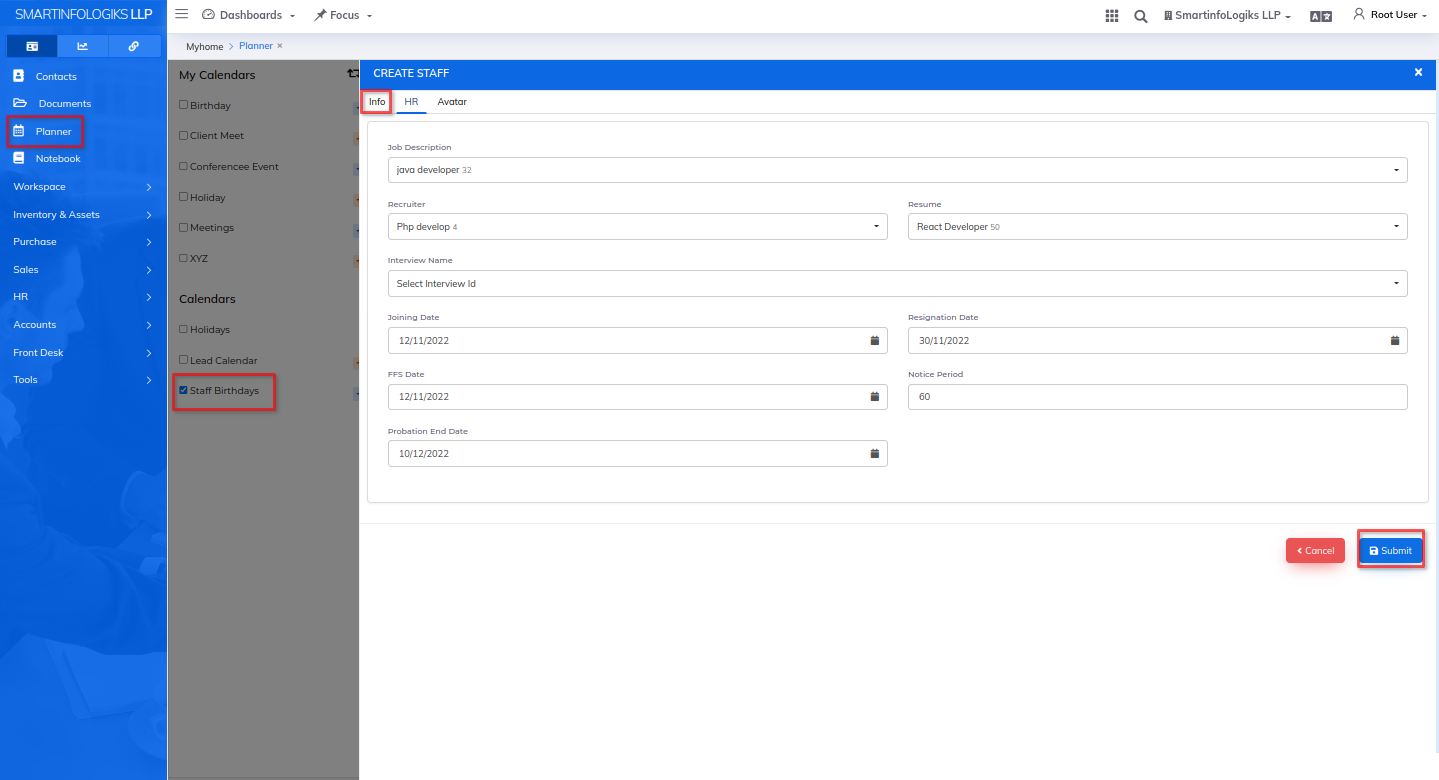
- Enter all the required details.
1.Name: Enter the Contact name.
2.Group: Select Group using dropdown.
3.Company Type: Select Business type using dropdown.
4.Category: Select Category using dropdown.
5.Email: Enter the Email id.
6.Mobile: Enter the Mobile no.
7.PAN No: Enter the PAN no.
8.GST No: Enter the GST no.
9.Alternate Email: Enter the Alternate email id.
10.Phone: Enter the Phone no.
11.Website: Enter the Website.
12.Fax: Enter the Fax.
13.Owner: Enter the Owner.
14.DOB: Enter the DOB.
15.Tags: Enter the tags.
16.Remarks: Enter the Remarks. - After filling all the mandatory fields click on the Submit button. After click on submit, the new planner will be added to the Calendar.
- Added Planner is displayed in Calendar.