5. My Expenses
- Expense means helps to track employee spending by category and verify purchases for authorized business purposes
Dashboard:-
Steps:
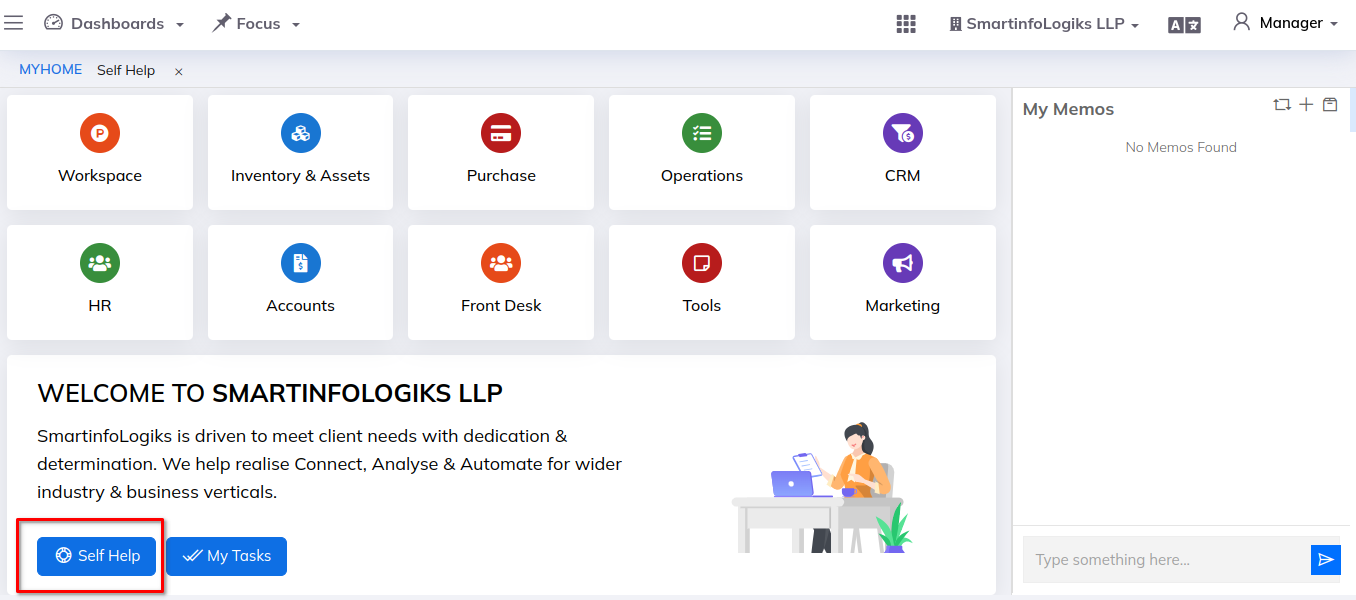
- First, Go to My Profile
- Click on Self help
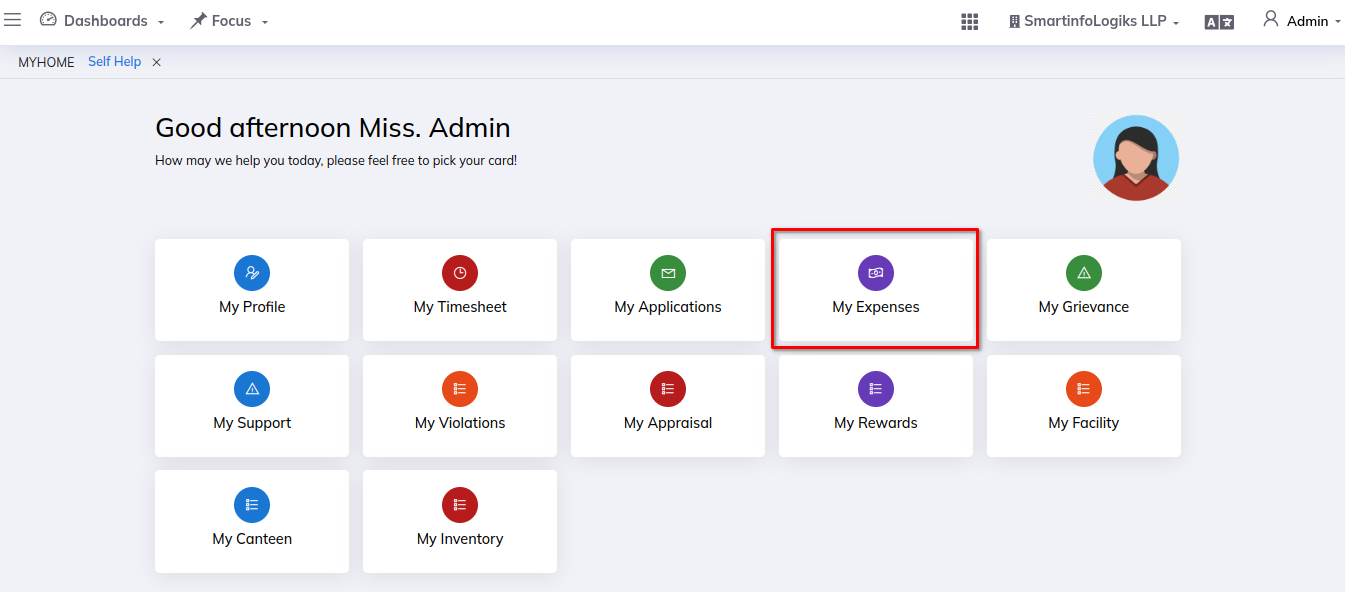
- Click on My Expenses
Mine tab:-
- The employee enters the official expenses in the Mine tab, which updates the record in HR's expense report.
- However, the employee can view the expenses in his own profile.
Add Expense:-
Steps
- Go to the My Expenses
- Then Click on Add Expenses.
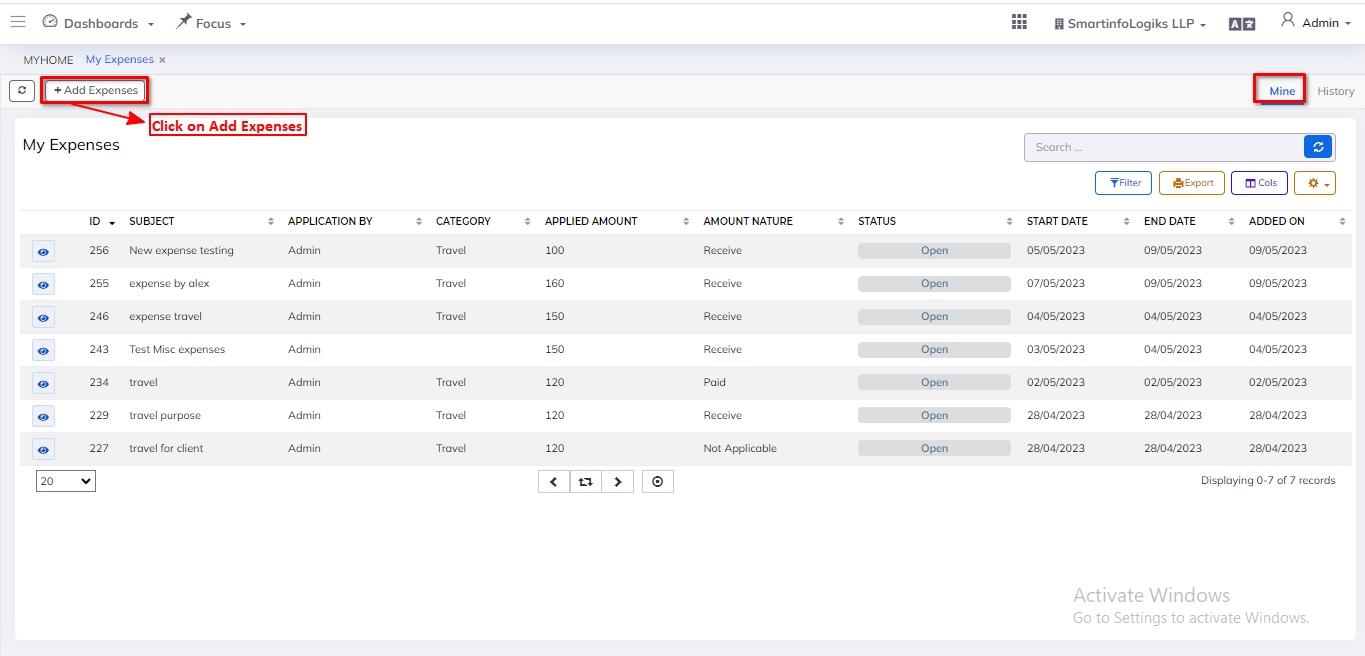
- Add Expenses Form will be shown.
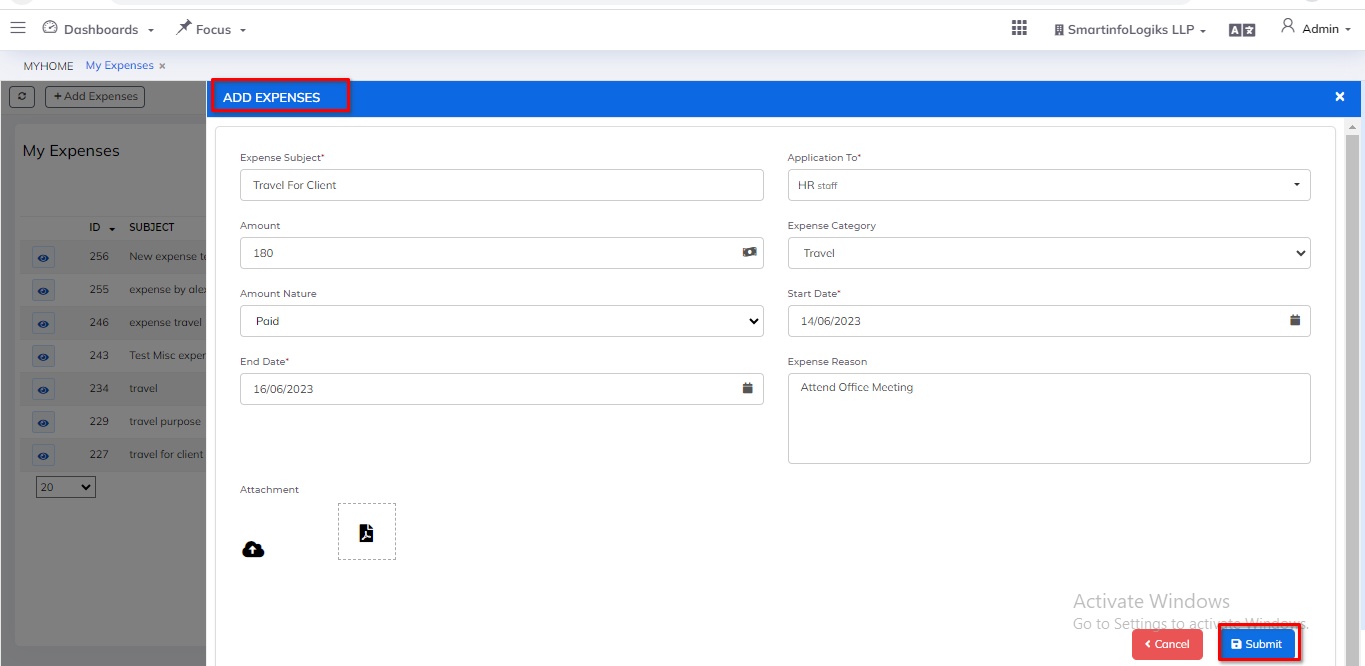
- Enter all required details.
1.Expenses Subject: Simply mention the subject of expenses.
2.Application To: Select Application To using dropdown.
3.Amount: Select Amount
4.Expenses Category: Select Category using dropdown.
5.Amount Nature: Select Amount Nature using dropdown.
6.Start Date: Enter the Start Date.
7.End Date: Enter the End date.
8.Expense Reason: Enter the Reason.
9.Attachment: Attach the Expense regards document After filling all the mandatory fields click on the Submit button. On click of submit, reports will be added successfully.
Added Expenses is displayed in Reports as shown in the below image.
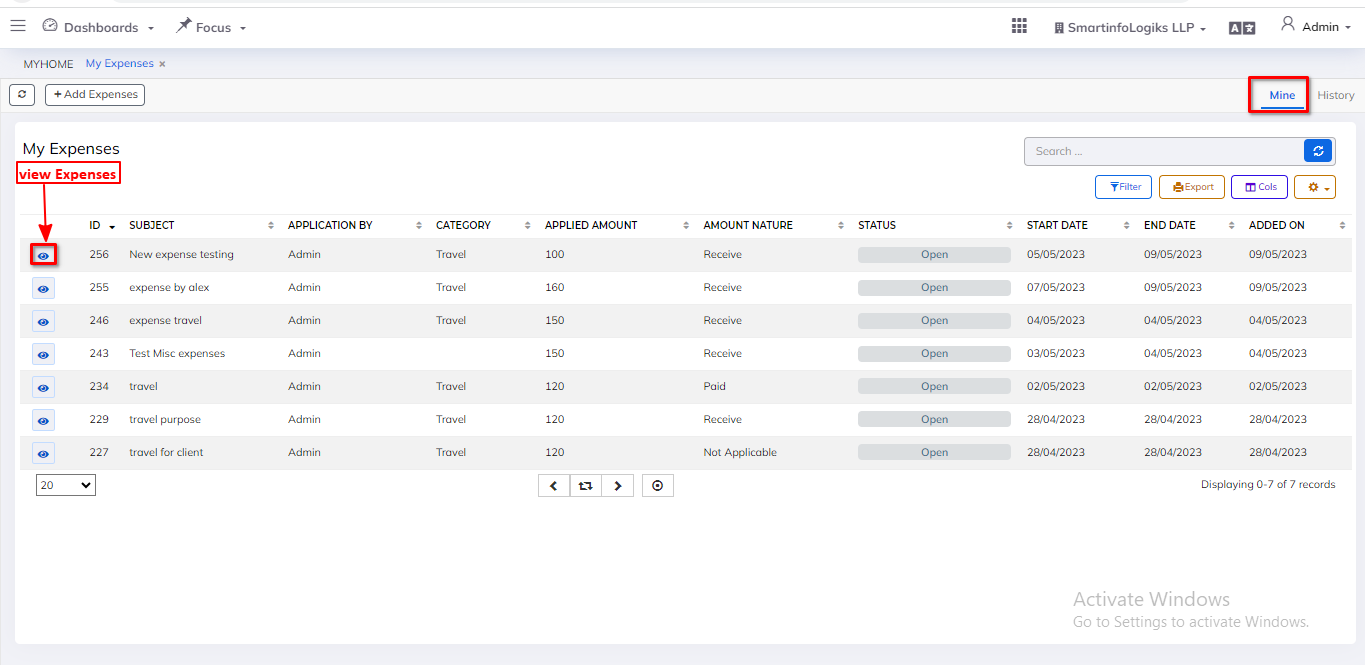
- On click of the View icon, users can view Expenses
History Tab:-
- History tab gives the view of Reimbursed/Rejected Expenses Records that are already existing.
Steps
- Click on My Profile Icon
- After that, show a menu with drop-down options, and select My Expenses
- Then go to the History Tab

- On click of the View icon, users can view applications.