A formal request to be considered or the action of putting something into operation is Known as Application.
Leave Application is a formal document created by an Employee to apply for Leaves for a particular time period.
Dashboard
Steps:
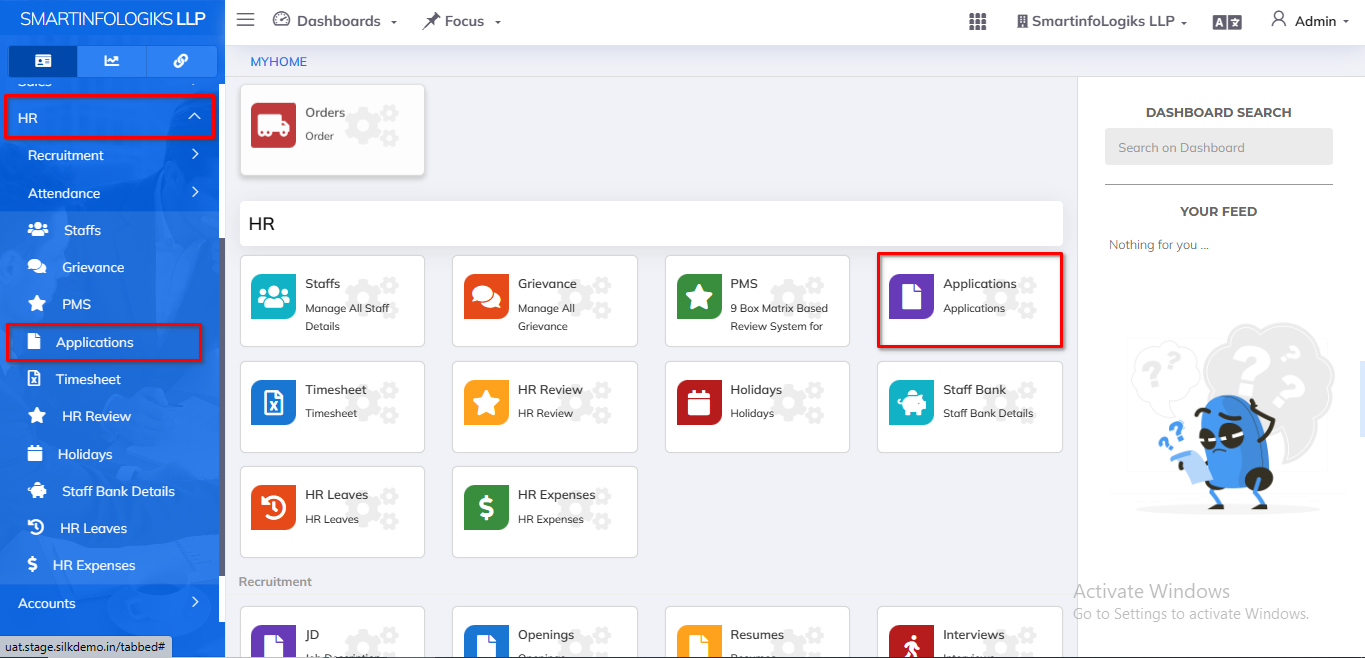
Go to the Menu List.
Click on HR Module
Then Go to the Application tab.
Application dashboard will be shown as below:
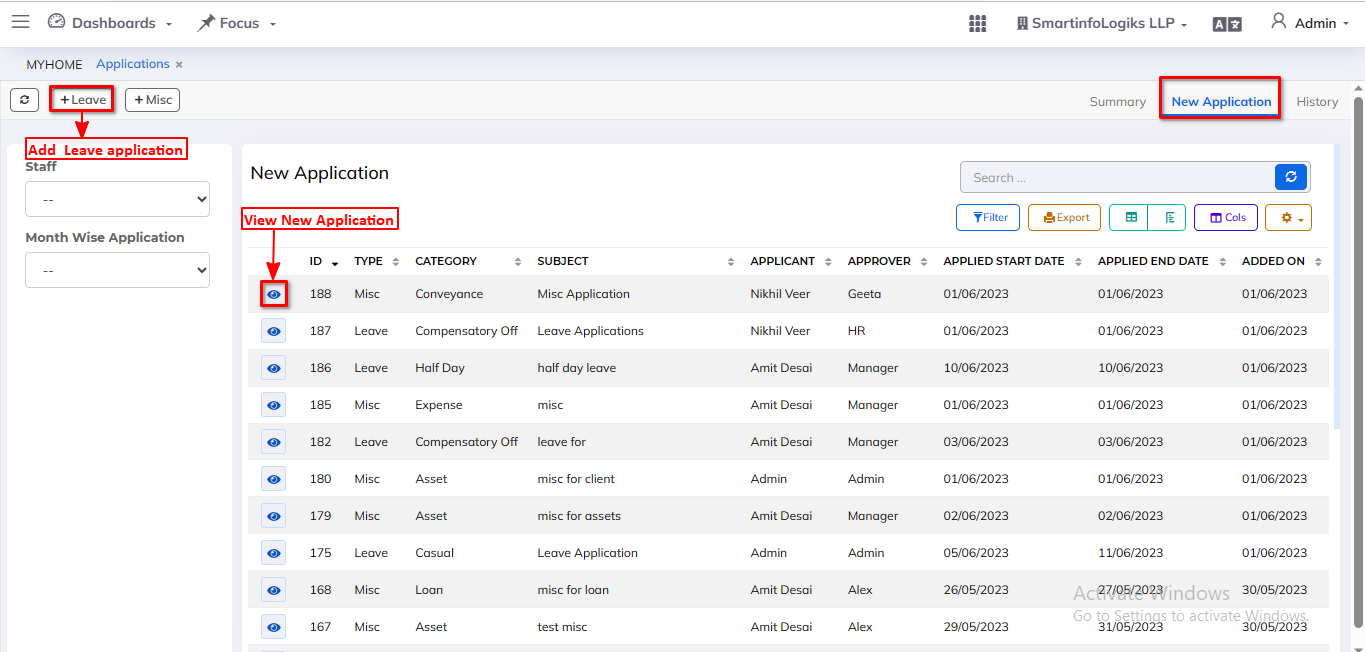
6.1.New Application tab:
The Employees self-apply for leave, which shows up in the HR application's New Application tab.
In New application tab, Sidebar filter showing staff wise and Month wise application the Report.
6.1.1. Add Leave
Steps
Go to the HR Module then Click on Application tab
Then go to the New Application tab
Then Click on Add Leave.
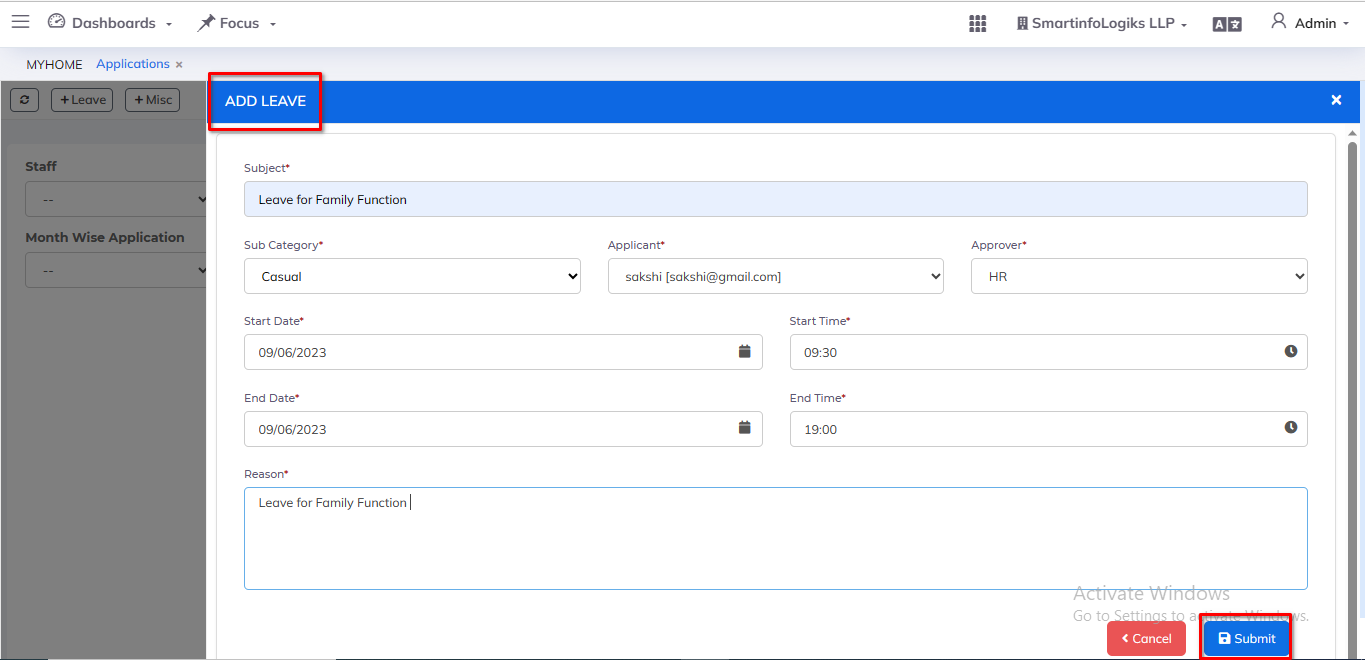
A Leave Form will be shown.
Enter all required details. 1.Subject: Enter the Reason for leave application 2.Sub-Category: We have provide the Leave type in dropdown in the sub category as follows:- 1.1) Casual Leave:- You can avail of this leave to take care of urgent and unseen matters. 1.2) Compensatory Leave :- Compensatory leaves are leaves granted for working overtime or on holidays, normally compensated as an encashable leave. 1.3) Emergency Leave :- Emergency leave is time allowed off from work for genuine, unforeseen emergencies. 1.4) Half Day :- A half-day is a day when you work only in the morning or in the afternoon, but not all day. 1.5) Medical Leave :- You can avail of these leaves if you are unwell. 1.6) No-Pay Leave :- You can avail these leaves for different purposes, such as extended medical issues, educational purposes, or unavoidable personal reasons. 3.Start Date:You can enter the Date on which you leave to be started.Select Start date. 4.Start Time: Enter the Start time. 5.End Date: You can enter the Date on which you Leave to be Ended.Select End date. 6.End Time: Enter the End time. 7.Application To: Select assigned to whom.Select Application to use dropdown. 8.Application By: Select assigned by name.Select Application by using dropdown. 9.Reason: Enter the Reason.
After filling all the mandatory fields click on the Submit button. On click of submit, reports will be added successfully.
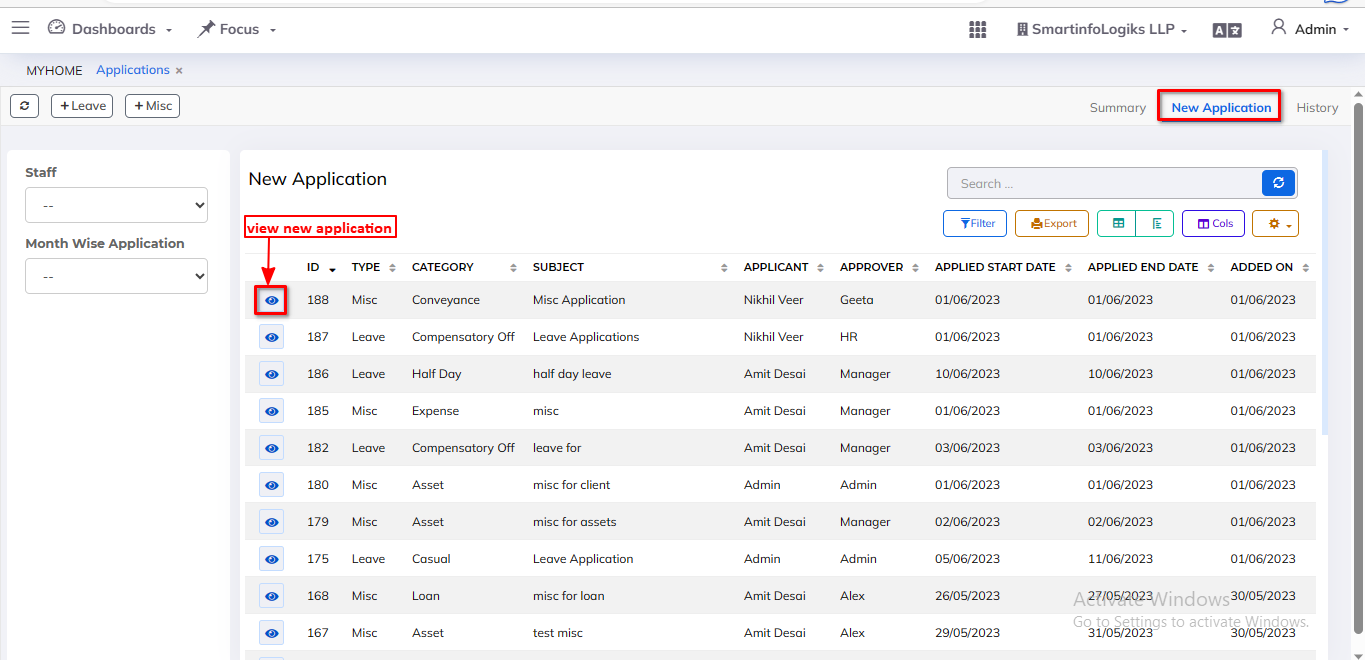
Added application is displayed in Reports as shown in the below image.
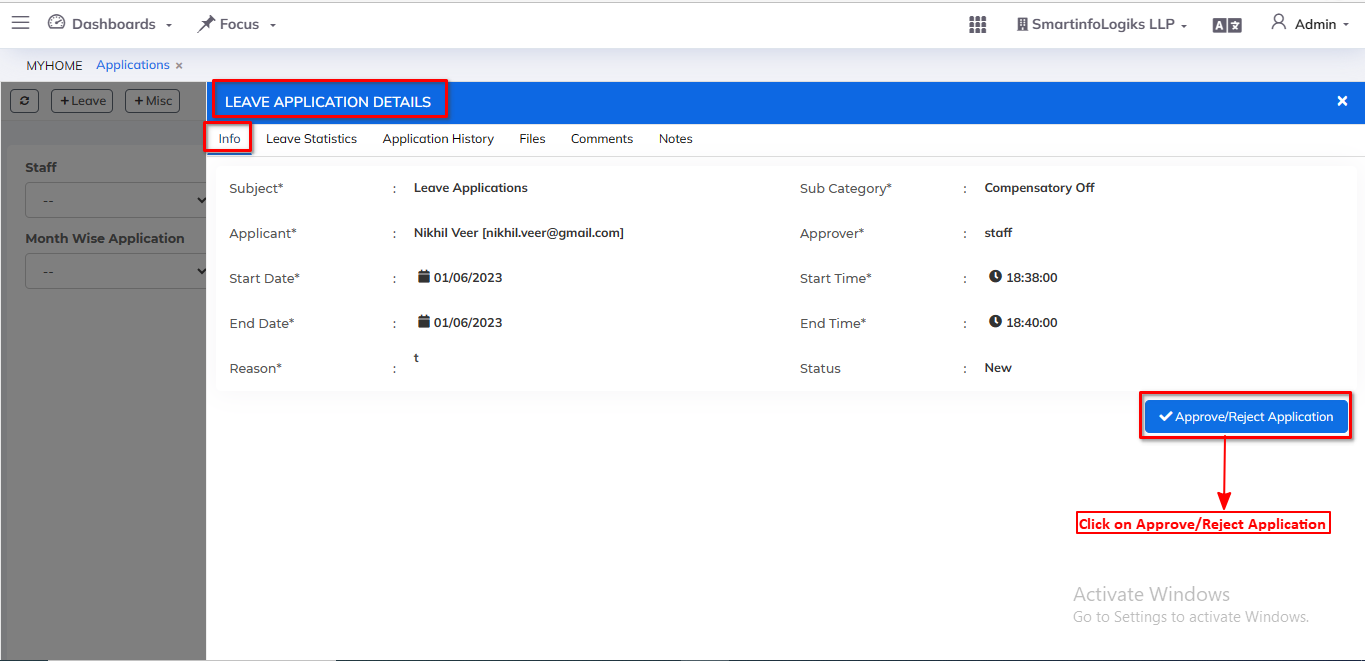
On click of the View icon, users can view applications.
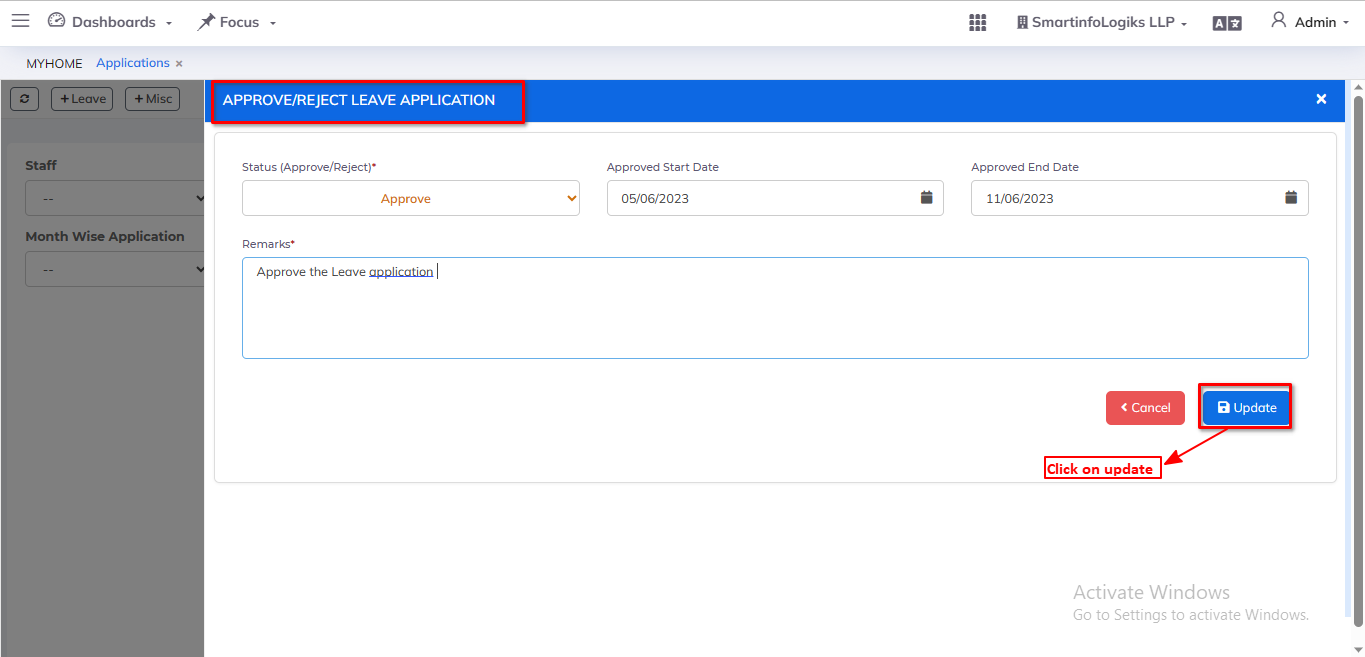
On click of the Approve/Reject application icon, users can update the approve/reject applications.
6.1.2. Add Misc
Steps
Go to the HR Module then Click on Application tab
Then go to the New Application tab
Then Click on Add New Misc
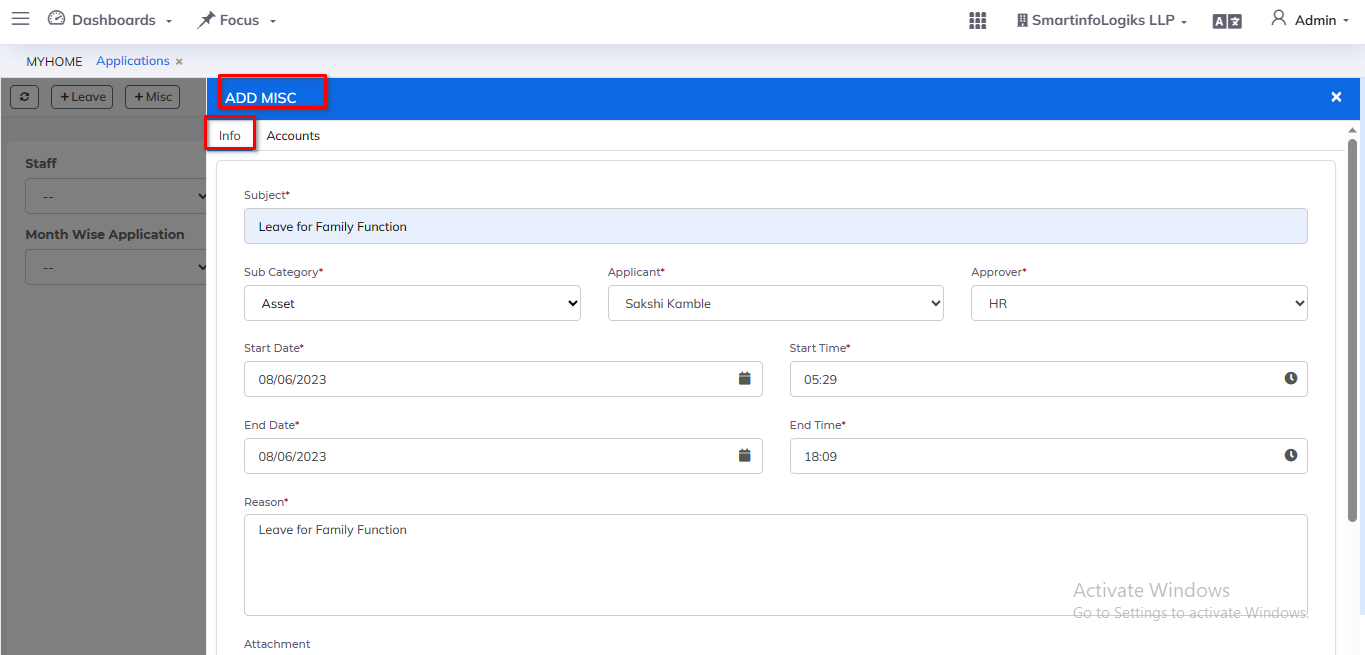
Info tab by default display form will get open as per the below image.
Enter all required details. 1.Subject :- Enter the Reason for Misc application. 2.Sub Category:- Select Sub-Category using dropdown. We have given in Misc type dropdown in sub category as follows :- 1.1) Asset :- An asset is anything that has current or future economic value to a business. 1.2) Conveyance :- a means of transporting, especially a vehicle, as a bus, airplane, or automobile. 1.3) Expense :- An expense is a cost that businesses incur in running their operations. 1.4) Loan :- a loan is financial assistance obtained by borrowers for personal, medical, or other purposes from a financial institution like a bank. 1.5) Lodging :- a temporary dwelling or sleeping place. 1.6) Others :- Any others Mention the Misc reason. 3.Application To: Select assigned to whom. Select Application to use dropdown. 4.Application By: Select assigned by name. Select Application by using dropdown. 5.Reason: Enter the Reason. 6.Start Date: You can enter the Date on which you leave to be started. Select the Start date. 7.Start Time: Select the Start time. 8.End Date: You can enter the Date on which you Leave to be Ended. Select the End date. 9.End Time: Select the End time.
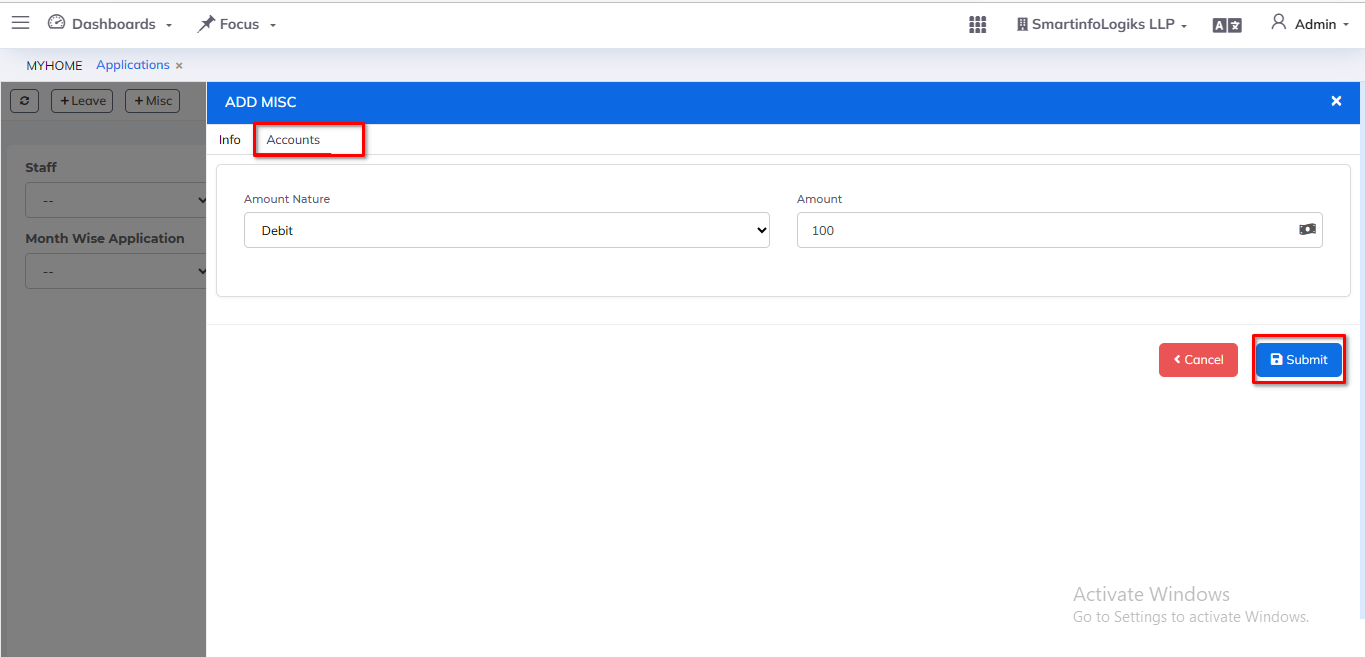
Click on the Account tab form will get open as per the below image.
1.Account Nature: Select Account nature using dropdown. 2.Amount: Enter the Amount.
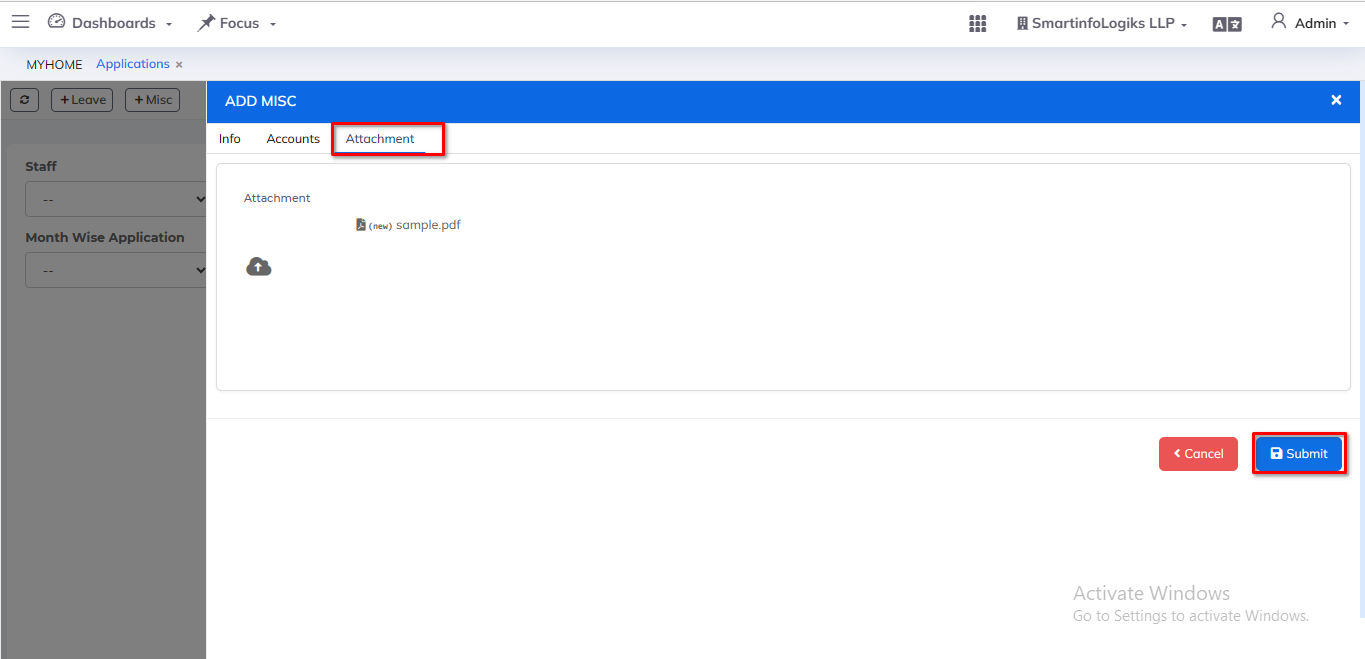
Click on the Attachment form will get open as per the below image.
After filling all the mandatory fields click on the Submit button. On click of submit, reports will be added successfully.
Added misc is displayed in Reports as shown in the below image.
On click of the View icon, users can view applications.
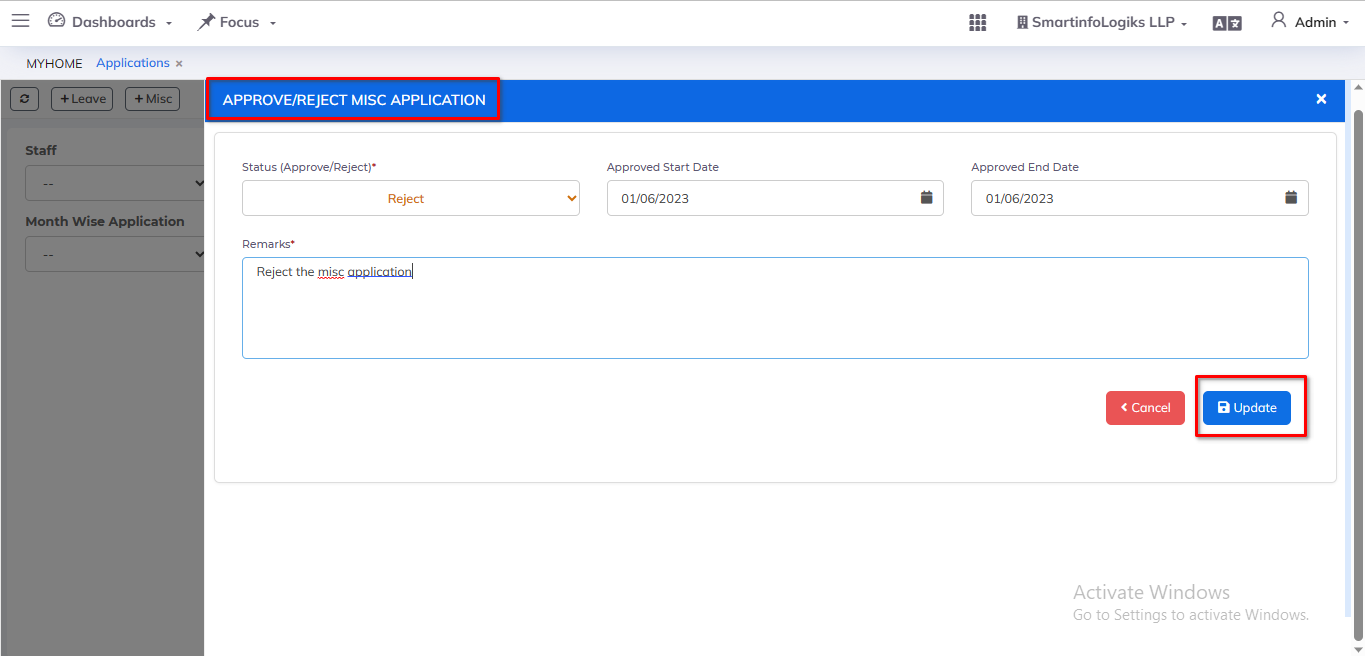
On click of the Approve/Reject application Button, users can update the approve/reject applications.
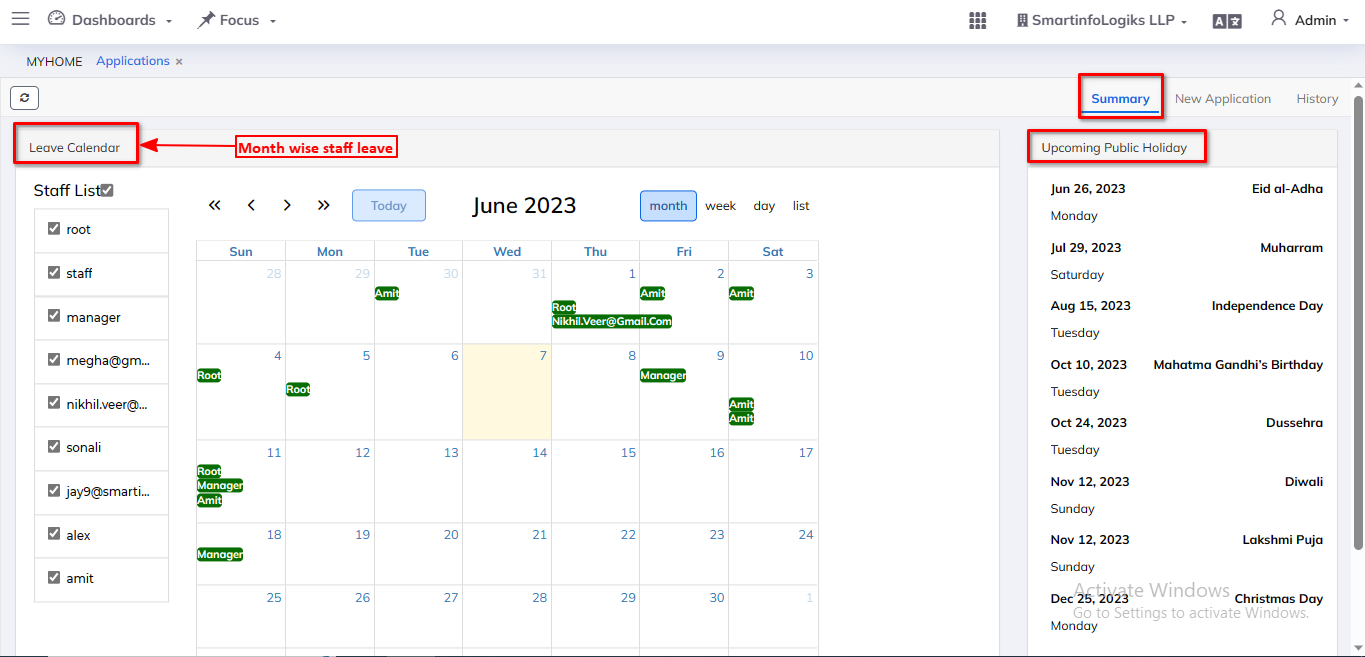
6.2.Summary Tab
The Summary tab shows month-wise, week-wise, day-wise, and list-wise leave of staff in the Leave calendar.
The Summary tab shows upcoming Public Holiday list. Steps
Go to the HR Module then Click on Application tab
Then go to the Summary tab
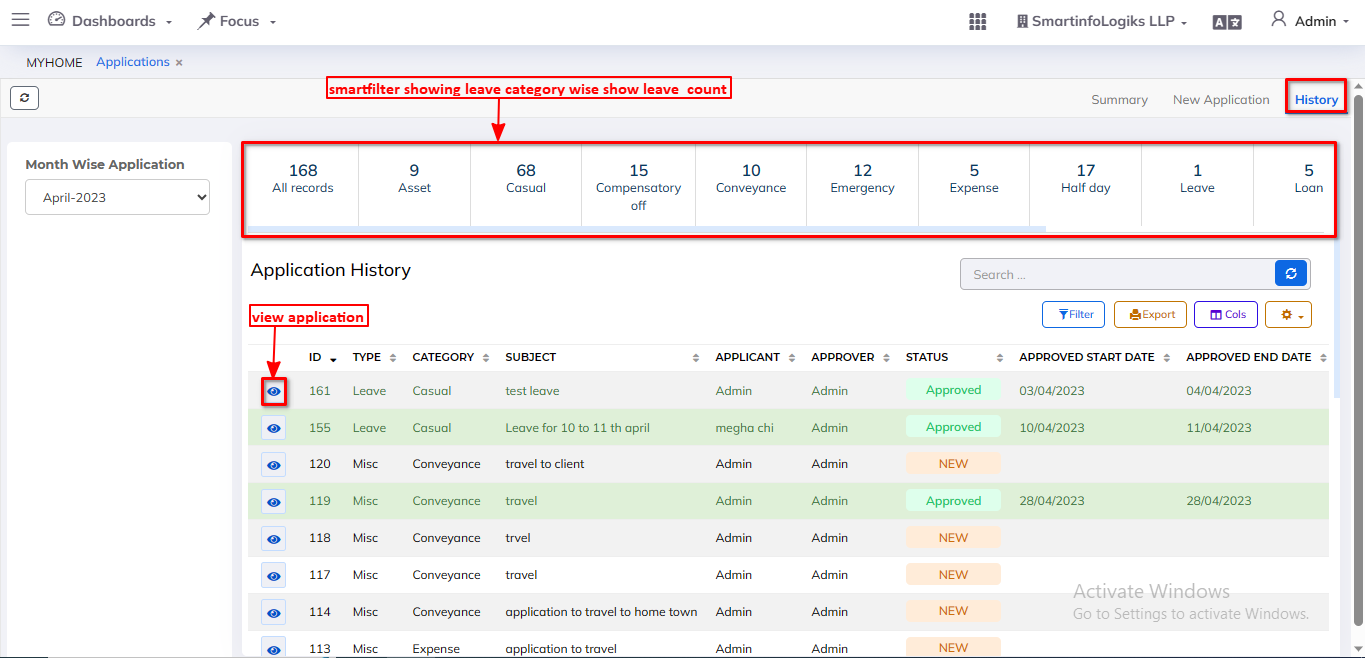
6.3.History
History tab gives the view of Reject/Approve/Cancel Leave application Records that are already existing.
In History tab, Sidebar filter showing Month wise application the Report.
In History tab, Smartfilter showing Leave Category wise showing Leave Count. Steps
Go to the HR Module then Click on Application tab
Then go to the History Tab
On click of the View icon, users can view applications.